Builders
 Carpenters
 Electricians
 Flooring Specialists
 Gardeners
 Handymen
 Heating Engineers
 Painters & Decorators
 Plasterers & Renderers
 Plumbers
 Roofers
 Tilers
 my
What Causes Blown Plaster and How to Fix It
Blown plaster happens when the bond between the plaster and the wall or ceiling surface is loosened. The result is bubbling, cracking, loose areas and a hollow sound when the plaster is tapped. Before repairing blown plaster, the underlying cause must be addressed so that the issue doesn’t arise again.
This guide will cover the causes, signs and repair options for blown plaster. It will also advise on the situations that call for the expertise of a professional such as a plasterer or damp specialist. Homeowners, landlords and tenants can compare quotes from local plasterers if the affected area is extensive or the cause is unclear.
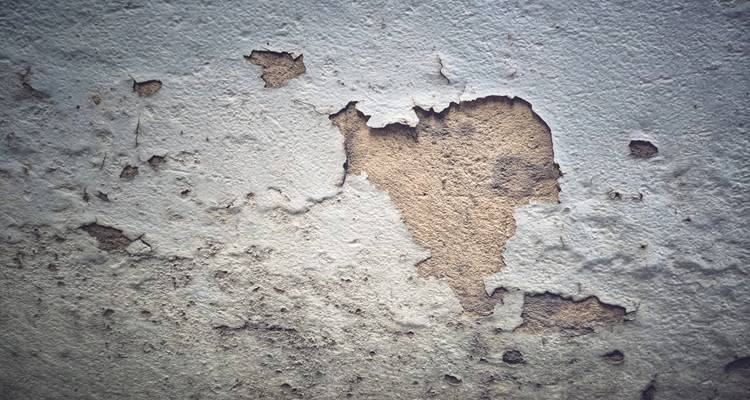
Table of Contents
- What Is Blown Plaster?
- What Does Blown Plaster Look and Sound Like?
- What Is the Difference Between Blown Plaster and Cracked Plaster?
- What Causes Blown Plaster?
- Is Blown Plaster Dangerous?
- Can You Skim Over Blown Plaster?
- Can Blown Plaster Be Repaired?
- How to Fix Blown Plaster
- Can You Repair Blown Plaster Yourself?
- How Much Does Blown Plaster Repair Cost?
- How Long Does Blown Plaster Repair Take?
- How Can You Prevent Plaster From Blowing Again?
- FAQs
What Is Blown Plaster?
Blown plaster can be a bit of a confusing term. It doesn’t mean that the plaster has exploded or physically burst but instead has detached from the surface of the wall or ceiling. When this bond breaks, the plaster bulges outward, as if it’s been filled with air.
What Does Blown Plaster Look and Sound Like?
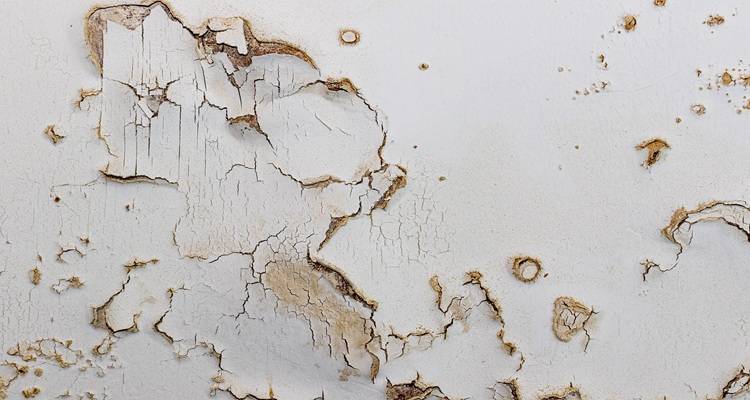
The signs of blown plaster include an area that is bulging, several raised patches, cracks around the edge of a loose area or sections of plaster coming away from the wall.
Occasionally, if you press a blown plaster wall, you’ll feel it move and give way under your fingers. You may see plaster bubbling, flaking, crumbling or powdery plaster on a wall or ceiling or bubbling paint or wallpaper. Damp stains, discolouration or salts on the wall also indicate issues with moisture.
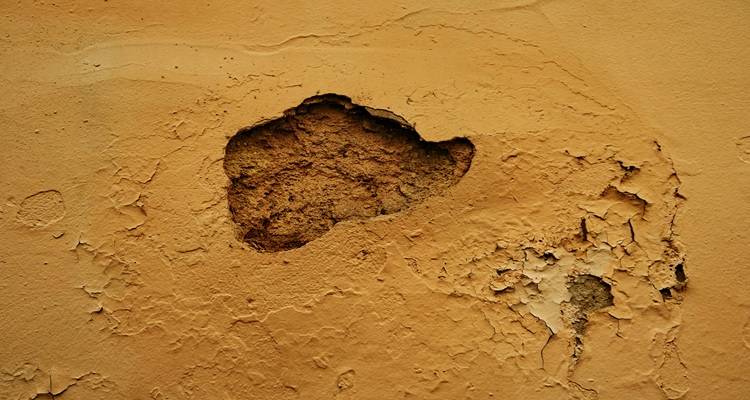
Hollow-sounding plaster is an indication that an area has failed. However, it’s important to be able to distinguish this from the sound of plasterboard or hollow wall systems when tapped. Tapping should always be done gently and used to compare a suspected area with the surrounding solid plaster.
What Is the Difference Between Blown Plaster and Cracked Plaster?
Cracked plaster doesn’t automatically mean blown plaster. Cracks may appear for reasons other than the plaster detaching from the wall or ceiling. They can be the result of temperature changes, over-troweling at the point of application or everyday settling of the property.
Additionally, many cracks are superficial, only affecting the finishing coat. However, cracks that are deeper, getting wider over time, run horizontally or diagonally and correspond to similar cracks externally, should be investigated. Even when the plaster hasn’t blown, these areas can indicate structural issues.
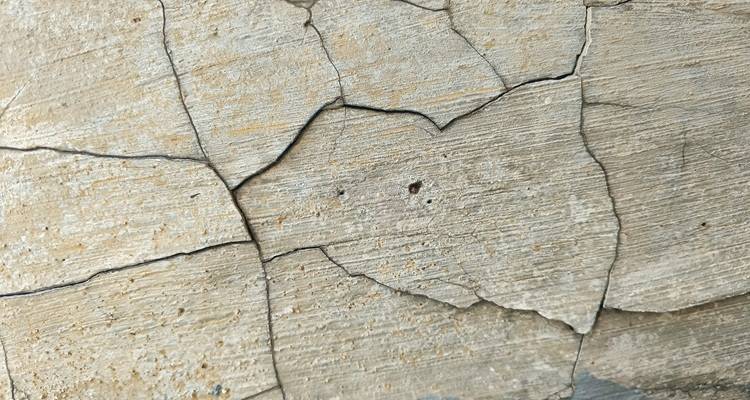
Another difference between blown and cracked plaster is that blown plaster usually sounds hollow, feels loose to the touch and moves independently from the backing. Filling plaster cracks will not solve the problem where the surrounding plaster has lost adhesion to the wall.
What Causes Blown Plaster?
There are different causes of blown plaster, some of which you can control and others that you can’t. However, it’s good to be aware of them so you can spot what may be causing damaged plaster in your home.
Damp and Water Ingress
Damp and water ingress are a major cause of blown plaster. As the moisture in plaster evaporates, salt crystals are left behind. These crystals expand as they draw more moisture in and push the plaster outward, breaking the bond with the underlying surface.
Salt deposits, also known as efflorescence, peeling or bubbling paint, plaster crumbling and a hollow sound when tapped, are all signs that moisture has caused the plaster to detach. Before replastering, the source of the water ingress must be resolved.
Poor Surface Preparation
Not preparing the surface properly can cause blown plaster. Dust, grease and flaking paint on the walls prevent proper adhesion, while failing to control suction means plaster dries too quickly, shrinks and detaches.
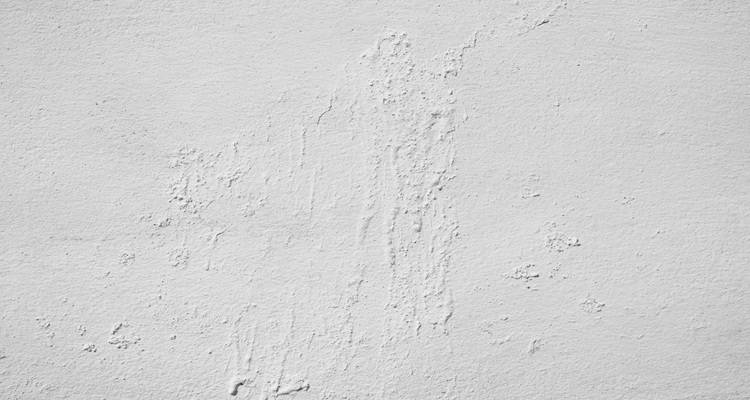
To prevent the wall sucking the moisture out of the plaster, a mixture of PVA and water is applied first. Mixing the right ratio is important as thick PVA won’t let plaster adhere and a weak solution isn’t as effective. Cleanly detaching plaster without residue on the wall indicates poor surface preparation, as does a lack of evidence of damp, like a musty smell.
The loose plaster should be removed, the surface cleaned and stabilised with PVA mix and only then should it be replastered.
Incorrect Plaster Application
Applying plaster incorrectly often leads to blown plaster. Inadequate priming of the surface or attempting to plaster a damp wall will cause the plaster to fail. Over-trowelling the plaster or putting too thick a layer on can also make it detach.
Cracking, bulges, flaking and crumbling edges are all signs that the plaster has been incorrectly applied. Before replastering, remove all loose plaster, clean and seal the wall and then build the plaster up in layers rather than trying to use a single coat.
Age and General Deterioration
Material fatigue and general deterioration over time cause plaster to separate from walls and ceilings. Fluctuations in humidity and temperature cause continual contracting and expanding, which after many years weakens the bond. Wooden laths rot and brick mortar crumbles, and when these physical supports move, the plaster moves too.
A hollow sound when tapped, bulges, crumbling, movement and spreading cracks are signs that age and general deterioration have caused plaster to fail. Stripping back a blown plaster ceiling or wall, stabilising movement, cleaning and priming should be done before replastering.
Structural Movement and Settlement
Structural movement and settlement break the rigid bond between the substrate and the plaster, causing it to detach. Signs include stair-step or diagonal cracks, accompanying structural symptoms like uneven floors or sticking doors and localised bulges where cracks converge.
The underlying structural problem must be addressed and stabilised before attempting to replaster.
Impact or Vibration Damage
The cracking and bond fatigue caused by impact or vibration damage can lead to blown plaster. Slamming doors or vibrations from heavy traffic can weaken the adhesion and lead to the plaster detaching.
Obvious cracking in the plaster, a holow sound when tapped, and the absence of any water damage are indications of blown plaster caused by impact or vibration. Removing the affected plaster and addressing the cause of impact and vibration are essential steps before replastering.
Temperature Changes and Freeze-Thaw Damage
The physical expansion and contraction of bricks and mortar during freeze-thaw cycles can lead to blown plaster. As materials expand and contract at different rates, the stresses put on plaster lead it to detach.
Signs include ‘give’ in the plaster, a hollow sound when tapped, cracking, stains and efflorescence. Before replastering, damp behind the plaster must be addressed and the damaged area removed. The surface should be stabilised before new plaster is applied.
Unsuitable Paints, Sealers or Wall Coverings
Paints, sealers or wall coverings which don’t allow the wall to breathe or which trap moisture can lead to the plaster failing. Peeling or bubbling paint, hollow-sounding plaster, crumbling walls and staining are all signs that unsuitable materials such as oil-based paints and vinyl wallpaper have caused the plaster to delaminate.
Removing these materials and the blown sections of plaster is essential before replastering.
Is Blown Plaster Dangerous?
Small areas of blown wall plaster are typically a maintenance issue rather than an urgent or imminent structural emergency. Damp-related blown plaster may indicate a moisture problem or an unresolved leak, which does need prompt attention to prevent the issue escalating.
Loose ceiling plaster can fall and potentially cause injury or property damage. Large bulges, sagging ceiling sections or rapidly spreading damage should be inspected promptly, and the area kept clear.
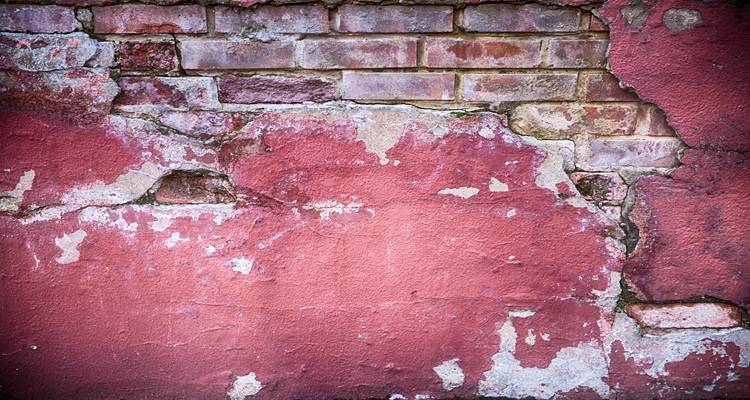
Failed plaster and significant cracking that is the result of movement need the attention of a structural engineer and builder as well as a plasterer.
It’s not advisable to disturb or pull at large, loose ceiling sections as falling plaster can be heavy, causing injuries and potential damage to the floor. Barricade the area and keep children and pets away until you get a professional assessment.
Can You Skim Over Blown Plaster?
Generally, no, it’s not possible to skim over blown plaster, nor is it recommended. Once the bond between the plaster and substrate, whether that’s a wall or ceiling, has failed, applying a skim coat will not fix the situation. A skim coat relies on the existing plaster being firmly bonded. Applying fresh plaster over a loose background does not restore the failed bond.
Instead, the new finish may crack or detach along the existing plaster. Loose plaster needs to be removed back to a sound edge. Only then is skimming appropriate, when the substrate and remaining plaster have been checked and properly prepared.
Can Blown Plaster Be Repaired?
Yes, blown plaster can be repaired. However, the right repair depends on several factors, including the size of the affected area and whether it’s on a wall or ceiling. The condition of the surrounding plaster also matters, as the blown area is typically removed back to sound plaster.
Assessing the material behind the plaster, such as bricks, blocks and mortar, is necessary to determine the best repair method. Crumbling bricks or mortar will require attention such as repointing and replacing spalled bricks.
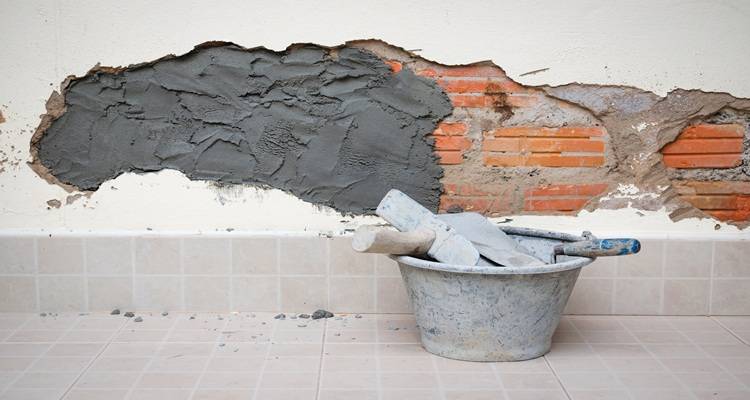
Check that any damp or movement issues have been resolved before proceeding with the plaster repair. A damp specialist or structural engineer may be required for these issues.
Finally, the repair is also dependent on whether the plaster is lime- or gypsum-based. Using the wrong material for repairs can cause new issues such as trapping moisture and salts in the walls.
A small, localised patch repair is potentially the easiest to deal with as the blown plaster can be removed back to a sound edge and the area replastered. Larger wall sections need more work, and a lot of blown plaster might have to be removed before finding a sound edge.
If the damage is extensive and finding a stable border proves impossible, the entire wall or ceiling needs to be repaired.
A property that has traditional lath and plaster will need a plasterer who specialises in this material to carry out the repair, and compatible materials must be used. Any damaged plasterboard must be replaced before attempting to repair the blown plaster.
How to Fix Blown Plaster
1. Identify the Extent of the Damage
A plasterer typically uses the tapping test to identify where the blown plaster changes to firmly bonded plaster, thereby establishing the extent of the damage.
2. Find and Fix the Underlying Cause
The next step is finding and fixing the underlying cause, such as damp, leaks, movement or failed background preparation. Replastering the area before correcting the cause will lead to repeat failures.
3. Remove Loose Plaster
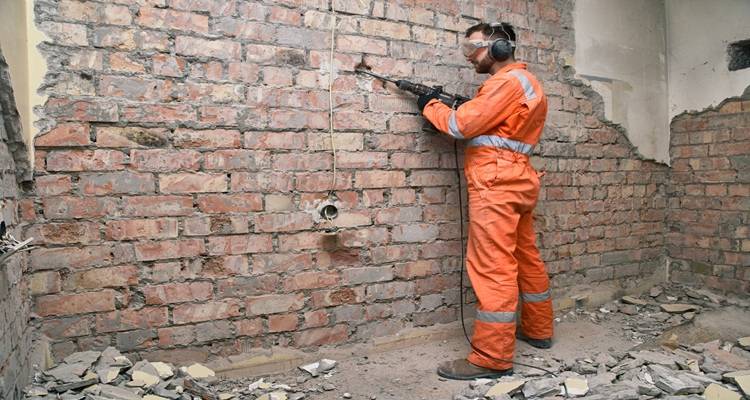
Delaminated plaster is carefully removed from the wall or ceiling back to a solid edge, that is, to where the plaster no longer detaches. Working carefully reduces the impact of the dust and debris created as you remove loose plaster. It also allows you to spot hidden cables and pipework.
4. Allow Damp Walls to Dry
Damp walls should be given enough time to dry out before attempting to replaster. The time it takes depends heavily on the cause of the moisture, the wall construction and the severity of the damp.
5. Prepare the Background
Preparation is key to replastering and involves cleaning the surface, removing dust, checking the substrate is dry and sound and using a suitable bonding system for the wall type.
6. Build Up the Repair
Deep repairs may require a suitable base or undercoat before applying the finishing layer. The correct system differs for masonry, plasterboard, lath-and-plaster and lime plaster.
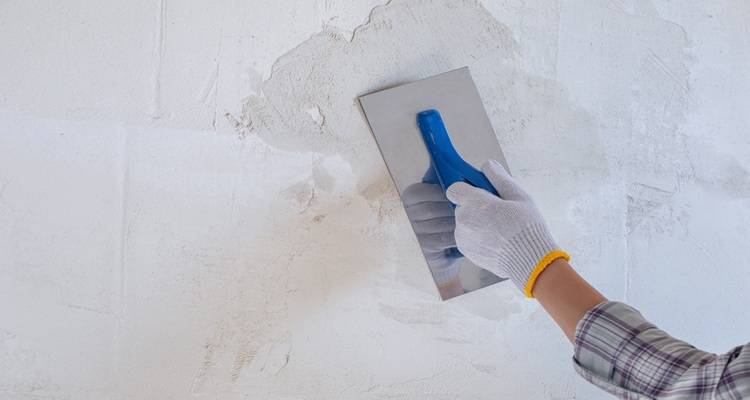
7. Apply the Finish
The repaired area must be brought level with the surrounding sound plaster and finished smoothly.
8. Allow It to Dry Before Decorating
The newly applied plaster must be allowed to dry fully before it is sealed or painted. Check the guidance on sealants and paints before proceeding.
Can You Repair Blown Plaster Yourself?
There are some instances where you can repair blown plaster yourself, but these are limited. Plastering is still a highly skilled job even if the area being repaired is small.
If you have the right tools and previous patch-repair experience, the circumstances where you can tackle this job include small, isolated patches, damage where the cause is known and has already been fixed and where the surrounding plaster and backing are sound.
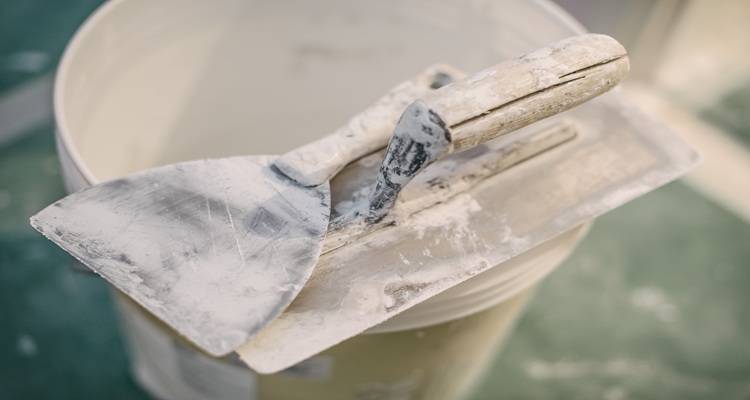
Situations that are best left to a professional plasterer include large or widespread hollow areas, ceiling repairs and where there is ongoing damp. Historic lime plaster and lath-and-plaster need the expertise of someone who specialises in these materials.
Where the damage surrounds electrical fittings or pipework, professional intervention is needed. The same is true for significant cracks or suspected movement. If the plaster has blown repeatedly or the repairs require a seamless finish across a visible wall, then a qualified plasterer is needed.
How Much Does Blown Plaster Repair Cost?
The cost of blown plaster repair depends on several factors, and no two jobs are the same. However, some average costs are as follows:
- Small patch repair: £100 - £300
- Repairing a larger damaged area: £200 - £1,000
- Skimming a wall after preparation: £100 - £250
- Replastering a complete wall: £150 - £400
- Ceiling plaster repair: £200 - £400
- Damp investigation: £200 - £500
- Damp damage repair where required: £70 - £250 per linear metre
- Waste removal (skip with permit): £85 - £350
- Redecoration (materials & labour): £350 - £650 per standard room
How Long Does Blown Plaster Repair Take?
The duration of a blown plaster repair depends on a multitude of factors. Assessing the extent of the problem determines the approach to repairs, the materials required and the professionals you’ll need to get involved. Fifteen to thirty minutes for a seasoned plasterer is usually sufficient for this step. Protecting the floor from falling plaster, gathering materials and equipment may take an hour.
How quickly the loose plaster is removed is dependent on how badly affected it is, the size of the damage and the area the plasterer is working in. Stairwells or other awkward spaces take longer than a single wall or standard ceiling. Smaller areas may be removed in minutes, and larger areas may take a couple of hours.
Drying delays when damp is involved are impossible to predict as so much depends on the situation, time of year, cause of the damp, etc. The repair and finishing process can be one of the quickest for a professional plasterer, with small patches done in one to two hours.
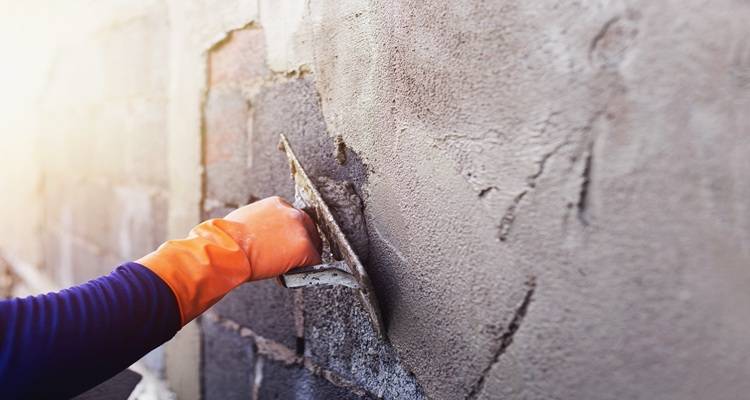
The plaster needs to dry before decoration can be done, and this can take from a few days to a couple of weeks, depending on the time of year, weather, ventilation and the thickness of the plaster.
A small visible patch can often take longer to repair if the underlying area is larger than expected. This is because rather than filling the small surface area, a multi-layer structural repair may be necessary.
How Can You Prevent Plaster From Blowing Again?
To prevent plaster from blowing again, it’s necessary to follow certain steps. These include fixing the underlying cause of the problem, whether that is damp, movement, poor surface preparation or using unsuitable sealers and wall coverings.
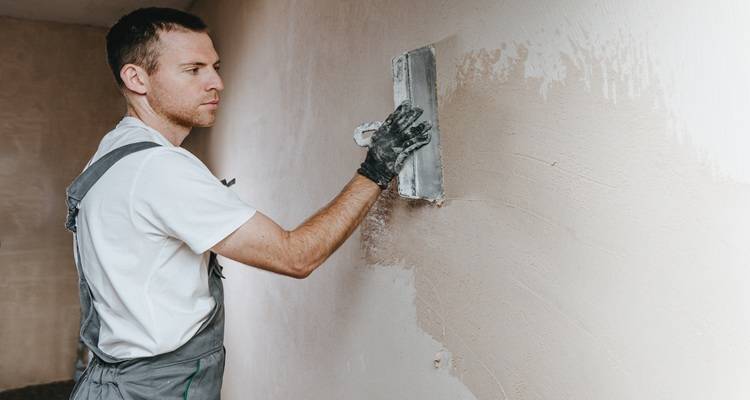
Thorough surface preparation is then needed, including removing the blown plaster back to a sound edge, cleaning and stabilising the area to prevent moisture suction. Finally, you need professional application of the new plaster.