my
myWall Tiling Cost
At a Glance
- The average cost of tiling a wall is around £585.
- The job will take approximately 1-2 days to complete.
- A breakdown of costs for tiling different walls with various tile types.
- How long each tiling job should take and what's involved.
- How to find a tiler near you using MyJobQuote.
Get free estimates
Are you a trade? Get more work today!
£585
Table of Contents
Wall Tiling Installation Cost Calculator
How Much Does It Cost to Tile a Wall?
The total cost to tile a wall will depend on the materials used and the size of the wall to be tiled. Wall tile costs typically range between £80 and £120 per m², with the average cost to tile a wall around £585.
The materials needed can also vary in price depending on what style or type of tile you are looking for. For example, grey gloss ceramic wall tiles (£20 per square metre) are more expensive than stone effect ceramic tiles (£13 per square metre).
On top of these materials-only costs, labour costs can vary from £150-£250 per day, although they are likely to be higher in the South East when compared to the rest of the UK, which will have an impact on the total cost of your tiling project.
My partner is planning to prime the plaster wall with PVA before tiling. I think he should use a proper primer but he says it's a waste of money as we already have some PVA in the house. Who's right?
"As long as the PVA is watered down then it will be fine. If it's put on neat it will create a barrier and will ultimately peel causing the tiling to fail"
Wall Tiling Prices
| Material | Avg. Cost per m² (Installed) |
|---|---|
| Ceramic | £60-£90 |
| Porcelain | £70-£100 |
| Glazed | £75-£110 |
| Natural Stone | £110-£150+ |
| Glass | £100-£160 |
| Mosaic | £120-£200+ |
Want a custom price?
Post your job
The final cost of your tiling project will depend on the size of the wall. To give you an idea of the different costs, here are some examples of typical wall tiling jobs.
| Room Type | Typical M² | Budget | Mid-Range | Luxury |
|---|---|---|---|---|
| Kitchen Splashback | 2m²–3m² | £120–£210 | £180–£330 | £300–£600+ |
| Kitchen Wall | 6m²–10m² | £360–£700 | £540–£1,100 | £900–£2,000+ |
| Bathroom Wall | 7m²–10m² | £420–£700 | £630–£1,100 | £1,050–£2,000+ |
| Shower Room Wall | 6m²–8m² | £360–£560 | £540–£880 | £900–£1,600+ |
| Wet Room Wall | 8m²–12m² | £480–£840 | £720–£1,320 | £1,200–£2,400+ |
| Utility Room Wall | 3m²–5m² | £180–£350 | £270–£550 | £450–£1,000+ |
| Cloakroom Wall | 0.5m²–1.5m² | £30–£105 | £45–£165 | £75–£300+ |
Want a custom price?
Post your job
Cost to Tile a Kitchen Wall?
Your cost will depend on how much of the kitchen wall you are looking to tile. A kitchen splashback would be about 2m² to 3m², whereas tiling a full kitchen would be more like 6m² to 10m².
Cost to Tile a Bathroom Wall?
If you are just looking for half-height tiling on the wall around a bath without a shower and the sanitaryware, this would be about 7m² to 10m².
Cost to Tile a Shower Room Wall?
Although a shower room will typically be smaller, you would probably tile the whole wall, so this would typically be between 6m² and 8m².
Cost to Tile a Wet Room Wall?
Wet rooms can be larger than shower rooms, and need more of the wall tiling, so they would be between 8m² and 12m² on average.
Cost to Tile a Utility Room Wall?
The average utility room will usually only need a simple tiled splashback on the wall, so expect this to be between 3m² and 5m².
Cost to Tile a Cloakroom Wall?
The smallest wall tiling job in most houses, with a simple splashback on the wall behind the sink about 0.5m² to 1.5m².
Based on these wall areas and the average wall tiling costs above, here are the typical costs for each of these wall tiling jobs:
Factors That Impact the Cost of Tiling a Wall
Your overall wall tiling cost will vary based on several factors. Let's take a look at these cost factors below.
- Tile Type and Material — The type of wall tile you choose will contribute to the overall cost. As detailed above, ceramic tiles are almost three times cheaper than natural stone tiles.
- Wall Size — The size of the wall has a big part to play in your wall tiling cost. Naturally, the more material you need, the more it will cost.
- Condition of the Walls — The quality of your walls can have an impact on your wall tiling costs. If they are in poor shape, they may need remedial work before they can be tiled, which will increase the final cost.
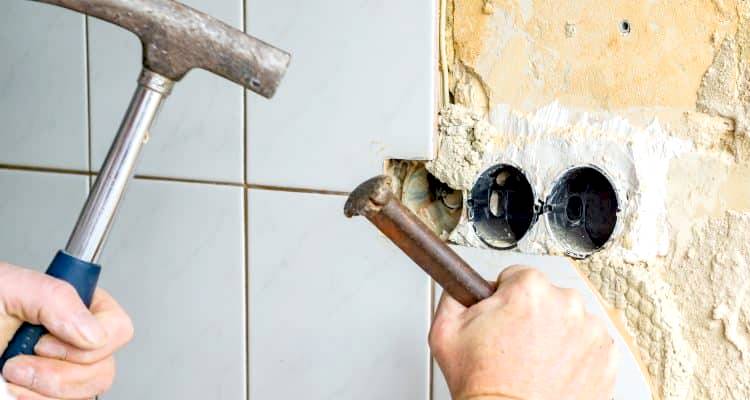
- Plumbing and Electrics — Any plumbing or electrics that need installing, updating or rerouting before the wall tiling installation will also add to the cost of the project.
- Wall Shape and Position — The shape and position of the wall to be tiled can affect the cost. Walls with lots of corners, alcoves or other features, or those that are generally tricky to tile, will take longer and cost more.
- Location — Location will also have an impact, as regions in the South of England tend to be more expensive for labour costs.
How Much Do Tiles Cost?
Below is an example of the types of tiles available and the supply costs involved:
| Material | Supply Cost per m² |
|---|---|
| Ceramic | £10-£25 |
| Porcelain | £20-£40 |
| Glazed | £15-£35 |
| Natural Stone | £40-£90+ |
| Glass | £35-£70 |
| Mosaic | £45-£100+ |
Want a custom price?
Post your job
Along with the cost of tiles, you should factor in other materials you may need, such as tile adhesive. Depending on what tile material you use, the type of adhesive you need will vary, but here are some examples:
- Ready-mixed adhesive - £12 to £25 per bag.
- Standard cement-based adhesive - £12 to £20 per bag.
- Flexible S1 adhesive - £20 to £35 per bag.
- White rapid-set - £22 to £38 per bag.
For reference, here are some recommended adhesives for wall tiling according to material:
| Material | Suggested Adhesive |
|---|---|
| Ceramic | Ready-mixed |
| Porcelain | Flexible S1 |
| Glazed | Ready-mixed |
| Natural Stone | White rapid-set |
| Glass | White rapid-set |
| Mosaic | White rapid-set |
Want a custom price?
Post your job
This isn't an exhaustive list, and some tiles are suited to multiple types of adhesive. Speak to your retailer when you purchase your tiles or read the specifications carefully for the recommended options.
Additional Costs to Tile a Wall
The cost of installation has been outlined in this article. However, there are some additional costs you may need to be aware of.
If you already have tiles in your bathroom/kitchen, you may need somebody to remove and dispose of them. This is added labour, and depending on how easy the tiles are to be removed, it could end up costing you an extra £150-£200 a day.
You may also want to consider installing new tiles. For instance, if you have a standalone shower, it may be worth tiling that to make sure it fits in with the aesthetic. The last thing you want is a shower that stands out like a sore thumb.
The cost of retiling a shower comes in at around £250, which can really make the difference to making your dream bathroom come to fruition.
How Much Does a Tiler Charge?
Let's take a look at wall tiling labour costs and typical timescales for this type of job.
As outlined in the previous sections, labour accounts for a substantial amount of the budget.
Based on estimates, you can expect the labour costs to range from £150-£250 a day. One variable of this is the location, as explained before, the labour costs in London can range from £50-£100 more than in the North.
Tiling is labour-intensive, so you can expect even a professional to take some considerable time. Here are some estimates based on m²:
| Size of Area | Estimated Time |
|---|---|
| 1m² | 1-2 hours |
| 2m²-3m² | Half a day |
| 5m² | 1 day |
| 8m²-10m² | 1.5-2 days |
| 11m²-15m² | 2-3 days |
Want a custom price?
Post your job
Bear in mind that some tile materials, like natural stone or mosaic, may need extra handling and application time.
Once tiles have been installed with adhesive, they are usually left to set for 24 hours.
Then the grout needs to be applied, which can take one day, depending on the size of the area. From then, the tiles need to be left to fully dry and set for around 72 hours before any heavy use.
Ask a Trade
Got a question that only a tradesperson can answer? We have thousands of trades ready to answer any question you may have.
Ask your question

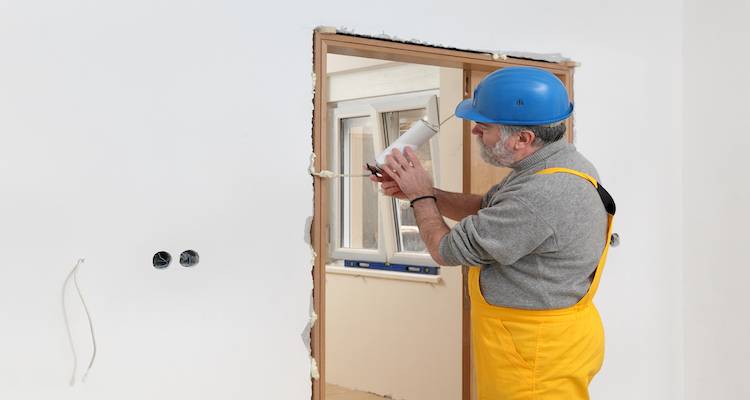
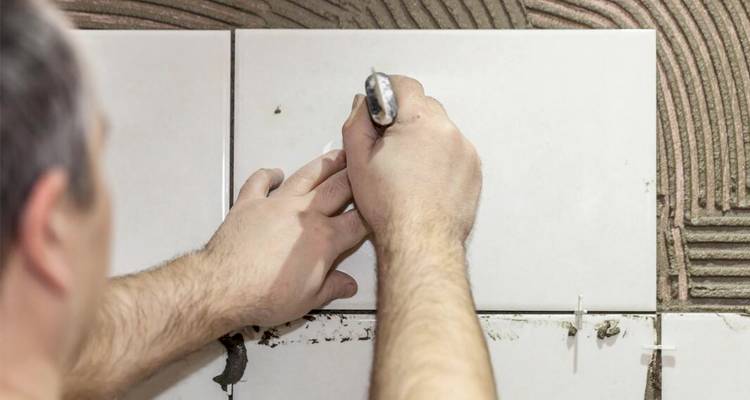
What's Involved in Tiling a Wall?
Wall tiling is not the most dangerous DIY project, but it can be very time-consuming and difficult to complete without the right tools.
For that reason, many homeowners choose to hire a professional tiler.
With MyJobQuote, you can request several quotes from wall tilers in your local area. It's fast, free, and there is no obligation to go ahead.
We will now outline how the wall tiling process is completed.
Before the Job Starts
- Surface Preparation — This stage involves preparing the area before tiling. The surface will need to be smooth, clean and dry. Any uneven areas can be repaired, and any appliances or mouldings removed if they would affect the laying of the tiles.
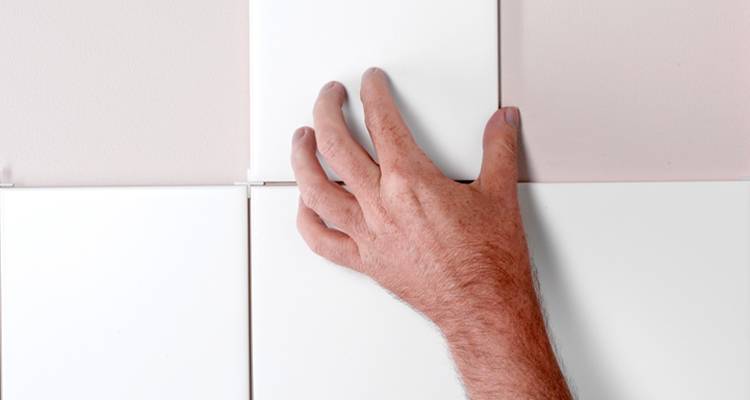
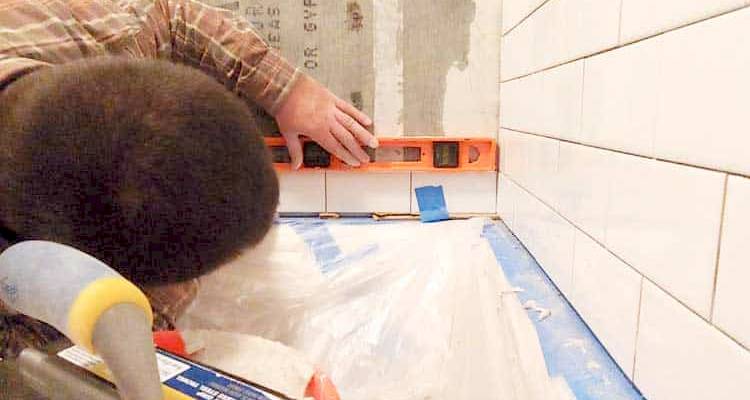
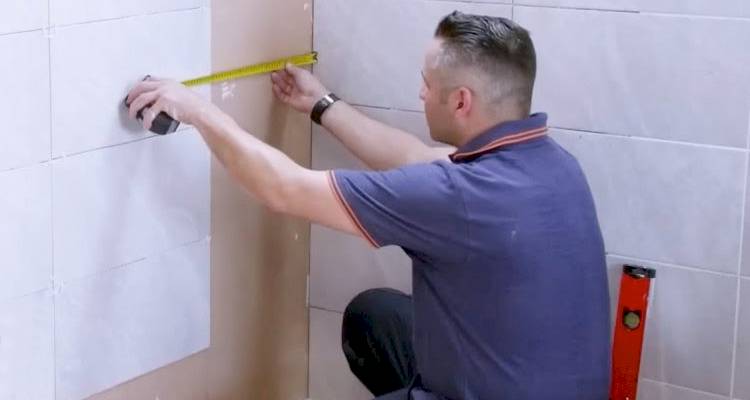
- Layout Planning — The tiles need to be symmetrical and square. This is achieved by locating the middle of the wall and marking it out clearly, so any adjustments can be made before tiling begins.
- Measuring and Cutting Tiles — From the centre point, the tiles are loosely laid out with spacers to check the fit and keep the gaps consistent. Once the layout is confirmed, the tiles are marked and cut to the required size, with any sharp edges smoothed out.
During the Job
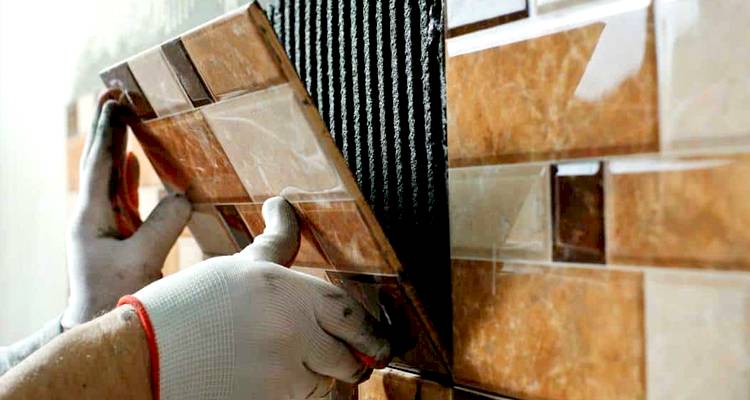
- Applying Adhesive — Adhesive is spread evenly across the wall in sections, using a trowel to create ridges for a strong bond. It is done in small amounts at a time, as the adhesive is only usable for around 30 minutes.
- Setting the Tiles — The tiles are laid from the centre point, one section at a time, with spacers used to keep everything even. Once in place, each tile is pressed or tapped firmly into position, and any excess adhesive is removed from the joints.
- Grouting the Joints — Once the tiles are set, the spacers are removed, and grout is applied across the surface, making sure it is fully worked into the joints. Any excess grout is then cleaned away with a damp cloth.
After the Job
- Final Steps — Once the tiles have dried, the surface is cleaned, and the job is finished. The tiles will then need time to fully set before any heavy use.
Choosing Wall Tiles
Here is a list of wall tiles that you can choose from:
Porcelain Tiles
This type of tile is very common, as it offers a somewhat natural look. The main positive is that the tiles come in different styles and colours, which means you will more than likely find something to match your home.
When the tiles are installed, they are very easy to maintain as the gloss finish is easy to clean and wear and tear takes quite a while to show.
The downside is that they can be challenging to install, meaning if you wanted to save the cost of labour, you would find it difficult to install yourself.
Ceramic Tiles
Ceramic tiles are very durable and can be versatile within a home as they can be installed in many different rooms.
The tiles come in many different styles and colours, so the choice is yours.
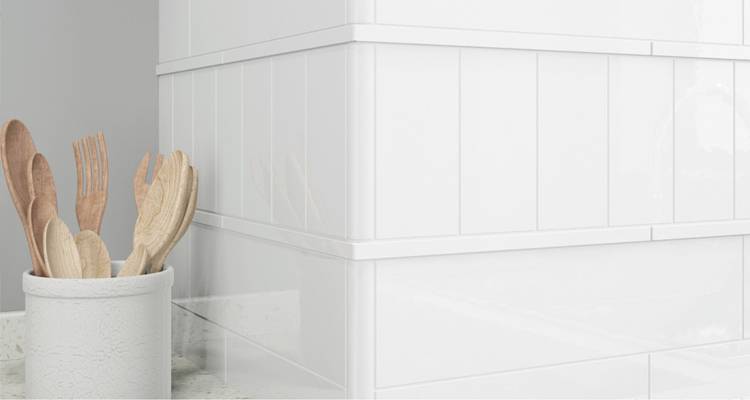
The installation is considered to be very easy, which means you can save some money on labour and have a go at laying the tiles yourself.
The downside is that the tiles do not look as natural as the other tiles on the list, which can be an issue for some people.
Quartz Tiles
Quartz is a luxurious tile and can give a fantastic glossy finish. With quartz being stone, it requires no maintenance or yearly sealing.
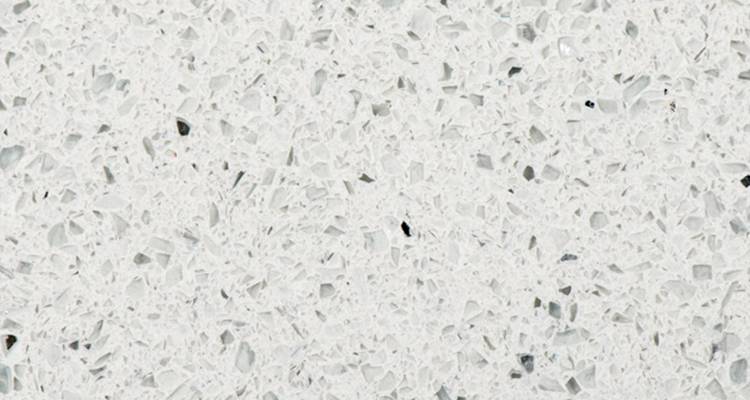
While this is a positive, it can also be a downside, as quartz does not need resealing or maintenance because it is non-porous, meaning it does not absorb water. This could be perceived as a negative point due to the fact that it can become somewhat slippery.
Marble Tiles
Marble tiling is on the higher end of the tiling price range. Marble is elegant, sleek and classy.
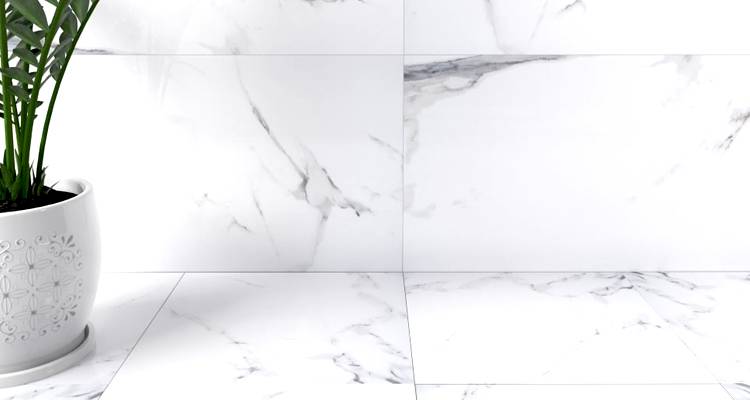
Marble can be quite hard to maintain and can also be very easily scratched. The price tag may be something that can have a negative connotation, as the price is effectively more than other tiles.
Checklist: Hiring a Tiler to Tile a Wall
When looking for a professional wall tiler, it is important that you get the right person for the job.
Below are some important things to check for when choosing your wall tiler:
- Are they a member of a recognised trade body? The Tile Association is the main trade association for the UK wall and floor tile industry, so membership can be a good sign of professionalism and industry standards.
- Are they TrustMark registered? TrustMark is a UK Government-Endorsed Quality Scheme. It shows a business has been properly vetted.
- Do they offer a guarantee? Check whether the wall tiler offers any guarantee and what it covers if problems arise during or after the job.
- Are they experienced? Ensure they have plenty of experience with wall tiling and that they have completed similar jobs before.
- Will they provide an itemised quote? Ask for a full breakdown so you know what is included in the price and whether any additional costs may apply.
- Will they supply the materials? Confirm whether the contractor will supply the tiles, adhesive and grout, or whether you will need to provide any of the materials yourself.
- Is waste removal included? Check if the contractor will take care of tile waste, packaging and any old materials as part of the quote.
- Do they have positive reviews? Take a look at their MyJobQuote profile to see what previous homeowners are saying about their wall tiling work.
FAQs
How thick should wall tile adhesive be?
In general, the recommended amount of tile adhesive is around 1.5mm for tiling. This does change, however, depending on the type and size of the tile. It is always best to check the manufacturer's recommendation.
Can I use wall tiles on my floor?
As a general rule, no. However, this can change depending on the tile. Some tiles allow you to use them as both wall and flooring tiles.
The main difference is the thickness of the tiles. Floor tiles are usually thicker as, naturally, they will have more weight and more wear on them. Using wall tiles will most likely result in broken tiles a lot more frequently, so if you're looking for floor covering, make sure you factor in any additional costs of floor tiles.
The main difference is the thickness of the tiles. Floor tiles are usually thicker as, naturally, they will have more weight and more wear on them. Using wall tiles will most likely result in broken tiles a lot more frequently, so if you're looking for floor covering, make sure you factor in any additional costs of floor tiles.
Can I tile a wall myself?
Tiling is very time-consuming, and there is also a real danger of hurting yourself, as ceramic and porcelain can be very sharp when dropped, not to mention when cut. Getting the tiles professionally done will always be the safest option, as they have the correct tools, the experience and the knowledge on what to do if something were to go wrong.
Can I tile over existing wall tiles?
Tiling over existing wall tiles is possible if the existing tiles are level and in good condition, but a flexible tile adhesive must be used rather than standard adhesive. Any wall tiles that sound hollow when they are tapped, or are cracked or loose, should be removed first.
Do wall tiles need to be sealed?
Ceramic and porcelain tiles are non-porous and do not need sealing, but natural stone tiles, including marble, slate and limestone, are porous and should be sealed before and after grouting.
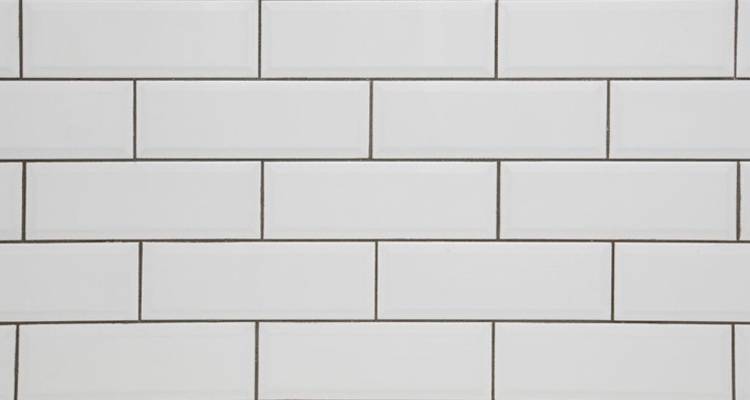
What tile size is best for tiling a wall?
Medium wall tiles are a practical choice for wall tiling in smaller rooms, as they require less cutting and produce neater grout lines. Larger wall tiles look great in bigger spaces, but the wall surface needs to be flatter, which can add to the overall wall tiling cost if preparation work is needed.
Can you tile directly onto plasterboard?
Standard plasterboard can be tiled onto if it is well supported and in good condition. In showers or wet rooms, a waterproof tile backer board must be used instead. Your wall tiler can assess your wall before work begins.