my
myHow to Wire a Ceiling Light
If you'd like to learn how to wire a ceiling light, read our easy-to-follow guide below. It includes step-by-step instructions and images, as well as a tool list of everything you'll need!
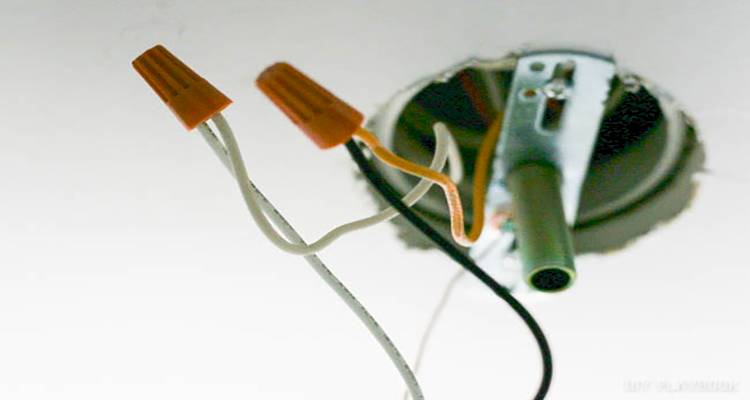
Table of Contents
What Tools Do I Need to Wire a Ceiling Light?
Below is a list of tools that you will need to wire in a new ceiling light:
- Keyhole, drywall or jab saw
- Pliers
- Drill
- Screwdriver
- Voltage tester
What Safety Equipment Do I Need to Wire a Ceiling Light?
When cutting through the wall and ceiling, you should protect your eyes with protective goggles in case of any flying debris. You may also wish to wear protective gloves when handling the cut wall and ceiling parts and the joists to avoid the possibility of splinters.
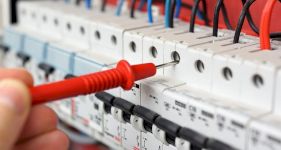
However, most importantly when you're installing light fittings is to always turn off the electricity and also test with a voltage tester before touching any wires.
What Materials Do I Need to Wire a Ceiling Light?
Below is a list of the materials that you will need for a ceiling light installation:
- Light fixture box
- Switch fixture box
- Light fixture
- Electrical wire
- Wire nuts
- Electric staples
- Light switch cover
- Light switch
- Fish tape
How to Prepare for a Ceiling Light Installation
Before doing any electrical work in your home, you must always shut the power off to the house via the main power source.
How to Wire a Ceiling Light Yourself
Below is a step-by-step guide on how to install a ceiling light, however, if you're unsure about actioning this yourself, it's always safer to hire a qualified electrician instead.
Step 1
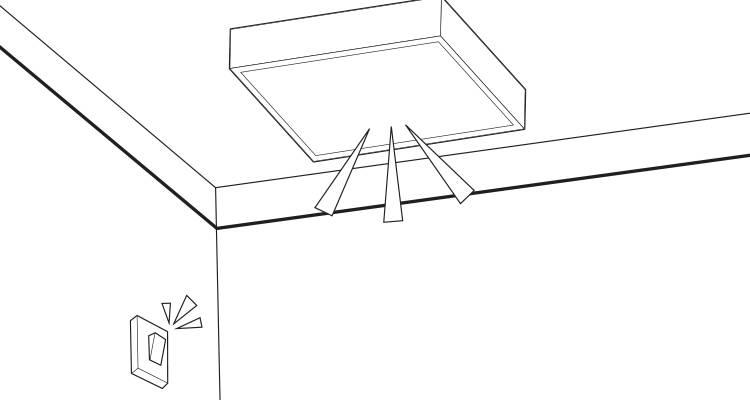
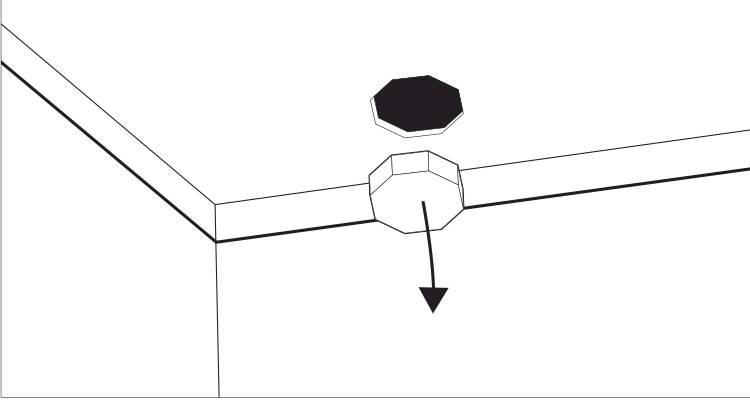
Position the fixture box on the ceiling in the position where you would like the light to go. Once you're happy with the positioning, trace around the box leaving a mark around it on the ceiling. You will then need to cut through the ceiling with a keyhole or jab saw, making the cut according to the tracing you've just made.
Step 2
You will then need to choose an appropriate position for the light switch. This is usually on a wall close to the entrance to the room.
Similar to the ceiling fixture box, you will need to trace around the light switch fixture box on the wall in the position that you would like it to go. Cut around your tracing lines using your drywall saw, keyhole or jab saw (depending on the wall).

Step 3
Locate the existing circuit that you can use to power the new light. This could be an existing light fixture or junction box in the same room.
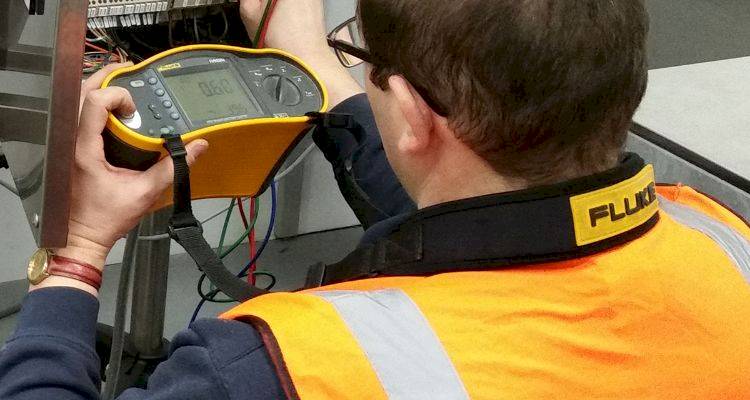
Switch the circuit off at the breaker and check the wires are no longer live by using a voltage tester before connecting your new light fixture.
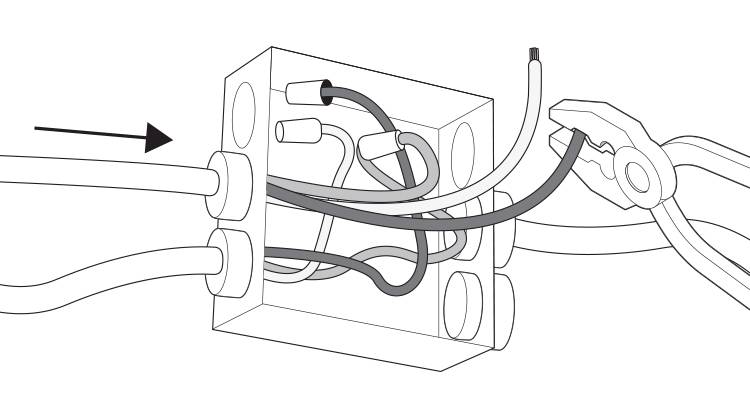
If you are connecting an electrical wire to a junction box, you will need pliers and wire nuts. Then, fish the wire through the joists until it reaches the area where the light switch is located, securely fit the wires onto the joists by using electric staples.
Do not attempt to connect directly to the main electrical panel unless you are a qualified electrician.
Step 4
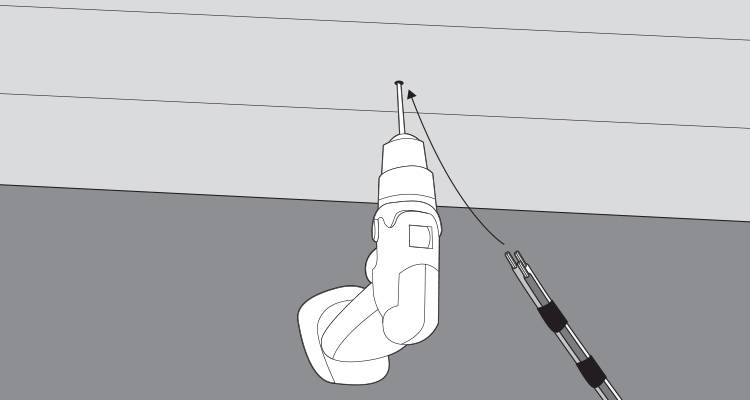
Drill through the flooring in the appropriate stud bay, careful to avoid any live wiring or causing any structural damage. Then send the wires through for the switch and the light. Feed this up to the switch area using fish tape.
Step 5
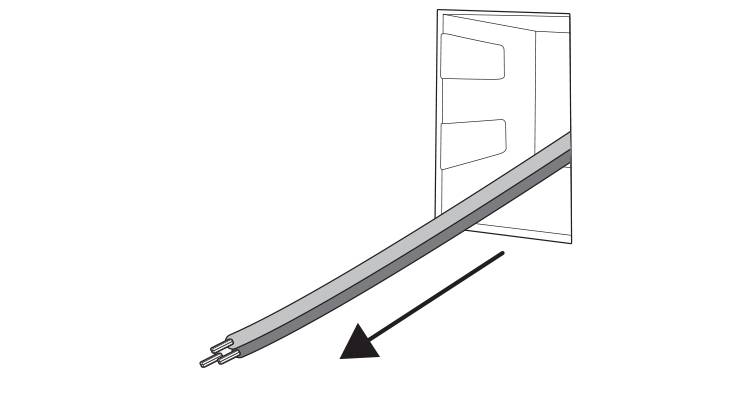
Mount the electrical box with the bars in the wall and then attach the wires to the switch. Screw the switch into the mounted box and then cover it over with the cover plate.
Step 6
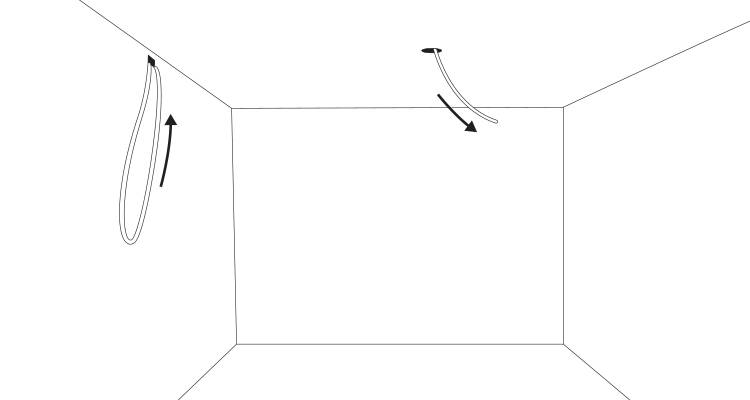
Cut out a temporary access hole in the wall and fish wires from the ceiling fixture mount to your temporary hole. Then, continue to fish the wires from the temporary hole through the joist and all the way down to the area where your switch was wired in at the main power source.
Step 7
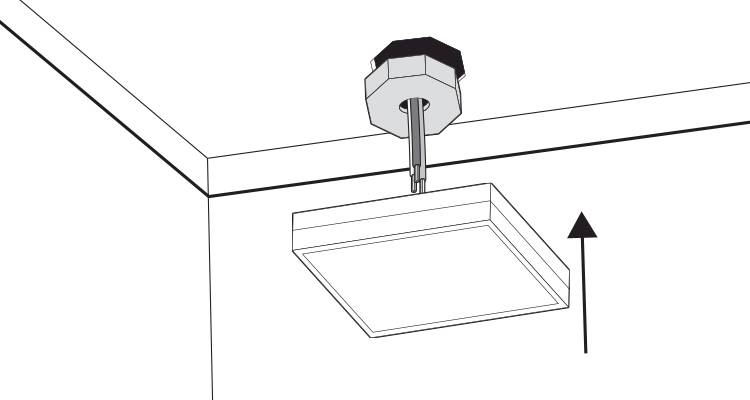
Mount the electrical box in the ceiling using bars and screws. Wire in your new light fixture to the electrical box and mount this to the ceiling.
Step 8
Patch up the wall where your temporary hole was cut in. You can now turn your power on and test the light.