my
myHow to Fit a Bath
If you purchased a new bath and wish to fit it yourself, take a look at this guide which will provide you with all the information you need to install your bath on a DIY basis. This includes the tools and materials you need as well as a step by step guide, which will allow you to install your bath quickly with safety precautions in mind.
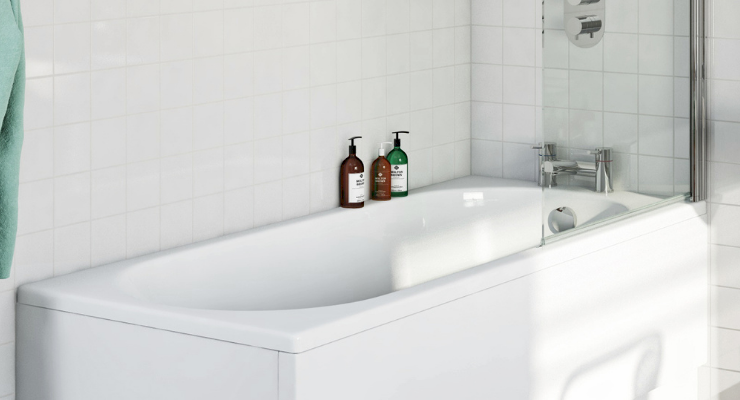
Table of Contents
What Tools Do I Need to Fit a Bath?
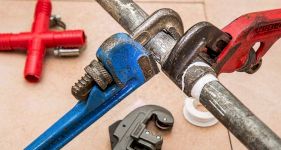
When installing a bath, you will need several tools to ensure correct installation. Below is a list of the tools you will need to install a bath:
- Adjustable wrench
- Handsaw
- Water pump pliers
- Flat and cross screwdriver
- Combi drill and suitable drill bits
- Heavy-duty tape measure
- Pencil
- Long spirit level
- Pipe, cable, and stud detector
- Cartridge gun
- Sealant shaping tool
- Masking tape
What Safety Equipment Do I Need to Fit a Bath?
The list below shows the recommended safety equipment needed for this type of DIY job:
- Safety goggles
- Protective gloves
- Sensible footwear
What Materials Do I Need to Fit a Bath?
To install a bath, you will need several materials to ensure the fitting is correct. Here you will find all of the materials that you will need to fit a bath:
- Bath
- Supplied fixings
- Taps
- Bath waste and overflow
- Low-level bath trap
- Flexible tap connectors
- Bath panel
- Wall plugs
- Silicone sealant
- Timber batten
When choosing a bath, it is essential that you select the right size and shape to ensure it fits in the space. There are various types of baths, including:
- Freestanding bathtub
- Drop-in bath
- Alcove tubs
- Corner bath
- Claw-foot bathtub
- Undermount tub
How to Prepare for Fitting a Bath
Assuming you are replacing an old bath, rather than installing a full bathroom where there wasn't one previously, then first of all you need to remove the existing bath.
Check you have turned off the water supply and drain the pipes, before removing any side panels allowing you access to the bathtub and to disconnect the plumbing. Once the pipework is no longer attached, remove the bath from the wall and (if you need to) cut through any sealant before lifting it out altogether.
Finally, clear the area of any debris and fully dry the walls and flooring to help prevent any mould from forming at a later date.
How to Fit a Bath Yourself - Step by Step Guide
This step-by-step guide explains how to fit a straight, drop-in acrylic bath with pre-installed tap holes. Installation can be completed within a day's work, although the process for other bath types may vary.
If you're not confident in doing the work yourself, seek advice from a professional plumber or bathroom fitter.
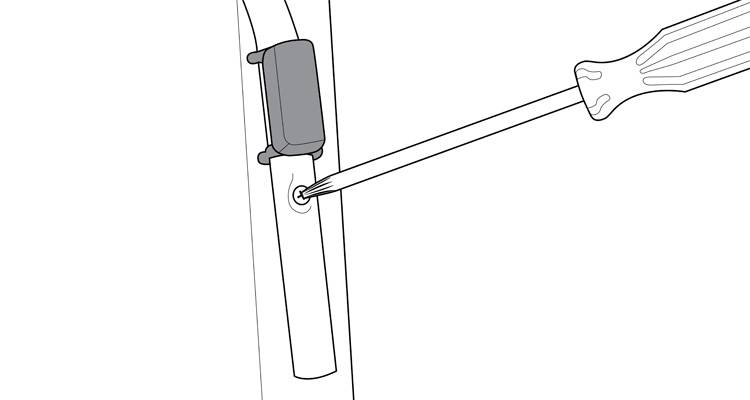
Step 1
You should begin by releasing the cradles by removing the transit cradle fixing screws. Put these to one side as you will need them to attach the cradle to the underside of the new bath.
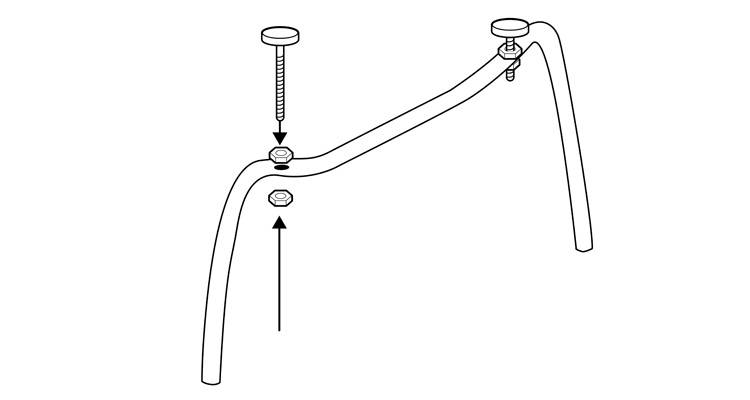
Step 2
Assemble the cradles and feet of the new bath. Be sure to always check the manufacturer’s instructions so that you can ensure you’re using the correct length of screws.
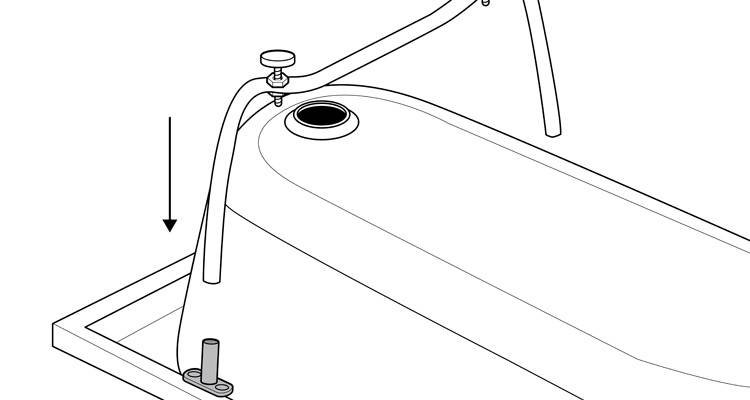
Step 3
Attach the cradles to the underside of the bath according to the manufacturer’s instructions, ensuring any required pre-drilling or washers are used. Once attached, initially tighten by hand before securing them fully.
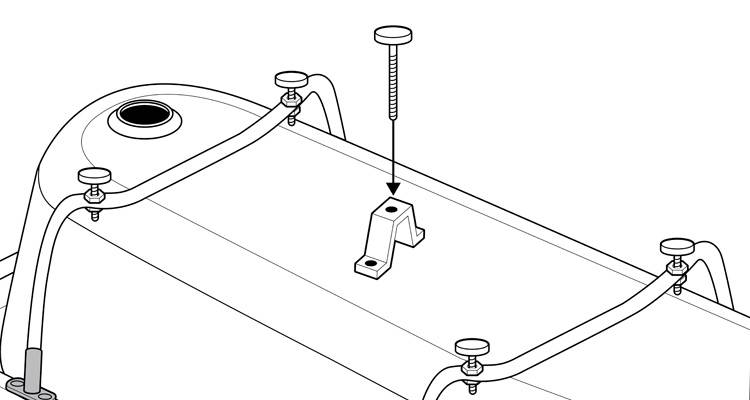
Step 4
Then, attach the centre foot and bracket with the supplied fixings.
Step 5
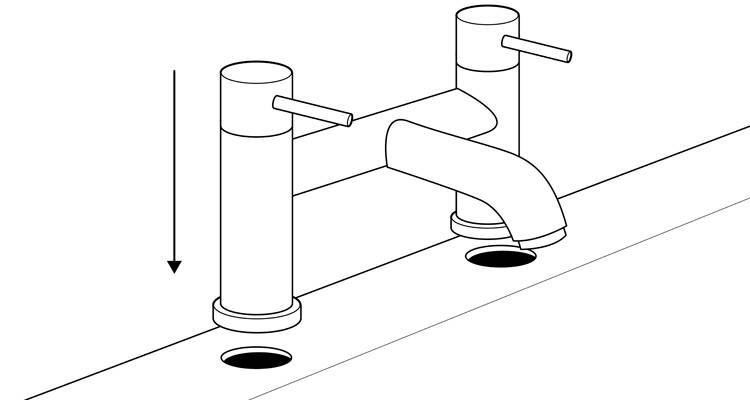
It’s now time to fit the taps. The fitting instructions and fittings will vary from tap to tap, so be sure to follow your manufacturer’s instructions.
Step 6
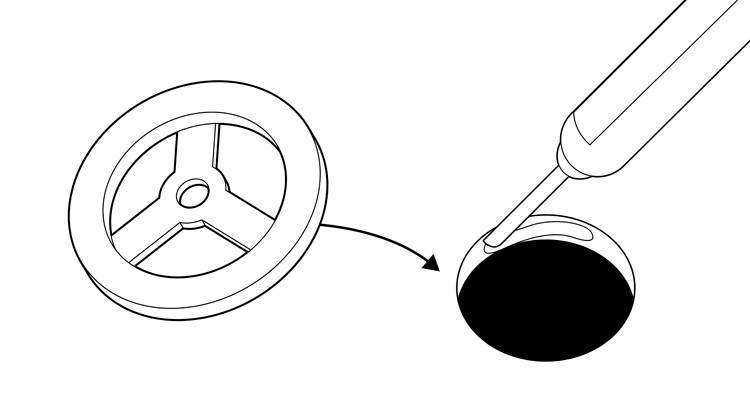
If the waste pipe for your bath requires screwing, it should come with a washer and the appropriate screw. Apply silicone around the washer before fitting the overflow according to the manufacturer’s instructions.
Step 7
For a panelled bath calculate the required height by measuring both the height of the panel and to the height of the bath rim combined. Use a pencil to mark on the wall showing where the top edge of the bath will run. For other bath types, manufacturer guidelines should advise the correct height.

Step 8
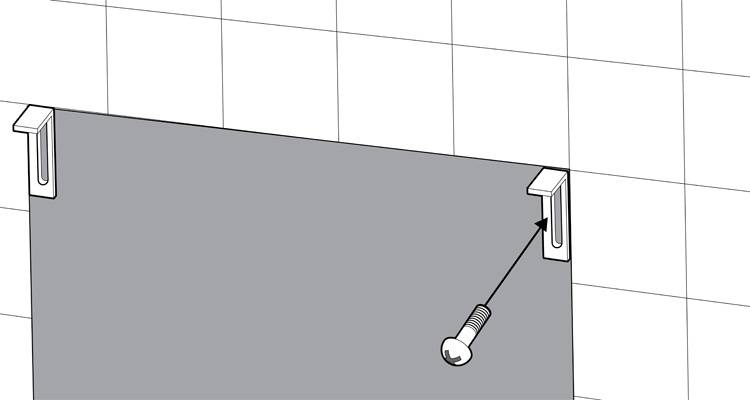
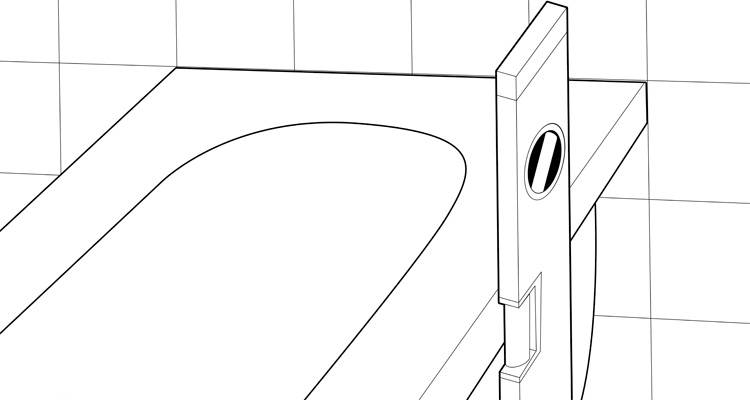
Then, attach the two wall brackets to the side of the bath that will be up against the wall using the supplied screws.
Step 9
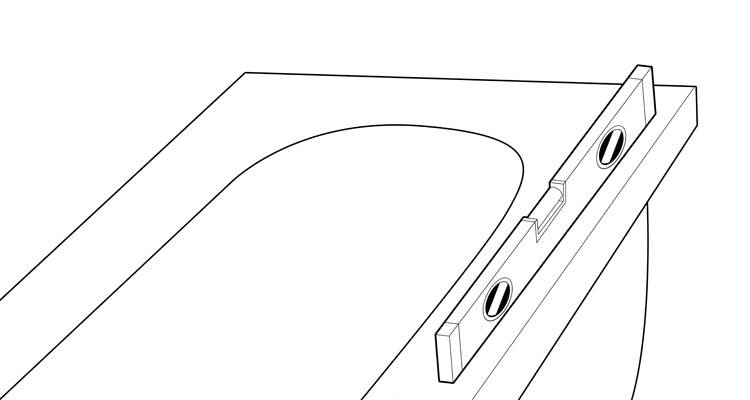
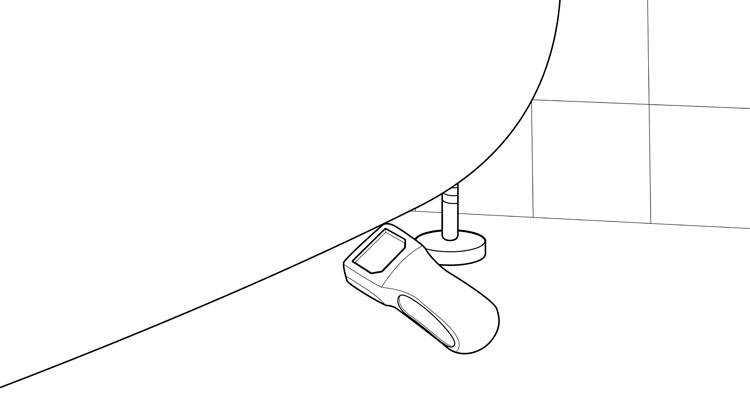
Adjust the feet to get the bath to the required height and then use a spirit level to double-check the levelling of the bath and adjust it if necessary.
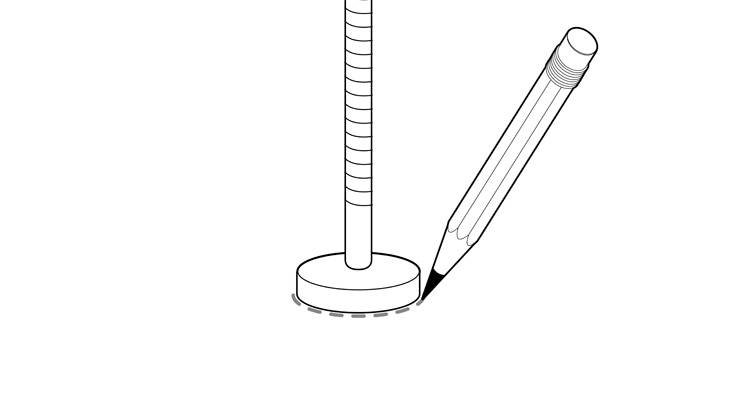
Step 10
Mark the outline of each of the bath feet onto the floor. Then, mark the position of the guide holes. Repeat this process for the position of the wall brackets and the guide holes.
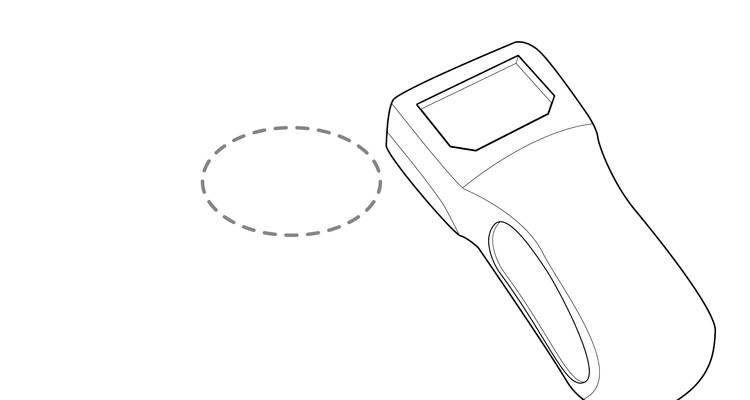
Step 11
Move the bath out of the way and use a pipe and cable detector to make sure all of the fixing points are clear of any obstructions.
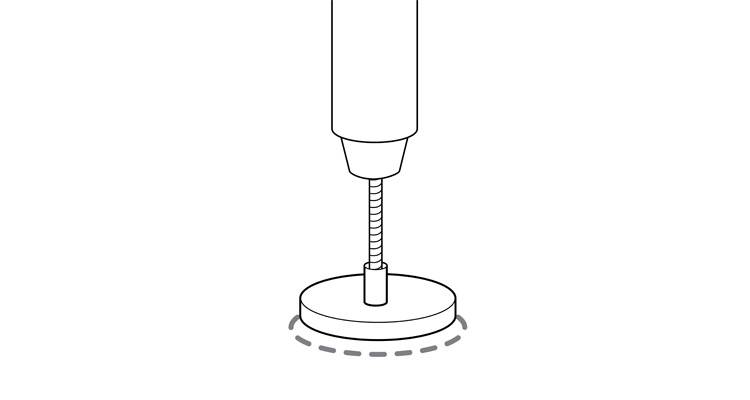
Step 12
Drill the holes for the feet and wall brackets using a drill bit that is suitable for the surface and insert wall plugs if necessary.
Step 13
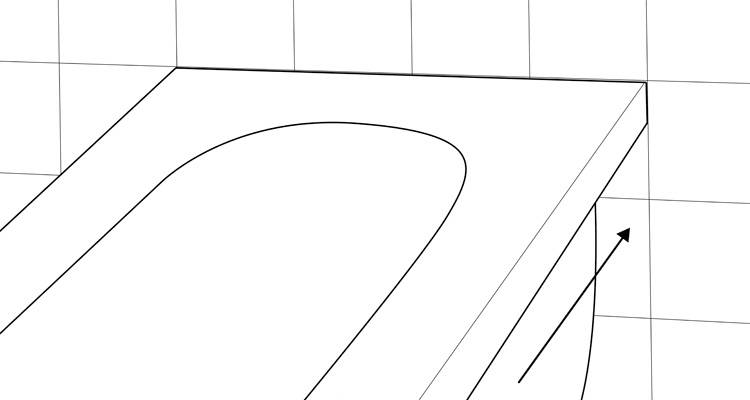
Apply a bead of silicone about 1cm below the marking line for the top of the bath and then lift the bath into its final position and double-check the level once more.
Step 14
Secure your bath into place by screwing in the feet and wall brackets.
Step 15
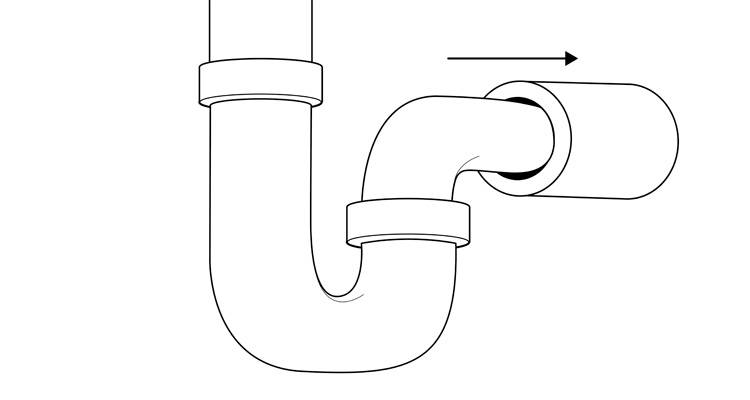
Connect the bath trap and waste pipe and then tighten the compression fittings. Some may use flexible connectors for a more user-friendly DIY option, while others may use push-fit connections.
Step 16
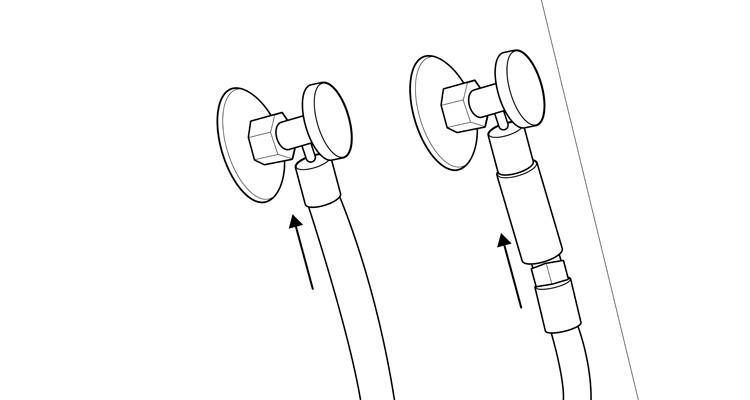
Then, connect your taps to the water supply using suitable pipes. Ensure that the connection is firm but not over-tightened. As with step 15, the pipes will either be flexible connectors, push-fit or may require soldering.
Step 17
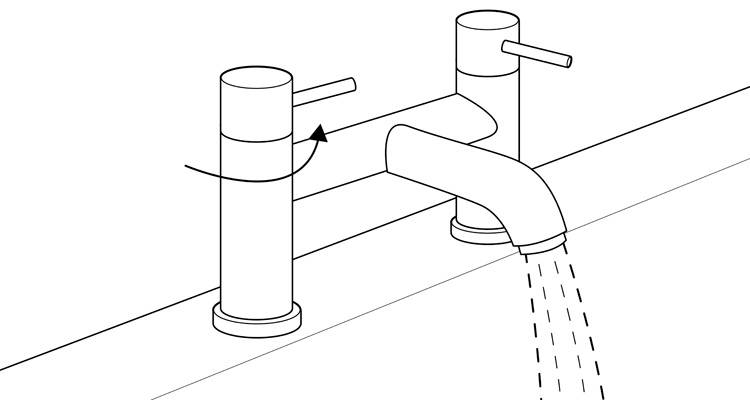
Turn your water supply on and check for any leaks in the taps, pipe joints, overflow, or plug hole.
Step 18
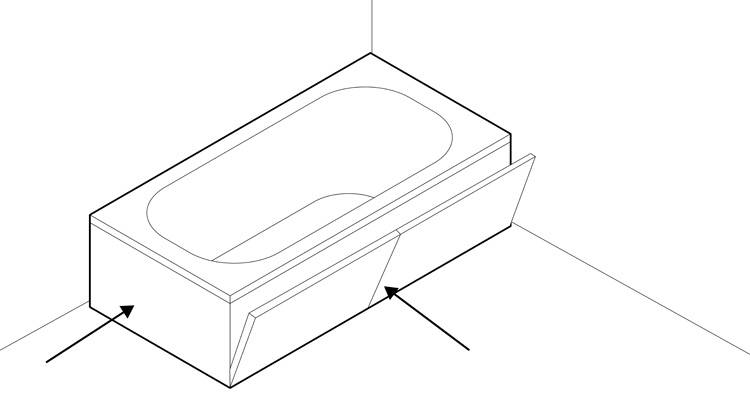
To check the level for the bath panel, hold a vertical spirit level at each of the bath’s corners, and make a pencil mark on the floor. Be sure to allow for the width of the panel at its base, which is usually around 12mm. Use your earlier pencil marks to create a guideline for where to fit the panels.
Step 19
Check the area with a pipe and cable detector before fixing battens to the guideline with short screws.
Step 20
As fitting instructions vary, it’s best to follow the manufacturer’s instructions when it comes to fitting the panel. This can be done once you no longer require access and are nearing the final stages of your installation.
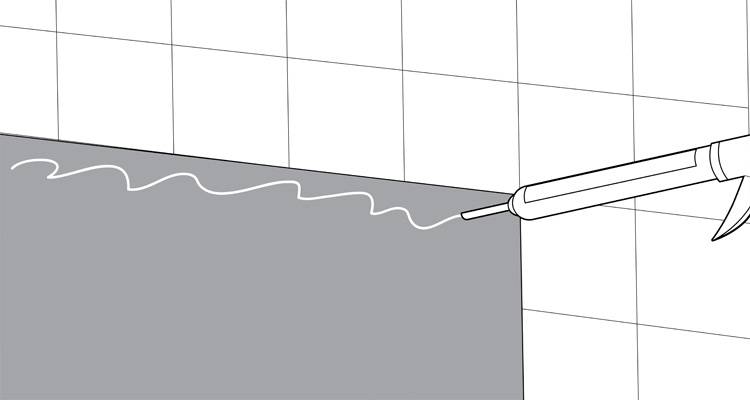
Step 21
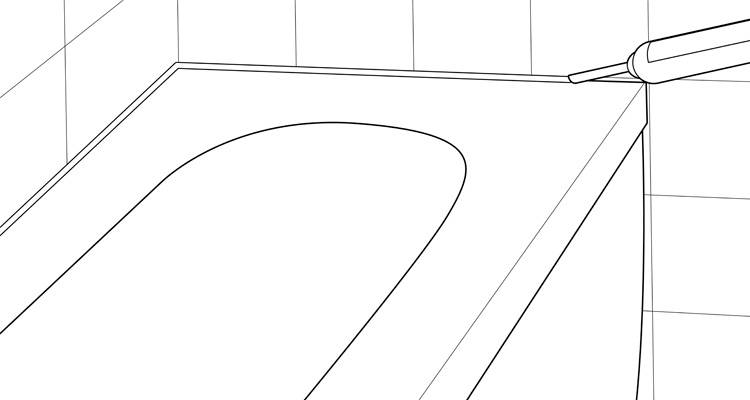
Apply silicone sealant to the joint between the bath and the wall to create a watertight seal, protecting tiles with masking tape beforehand. Filling the bath with water first can help prevent it from pulling away from the wall. Smooth the sealant with a shaping tool and before using the bath allow it to cure fully according to the manufacturer’s instructions (typically around 24 hours).
How to Remove an Old Bath
If you are fitting a new bath as a replacement, here are some simple steps towards removing the old one:
- Turn off the water supply and begin by removing the side panels of the bath.
- Turn both taps on and drain all of the water from the pipes.
- Dismantle the pipes from under the bath.
- Open up the gap between the bath and the wall, using a craft knife to cut through the sealant.
- Undo any fixings that connect the bath to the wall.
- Once all of the connections are removed, you should now be able to lift the bath out.