my
myHow to Build a Kitchen Island
Building a kitchen island can transform your kitchen, and will also save you money by doing it yourself. Check out this step-by-step guide which will show you exactly what you tools and materials you need, and what you need to do.
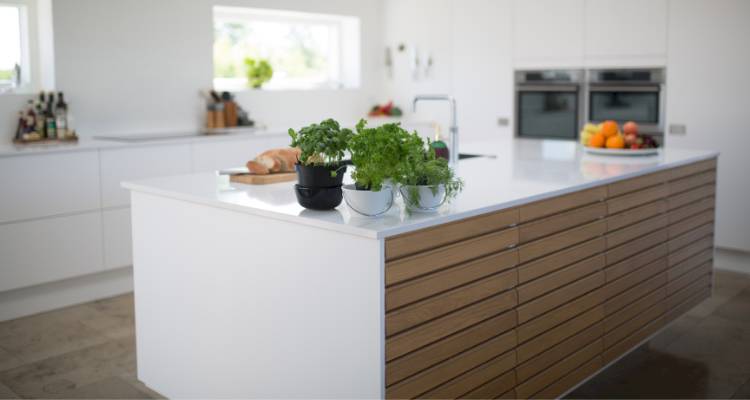
Table of Contents
What Tools Do I Need to Build a Kitchen Island?
Below is a list of the tools that you will need to install your new kitchen island:
- Spirit level
- G-clamp
- Drill and drill bits
- Screwdriver
- Duct tape
- Tape measure
- Pencil
- Circular saw (optional)
What Safety Equipment Do I Need to Install a Kitchen Island?
Below is a list of the recommended safety equipment when building a kitchen island:
- Safety goggles or glasses
- Protective gloves
- Sensible footwear
- Hearing protection (optional)
What Materials Do I Need to Build a Kitchen Island?
Below is a list of materials that you will need to build a kitchen island in your home. Although if you are planning to remodel your kitchen, the materials you choose will most likely need to match other aspects of the installation.
- Kitchen base unit x2
- Base unit side panel x 2
- Breakfast bar back panel
- Pre-cut solid wood worktop
- L-brackets
- Plinth
- Screws
- Cabinet doors and handles
- Additional support brackets
How to Prepare for a Kitchen Island Installation
To prepare for building your kitchen island and how it will look with any other kitchen ideas you may have, you will first need to plan where it is going to be installed.
Check the dimensions and ensure it fits into the room, and that you have enough space to move around it. You should aim to have at least 1.2 meters between the kitchen island and the existing kitchen counters or walls.
If you are likely to make any modifications, you may require a circular saw to allow you to cut any materials into the correct shape.
How to Build a Kitchen Island Yourself
Below is a step-by-step guide on how to install a kitchen island using two modern kitchen cabinets side by side:
Step 1
Start by assembling your cabinets. Always follow the manufacturer's instructions to ensure that these are assembled correctly.
Step 2
Once assembled, place your two cabinets side by side in the position where you would like your island to be.
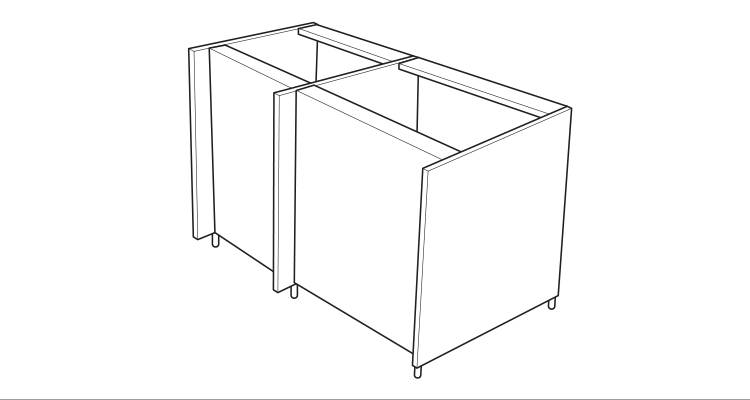
Step 3
Check that the cabinets are completely level using a spirit level and adjust them by raising or lowering the feet as needed.
Step 4
Check that the cabinets are completely level using a spirit level and adjust them by raising or lowering the feet as needed. Then, clamp the two cabinets together using a G-clamp.
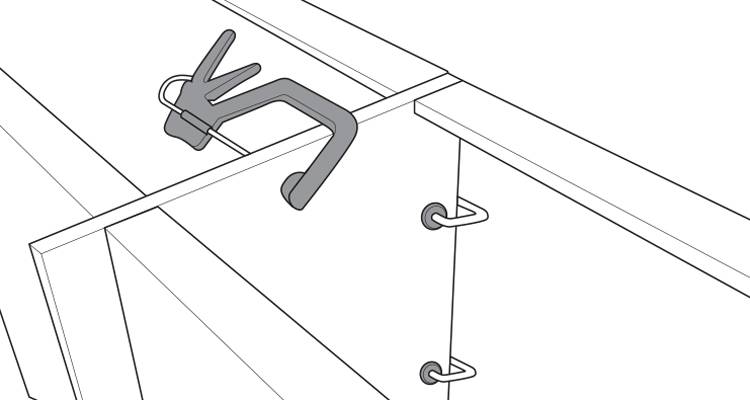
Step 5
To connect the two cabinets together neatly, should the units allow, you can hide the connecting screws behind the hinge plates. Begin by removing the hinge plates and drill a hole underneath. However, be mindful that not all kitchen island and cabinet designs are the same, in which case approach with caution to see if this is possible before continuing.

Step 6
If your cabinets allow, then screw through the hole from step 5 into the adjacent cabinet and replace the hinge plate. Always check the manufacturer's guidelines and instructions first to ensure the supplied hinge plates are suitable for this task.
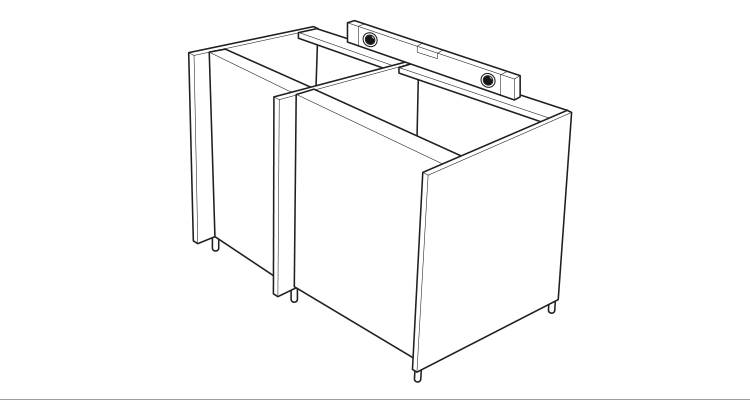
Step 7
At the back of the cabinets, attach them together by driving screws through pre-drilled holes. If there aren't any pre-existing holes, use metal joining plates, L-brackets, or carefully drill pilot holes to secure the cabinets together.
Step 8
You now need to construct the outer shell of your island. Begin by working out where you will attach your end panels to the floor by laying them out next to the cabinets. Make sure the legs of the cabinet won't obstruct the L-shaped brackets.
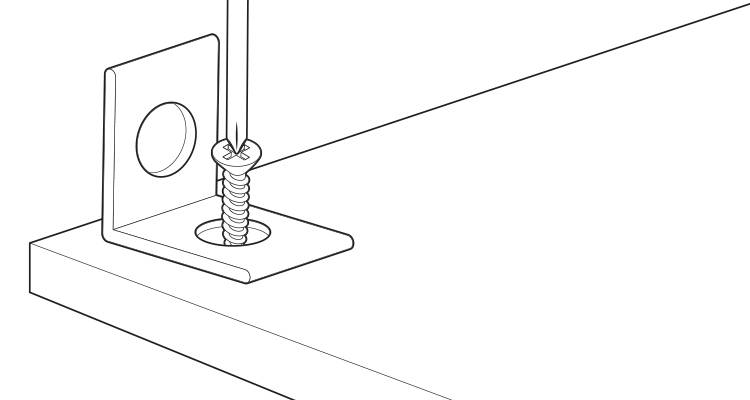
Step 9
Then, screw the L-shaped brackets into place on the end panel where the panel will meet the floor. Put two of the brackets on each end panel for the best support.
Step 10
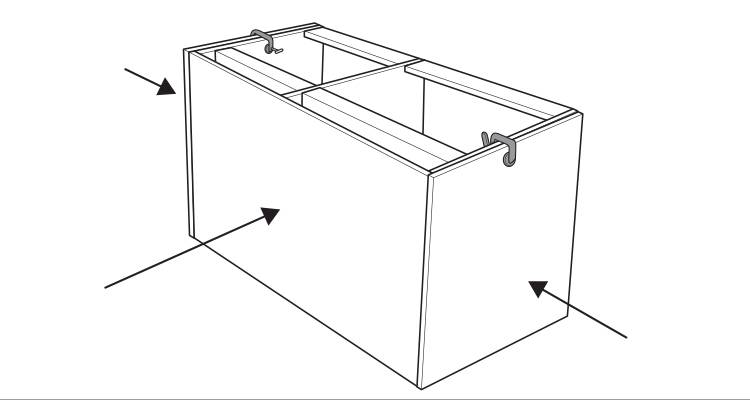
Then, clamp the side panels to the cabinets and position the back panel between them. Carefully adjust their positions until you are satisfied that they are in the correct place. Place some duct tape along the edges to hold them in place.
Step 11
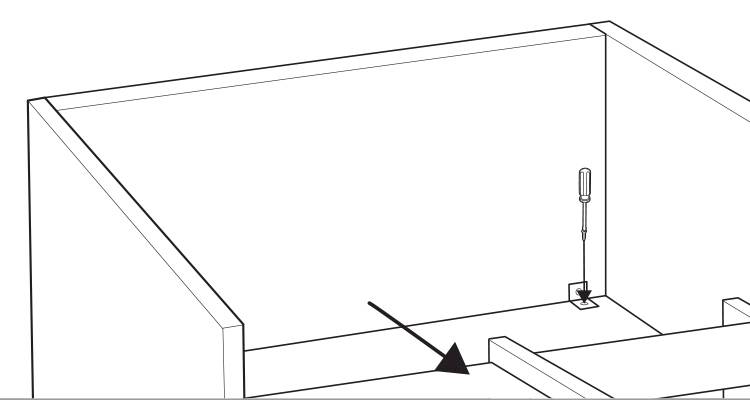
You should then carefully slide the cabinets out from the side and back panels and attach the side and back panels to the floor using L-shaped brackets. Also, use brackets to attach the side panels to the back panel.
Step 12
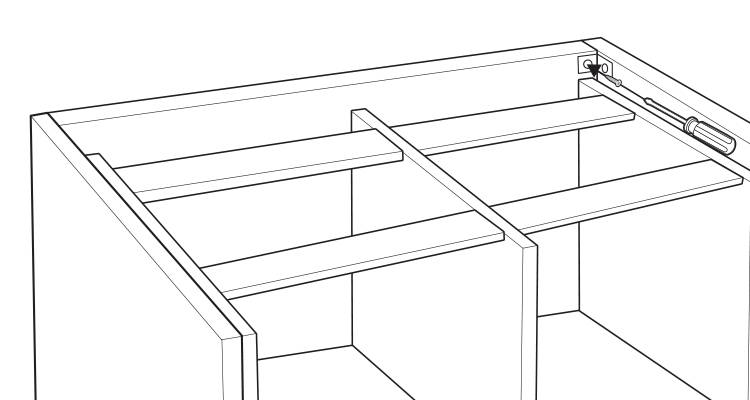
You can then slide the island cabinets back in place between the side and back panels and attach the cabinets to the back panel using more L-shaped brackets.
Step 13
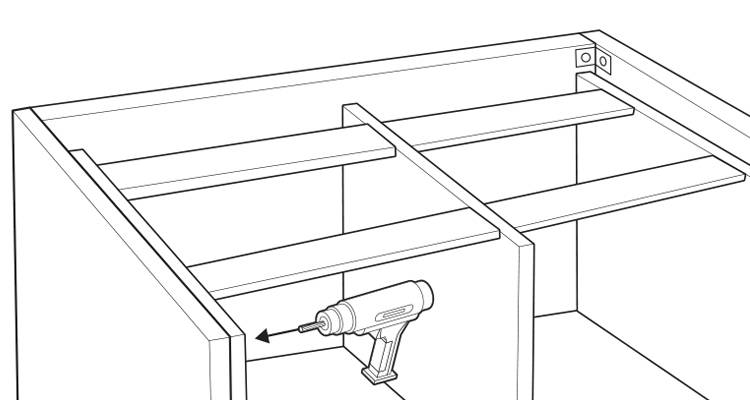
To attach the cabinet's side panels, drill through the cabinet from the inside using pre-marked holes. You can then screw the cabinet to the side panels.
Step 14
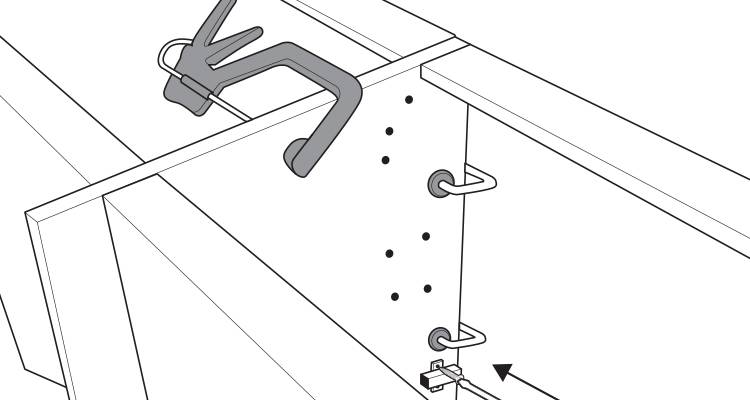
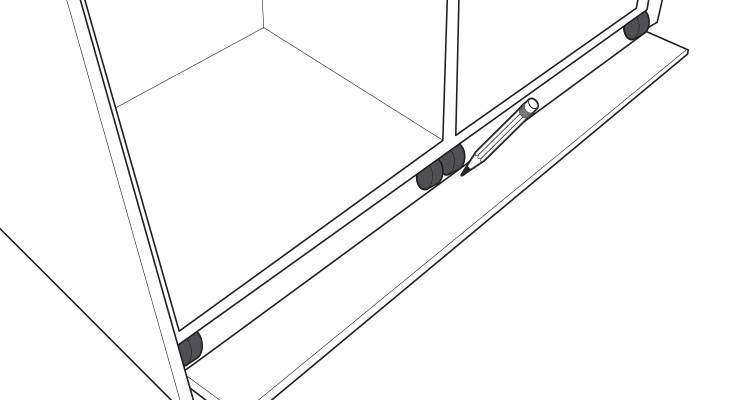
To fit the plinth to the bottom of the cabinets, you should first place it at the front of the feet and put markings on it where the feet's centre is.
Step 15
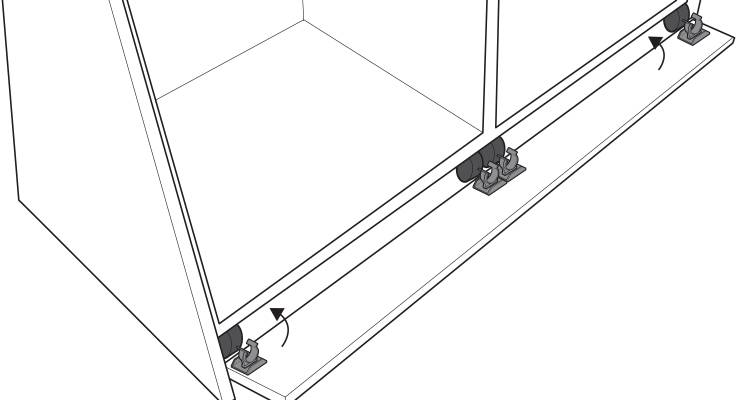
Position the brackets at the center of the marked area, approximately halfway up the plinth, then insert the clip and secure the plinth onto the legs.

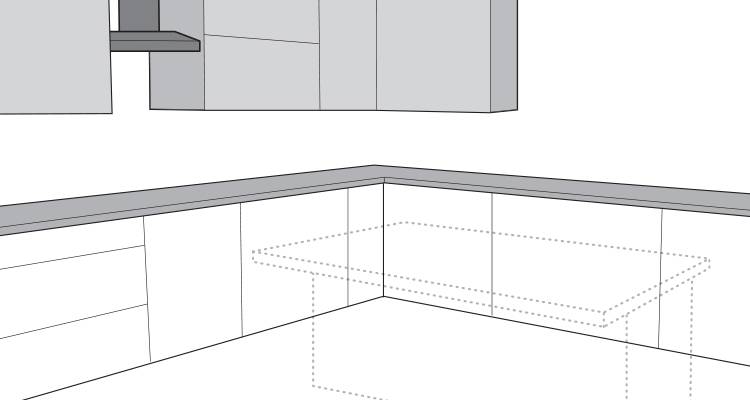
Step 16
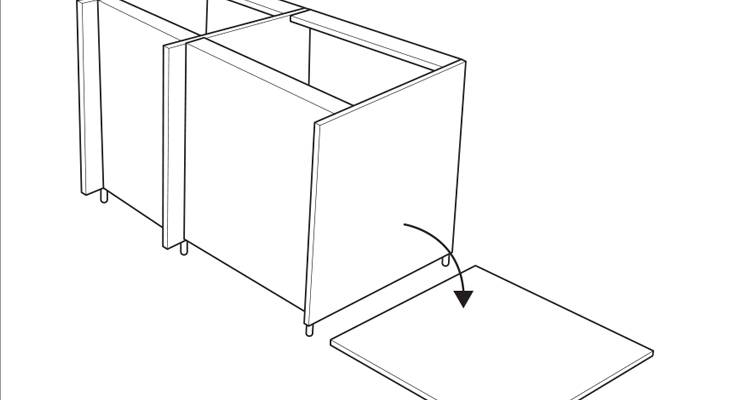
Now place the work surface on top of the cabinets and work out exactly how you want it to sit. If you want a kitchen island with seating, ensure sufficient overhang on one side for sitting at.
Step 17
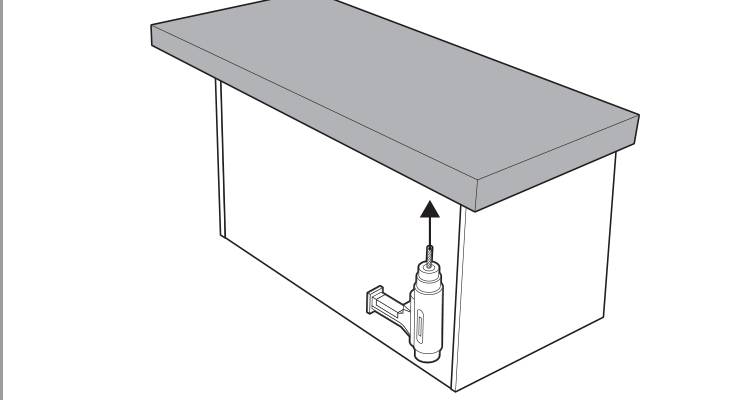
Using L-shaped brackets, drill and attach the work surface to the cabinets.

Step 18
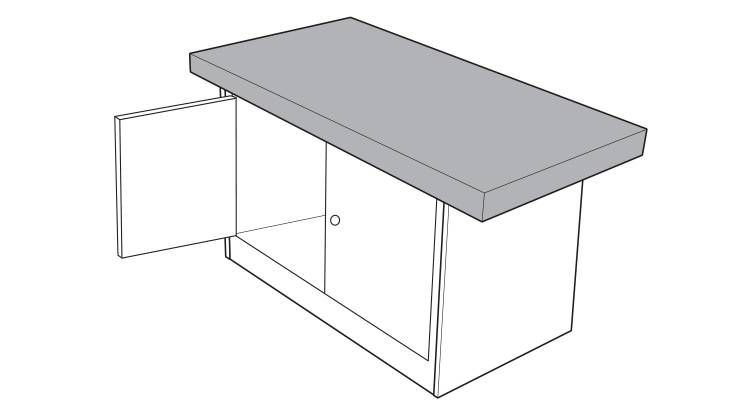
If there is an overhang that requires extra support, you can always install additional brackets to help make it more secure. Once actioned, install the doors to the cabinet as per the manufacturer's instructions. This completes your kitchen island installation.
How to Remove a Kitchen Island
Below is a list of steps that you'll need to take to remove a kitchen island:
- Remove any drawers or loose shelves from your kitchen island
- Check for any electrical lines or pipework that may require extra caution when carrying out the removal
- Next, remove the countertop part of the kitchen island by removing any screws that hold it in place and lift it away from the rest of the island
- Remove any fasteners that hold your kitchen island to the floor
- Once your kitchen island has been loosened, you can then start taking it apart
- If you are planning on moving it elsewhere, then be mindful of dismantling it safely ready to be put back together
- To dispose of an old kitchen island, hire a skip or waste removal firm, alternatively contact your local council for further advice