my
myHow to Tile a Floor
If you are looking for advice on how to tile a floor, this article has everything you need to know. We will go over all of the necessary tools, materials, and safety equipment, as well as a complete guide to floor tiling installation.
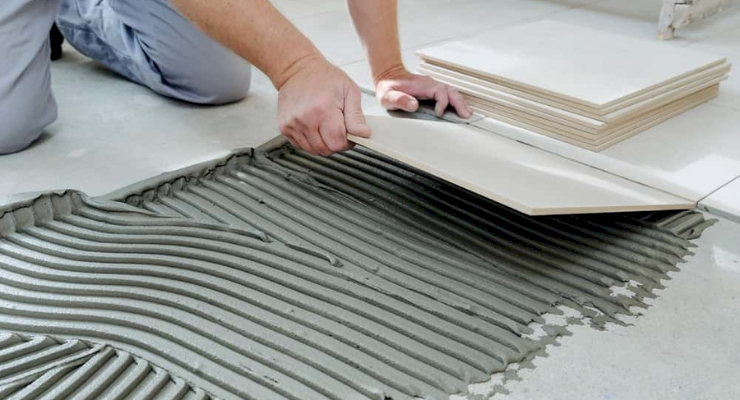
Table of Contents
What Tools Do I Need to Tile a Floor?
Before tiling a floor, you need to make sure that you have the right tools to complete the job correctly. Below is a list of the tools that you will need to tile a floor:
- Drill
- Pipe and cable detector
- Battens
- Mixing paddle
- Bucket
- Trowel
- Adhesive spreader
- Floor tile spacers
- Grout spreader
- Tile scribe
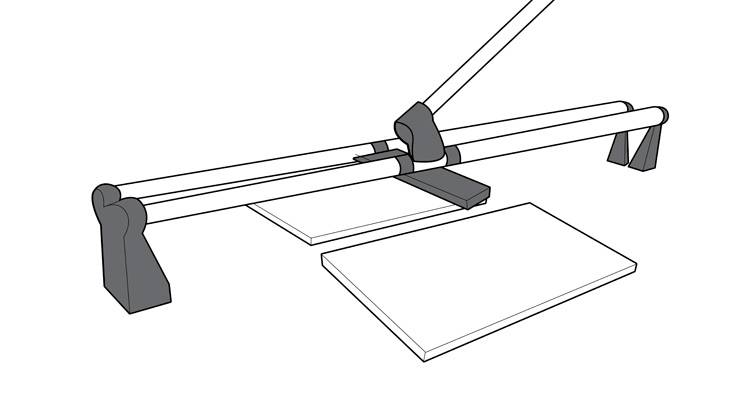
- Tile nipper
- Tile file
- Cartridge gun
- Spirit level
- Tape measure
- Sponge
- Masking tape
- Metal ruler
- Pencil
- Scissors
- Paper for templates
- Cloth for cleaning
What Safety Equipment Do I Need to Tile a Floor?
Below is a list of the safety equipment that you will need for this type of job:
- Safety goggles
- Gloves
What Materials Do I Need to Tile a Floor?
The materials that you will need to tile a floor are listed below:
- Floor tiles
- Tile adhesive
- Silicone sealant
- Grout
- Grout protector (optional)
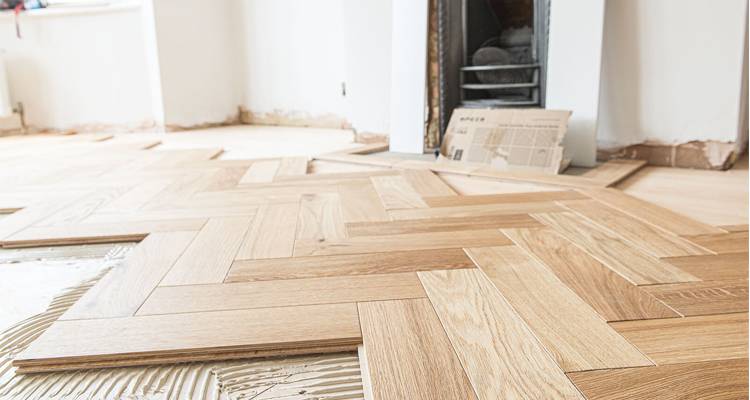
There are various types of tiles, so it is essential that you explore different styles before deciding on the right tile flooring for your home. The most popular tile options include:
Ceramic Tiles
This tile material is one of the most popular choices and can be found in the majority of households in kitchens or bathrooms. This is due to ceramic tiles being extremely durable, easy to install and are also low-maintenance, although it is not the most comfortable flooring underfoot.
Porcelain Tiles
Porcelain tiles are favoured as different styles mimic natural stone, brick or wood, which offers a more traditional design. The upkeep required is also minimal, so it does not need to be cleaned as regularly as real stone, brick or wood; however, installation is more complicated than ceramic tiles.
Glass Tiles
The main benefit of glass tiles is the extensive stain resistance it provides, which makes any spillages easy to clean without the worry of permanent stains. The only downside is glass tiles do tend to chip quite easily, so they are not the best choice for high traffic areas.
Cement Tiles
One of the most versatile designs is cement, as there are a variety of patterns and colours to choose from. Cement tiles have been around since the 19th century, which is favoured by more traditional homes, although there are also contemporary designs available. However, cement tiles aren't always as comfortable underfoot and due to their weight often require a sturdier subfloor beneath them.
How to Prepare for Tiling a Floor
Tiling can be done as a DIY job if you have some knowledge of tiling. However, it may be easier to hire an experienced local tiler, especially for complicated layouts, which will then result in a more professional finish.
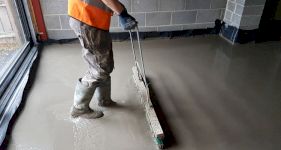
You will need to prepare your floor with a primer before tiling it.
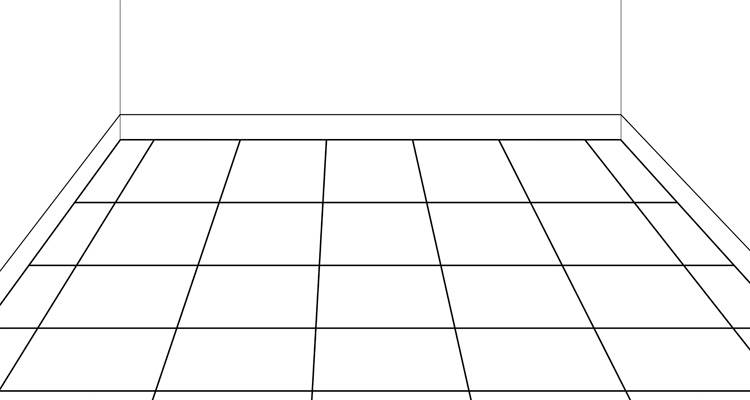
Plan how your tiles will fit, as most rooms aren’t perfectly square. Ensure the surface is flat to prevent uneven tiles and trip hazards.
Aim for the most aesthetically pleasing layout by having symmetrical lengths of tile at the sides. This may require you to cut down several tiles to the right size so that they fit correctly. To do this, find the center of your room and measure to the walls, seeing how many full tiles will fit and how much room is left around the edges.
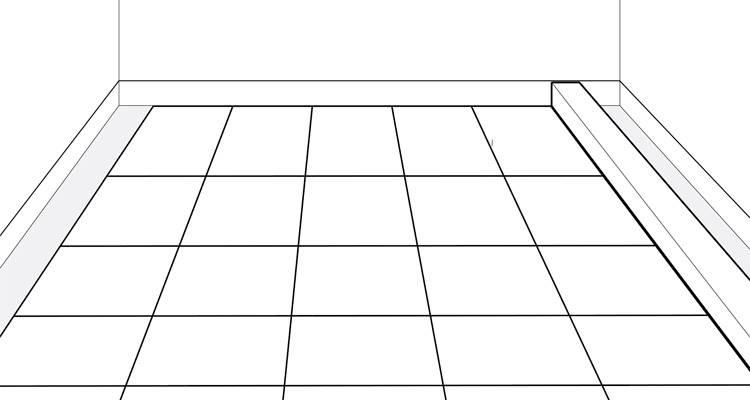
Mark the end points for the last full tiles at all edges and fix a baton at each starting point.
Finally, prepare the adhesive as per the manufacturer’s instructions and depending on the type of floor you are tiling. Most adhesives come as a powder that needs to be mixed with water, however, again refer to any guidelines that come with the adhesive so that you mix it correctly.
How to Tile a Floor Yourself
If you are looking for a guide on how to tile a bathroom floor, follow our simple step-by-step guide below:
Step 1
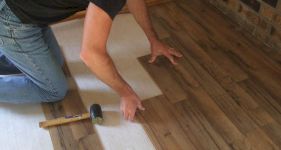
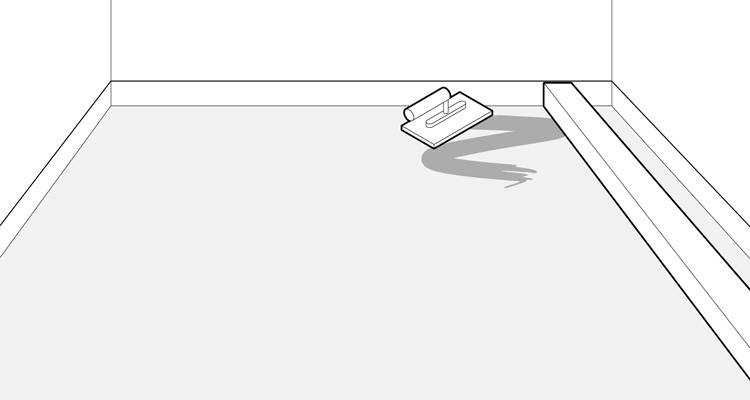
To begin tiling, start by scooping out enough adhesive to cover about a square metre and then apply it to the floor. Use a trowel at a 45 degree angle to spread the adhesive over the area where you are going to begin tiling. You should only apply adhesive a square metre at a time.
Step 2
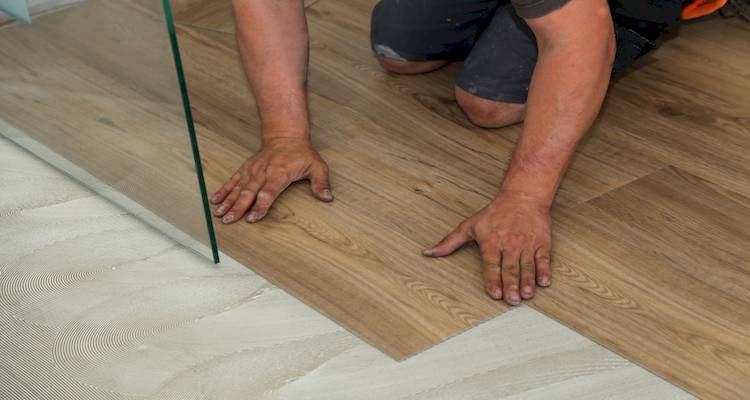
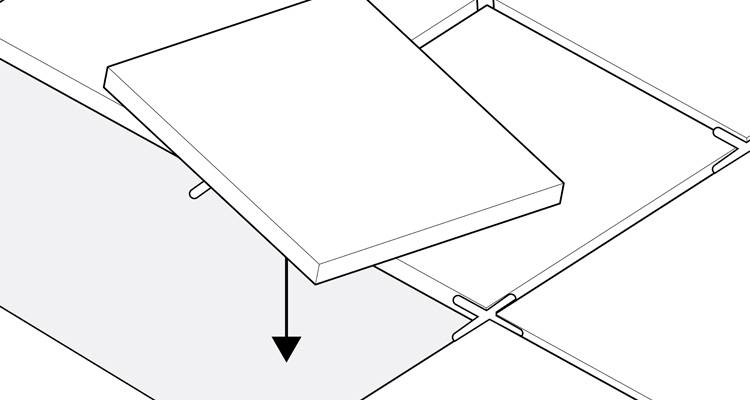
Place your first tile square to your batons and give it a good push down to bed it into the adhesive.
Step 3
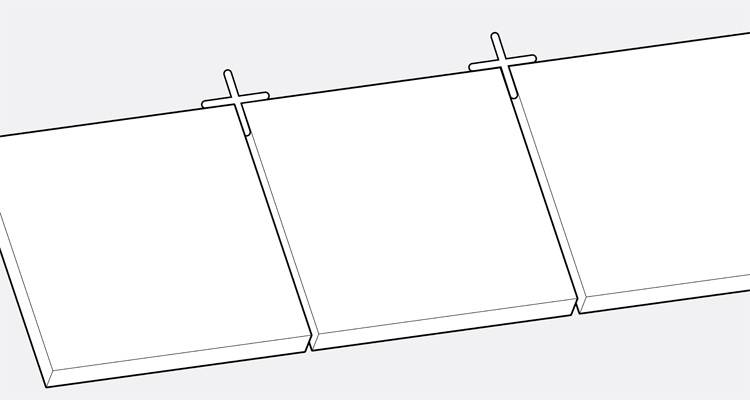
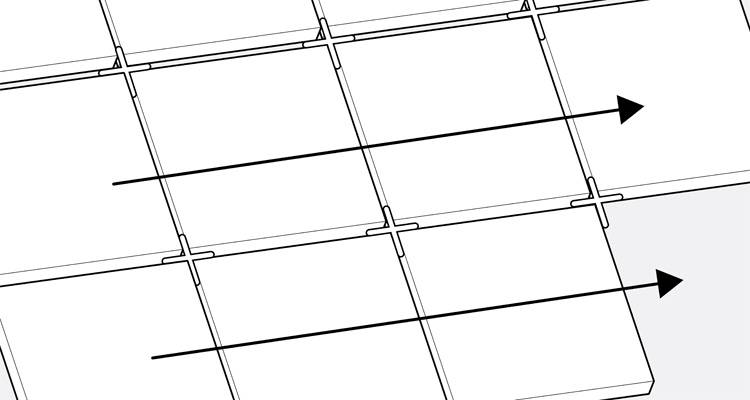
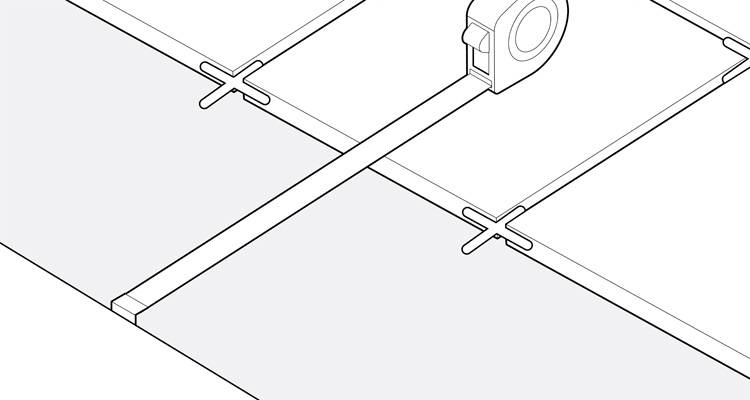
Then, place another tile alongside it. Place spacers between the tiles to ensure you leave the right amount of gap between each one.
Step 4
As you’re applying the tiles, check periodically that they are level and flat using a spirit level.
Step 5
Continue laying the tiles across the floor, making sure they stay aligned with your markings and batons. Remember to insert tile spacers between each tile as you go and gently tap each tile into place to ensure it bonds securely to the adhesive.
Step 6
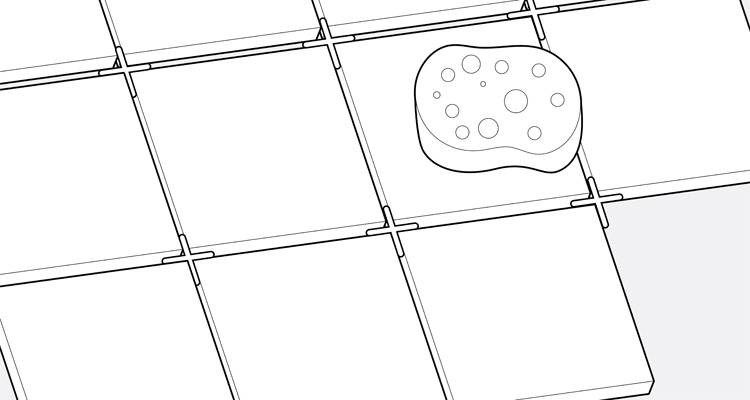
Periodically wipe the tiles with a damp sponge to remove any excess adhesive on the surface and to clear any adhesive in between the tiles in the grout lines too.
Step 7
Continue laying the tiles until all of your whole tiles have been laid.
Step 8
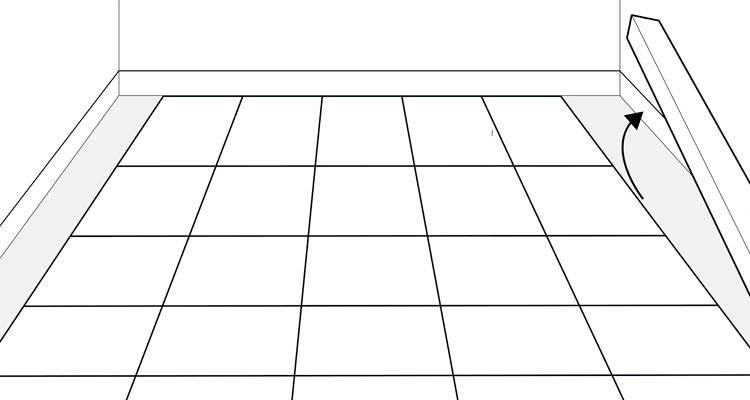
Once you have completed laying all of the whole tiles, you can then remove your temporary batons.
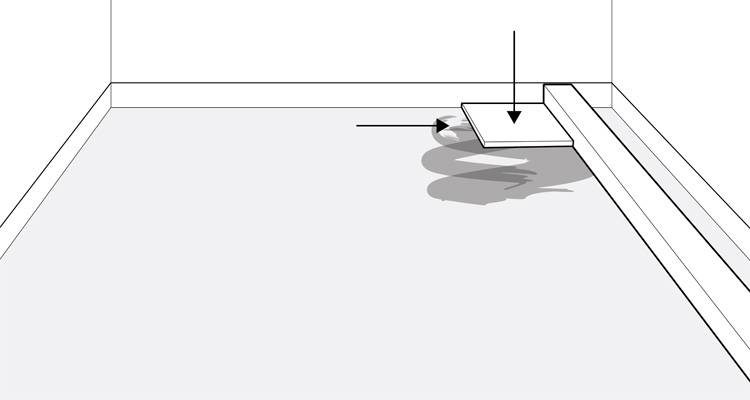
Step 9
If there is a gap between the wall and the tiles, measure this accurately (factoring in the grout gap) so you can cut any remaining tiles to the correct size. Measure each one separately as if the wall isn't quite straight, they may need to be cut to different sizes.
Step 10
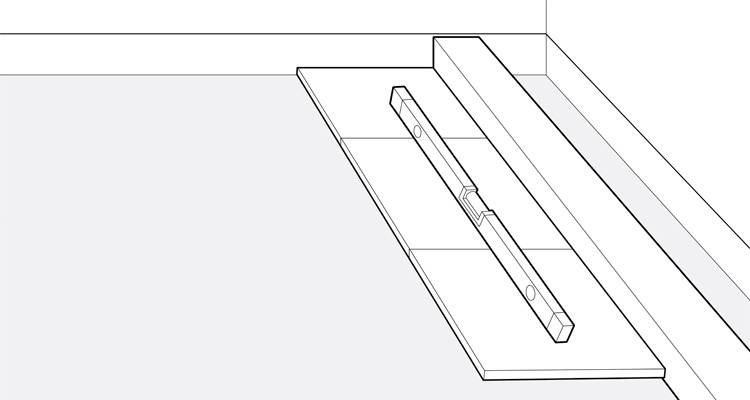
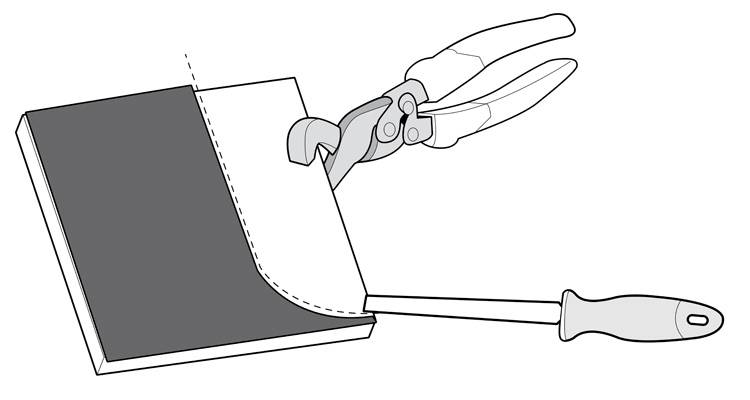
Once you have marked the distance on new tiles, cut them down to the right size. Always wear protective gloves and goggles when cutting tiles.
Step 11
After cutting the tiles, check that it fits into the gap properly. Then apply adhesive and press the tile down into the gap.
Step 12
Continue adding the remaining cut tiles around the whole room.
Step 13
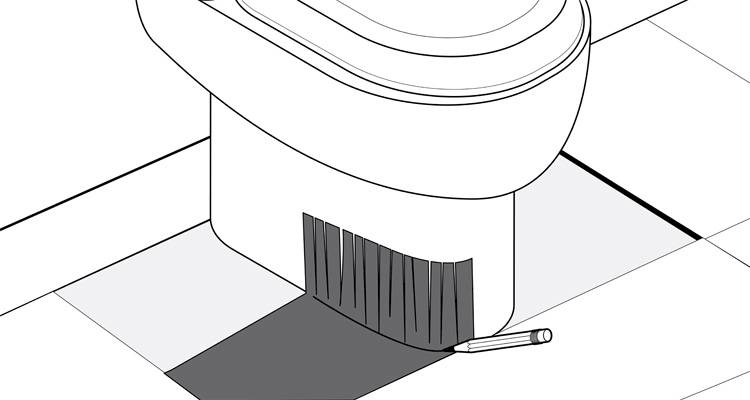
When tiling around obstacles, always leave the other tiles to dry first, as they may move while you try to fit the tiles around the obstacles. The best way to fit tiles around an obstacle such as the bottom of the toilet is to map it out on paper first.

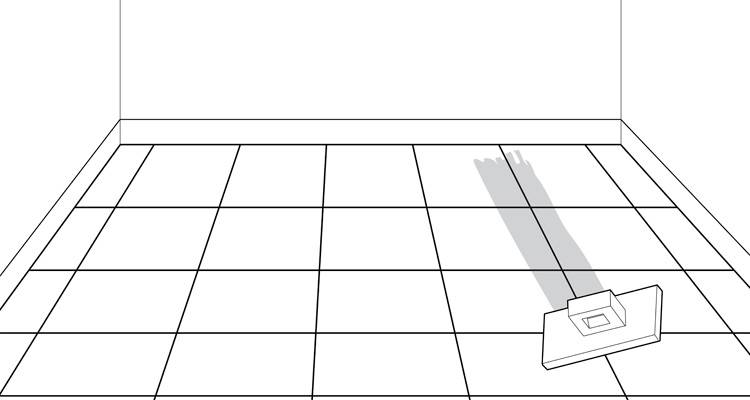
Cut a piece of paper to the same size of a tile and then line it up to your obstacle and cut it to size. This will help you to determine how you need to cut your tiles to fit around the obstacle.
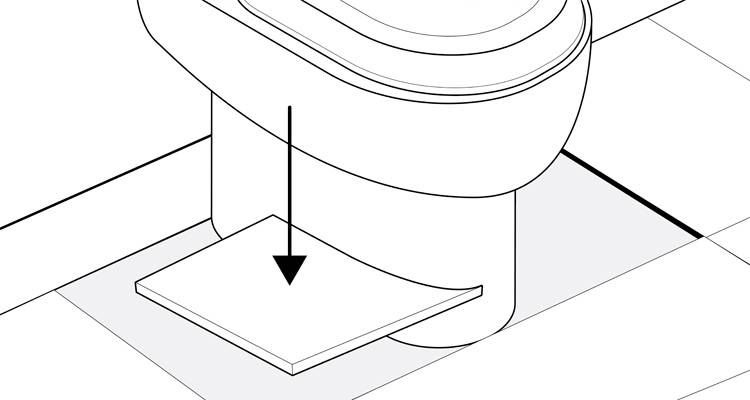
Step 14
Mark out the shape of your paper template onto a tile and then cut it to size. The best way to cut strange shapes is by using a tile nipper and a tile file.
Step 15
Check that the tile fits correctly and then add adhesive and press it down into the gap.
Step 16
You should wait at least 24 hours for the adhesive to dry before grouting. Only mix a small amount of grout at a time, as it will set quickly. Apply it between tiles using a grout spreader, then wipe off any excess with a damp sponge before it hardens.
Step 17
Finally, seal the gap between the tiles and the wall with silicone sealant.