my
myHow to Skim a Wall
In this article we demonstrate how to skim plaster a wall in your home. We explain everything that you might want to know regarding the materials and tools and answer frequently asked questions.
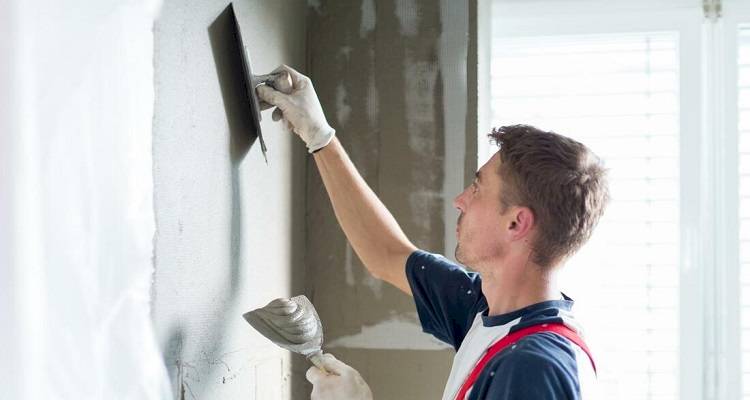
Table of Contents
- What is Skimming a Wall?
- Do My Walls Need Skimming?
- What Tools Do I Need to Skim a Wall?
- What Safety Equipment Do I Need to Skim a Wall?
- What Materials Do I Need to Skim a Wall?
- How to Prepare Wall for Skimming
- How to Skim a Wall Yourself ? Step by Step Guide
- What Plaster to Use to Skim a Wall?
- FAQs
What is Skimming a Wall?
Skimming is effectively a plastering technique. This technique involves applying a thin layer of plaster to the wall, which creates a smooth, even surface which will then allow you to paint and decorate onto the canvas you have created.
Although the thought of skimming a wall can be intimidating, it’s a goal that even a DIY beginner can enthusiastically achieve. The skill, however, will require a little practise, so it’s important you don’t jump straight in. Following this guide, we will talk you through how to skim a wall, designed for beginners.
If you'd rather hire a professional, then MyJobQuote can help you find suitable plasterers and renderers in your area.
Do My Walls Need Skimming?
It’s important to note that not all walls need skimming. If the existing plaster on the surface of the walls is in good condition, i.e. smooth, with no indentations or cracks, then you won’t need to use this technique.
However, if your wall is slightly uneven, with cracks or marks, then it is recommended you skim your walls before painting and decorating to allow for a really clean, professional finish to the room in question.
What Tools Do I Need to Skim a Wall?
When skimming or plastering an indoor wall the tools required are fairly standard, however, their prices can fluctuate due to industry trends. You might find our Building Industry Statistics page useful for understanding these fluctuations.
Before we delve into how to skim a wall, you’ll need to gather the correct tools for the job. Being methodical and organised will really help you along with this DIY job. Here are the tools you will need:
- Protective sheets (for the floor and furniture).
- Plastering bucket.
- Mixer drill & paddle.
- Bucket trowel.
- Spot board.
- Plastering hawk.
- Spray bottle.
- Small paintbrush.
We also recommend using a dustpan and brush at the end of the process to help clear and dust that may have accumulated during the process.
What Safety Equipment Do I Need to Skim a Wall?
As always, when attempting a DIY job, it’s always highly important you know how to protect yourself. Safety is key!
When mixing plaster, ensure you wear safety goggles and a dust mask to stop any mixture making contact with your eyes, nose and mouth. You don’t want to inhale any dust.
If you can, we advise acquiring some vinyl gloves when handling plaster, although this is optional.
We also advise you to wear old clothing, as this process can get a little messy.
What Materials Do I Need to Skim a Wall?
Now it’s time to discuss what materials you will need to help you skim a wall. You’ll be pleased to know the list is minimal. We recommend the following:
- PVA (to prepare your wall).
- Plaster powder.
- Water.
You will be able to source these materials from your local DIY shop or online. Be sure to always read the manufacturer's instructions on the packaging as guides can vary from product to product.
How to Prepare Wall for Skimming
You should have now sourced your tools and your materials, but before we can give the green light to start skimming those walls, you’ll need to prepare your wall first.
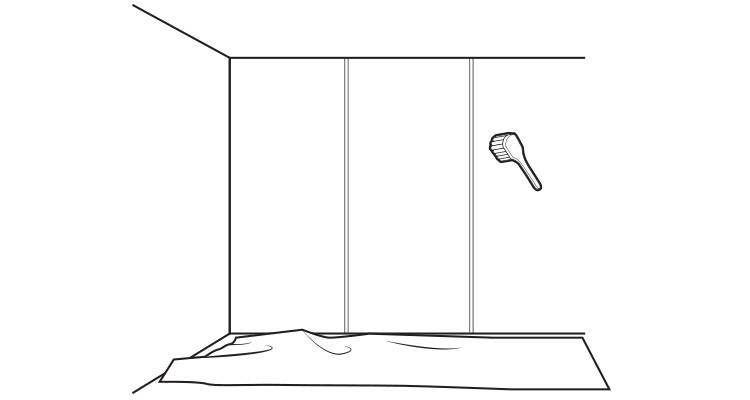
- You need to start by protecting the floors with protective sheets. If any heavy-duty furniture cannot be removed from the room, you’ll need to cover the furniture with sheets also, to prevent any plaster from splashing and damaging the furniture.
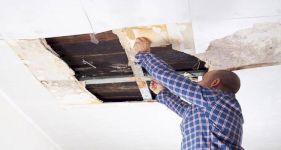
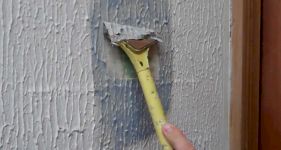
- Check the wall you intend to skim. This is important as you won’t be able to skim straight onto a painted wall. You’ll need to remove any previous paper, loose plaster and then wipe the surface to remove any grease and dust; you can use a brush for this process.
- Now the wall is clean, it’s time to prime your wall using PVA. Take a mixture of PVA glue and water, see the manufacturers guide for precise measurements. Apply this mixture to the wall. Once the surface area feels damp and tacky to touch you are then ready to begin to add the plaster.
- Whilst skimming, we also advise you to have a spare bucket of water to hand, as it can help you wash your trowel, to remove any hardening plaster. This will ensure a perfectly smooth finish to the surface of the walls.
- The room you are working in should be kept cool and any radiators are kept off during this process as the plaster could crack.
How to Skim a Wall Yourself — Step by Step Guide
Skimming a wall isn't easy but if done properly will give you a smooth finish for painting or decorating. This step by step guide will show you how to skim an internal wall in your home and achieve a high quality finish.
Step 1
You’ll need to prepare the area before applying any plaster on your walls. To do this, take your protective sheets and cover any furniture and also the floor area. You’ll then need to prepare your wall, clean it by removing any previous paper, plaster, grease and dust.
Next, prepare the wall surface with a primer. This is a mix of PVA glue and water, according to the manufacturer's guidelines.
Step 2
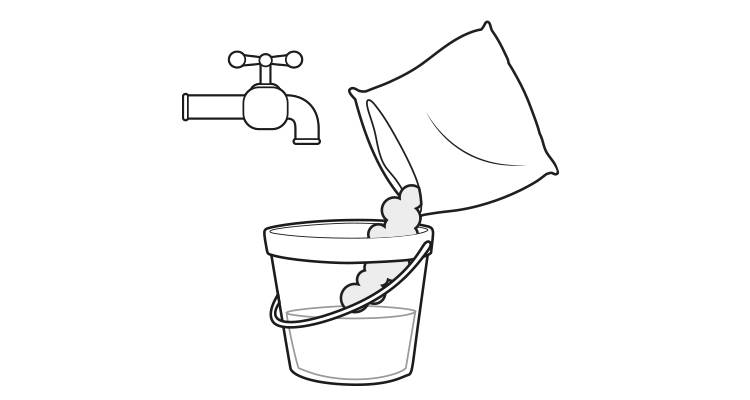
It’s time to mix your plaster. Begin by filling a large bucket with tap water; it’s important that you add the water to your bucket first, not the plaster, as this can cause your mixture to be lumpy and hard to mix. Check the correct quantity of water to plaster according to your manufacturer's guide.
You don’t need a huge amount of plaster to start, so it’s recommended you mix small amounts and often. Otherwise, the plaster will dry too quickly and will be wasted.
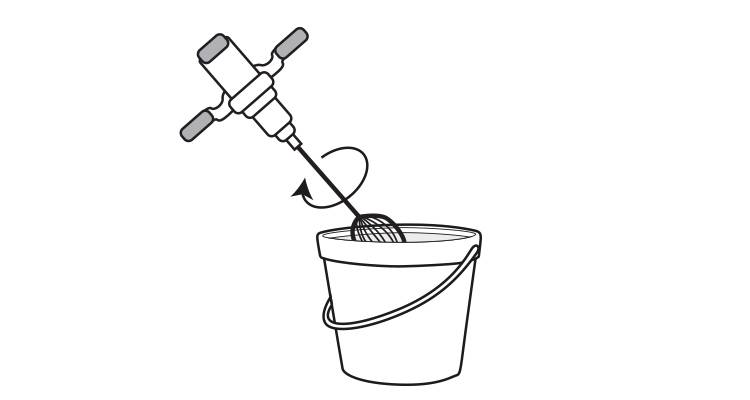
To mix your plaster, whether you choose to do this manually or with a power stirrer, be sure to always follow the manufacturer's instructions. If you opt to use a power stirrer, make sure it is fully submerged into the plaster mixture before switching on the machine. Use a slow speed, as you don’t want to over-work the mix.
We advise using a bucket trowel to incorporate any dry plaster around the edge of the bucket into the mixture. You will need to repeat this a couple of times during the process.
Step 3
As soon as you have finished mixing the plaster, it is important that you clean your mixing tools as soon as possible before the plaster has time to set. Clean these off in a bucket of water.
Step 4
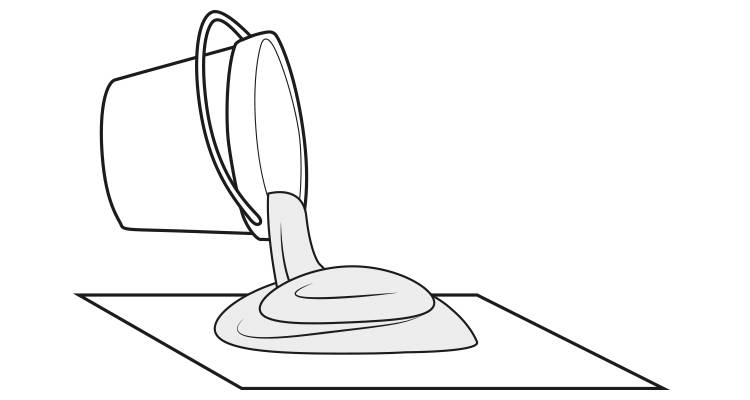
Because you are plastering onto a large surface area, it’s best to begin by pouring your plaster onto a spot board. Don’t worry; the plaster should be thick, so it won’t run off your board.
Step 5
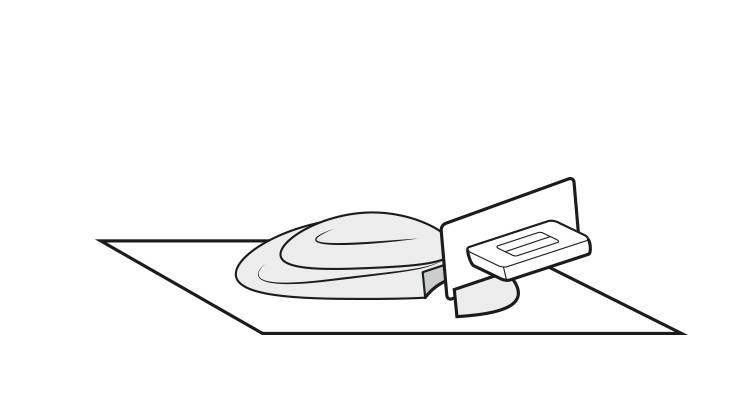
Take your plastering trowel and cut a small section of the mixed plaster and transfer it to the plastering hawk. We advise using a small amount of plaster, especially if this is your first time plastering a wall.
Step 6
Using your plastering trowel, apply plaster to a section of the wall, then spread it evenly across the surface. Maintain a consistent angle with the trowel while using a combination of horizontal and vertical movements to achieve smooth, uniform coverage. Press down firmly when you do this, to allow an even spread of plaster.
Step 7
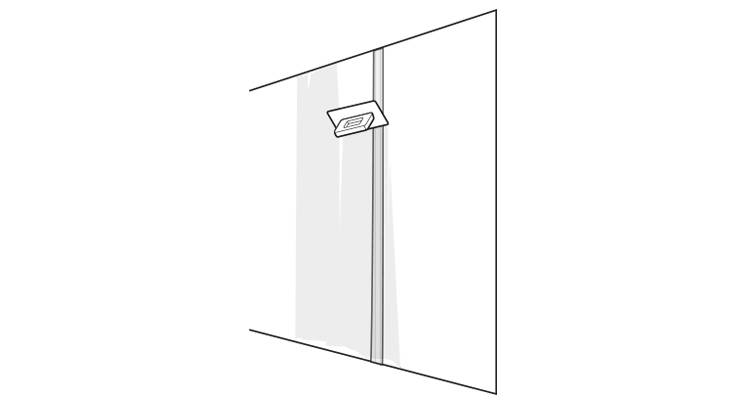
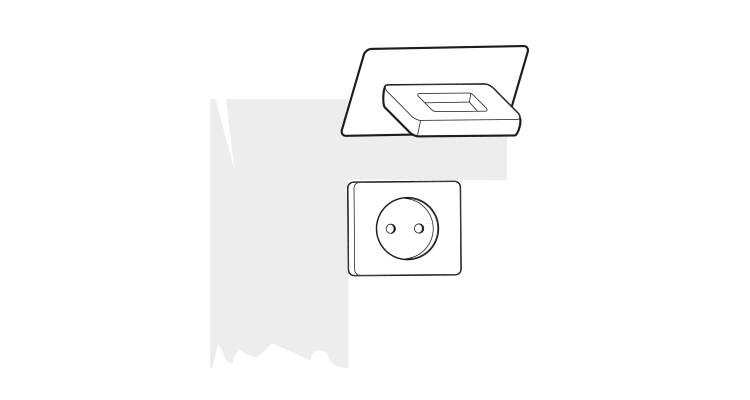
When plastering around a light socket, you’ll need to disconnect the supply of electricity. To avoid getting plaster within the socket, we advise covering the socket whilst working.
Step 8
Find your rhythm and move fairly quickly when applying the plaster, as you don’t want it to set with any uneven lumps or bumps when you are wall skimming. That will act as your first skim-coat base layer, after this is dry, go back over the whole area with a second thin layer of plaster, to ensure you have a thick and even coating and smooth finish to the wall.

Following suggestions from the plaster manufacturer’s guide, allow your wall surface to dry. You’ll want the plaster to be slightly damp but firm enough that it doesn’t move when touched.
Step 9
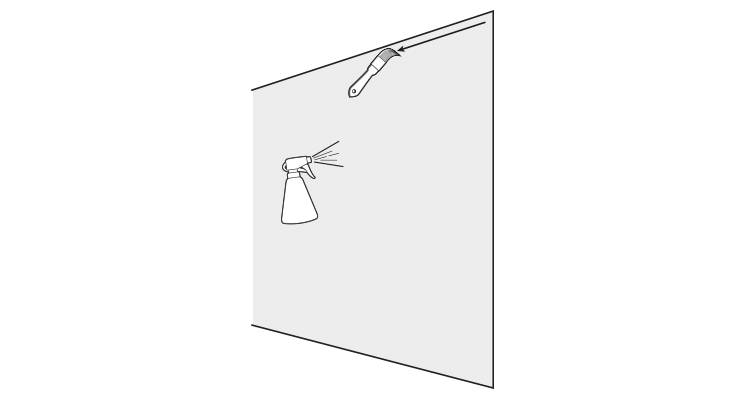
After you have checked the surface, you’ll need to spray the wall with a spray bottle filled with water to dampen, and smooth over with your trowel blade. This to smooth out any uneven textures and surfaces. Use only one edge of the trowel blade to do this and try and use curved motions to fill out any unwanted indentations.
For the edges of your wall, take a small paintbrush and dampen it with water. Then go along the edges to smooth.
You’ll need to allow the wall to dry further (but still ensure it is slightly damp). Always check the manufacturer's instructions. Then repeat the last process, dampening the wall, and smoothing out with your trowel blade for a final time.
Step 10
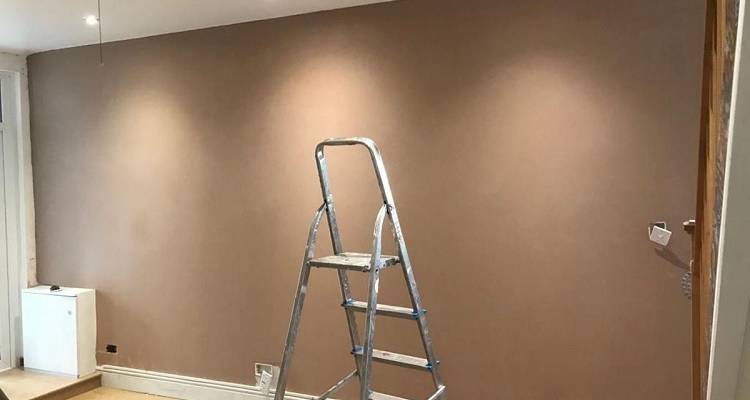
Finally, leave your wall to dry, which for a standard finish should take between 3 to 7 days. However, always check the manufacturer's instructions before applying any paint or wallpaper to the surface, as drying time can depend on ventilation, temperature, and type of plaster. If you wish to act on the side of caution, then allowing two weeks is a safe length of time.
What Plaster to Use to Skim a Wall?
There are several types of skimming plaster you can use on your wall surface, before purchasing it’s best to do a little bit of research to find the perfect plaster skim for your home.
Bonding Plaster
Bonding is an undercoat plaster. You would use this plaster on very dense concrete blocks, concrete, and engineering bricks. This is due to these types of surfaces needing the bonding plaster to act as an undercoat; it is then scratched off with a nail; this allows a topcoat of plaster to be then applied.
Hardwall Plaster
This type of plaster offers higher impact resistance, with a quicker drying surface. This plaster is commonly used as an undercoat layer for masonry surfaces such as; brick, building stone such as marble, granite, and limestone.
Tough Coat Plaster
It does exactly what it says on the packaging, this product is tougher than Hardwall. This is to be used as an undercoat. The good thing about this plaster is it has a greater coverage (based on a nominal depth of 11 mm). Suitable for most masonry walls, but always double-check with the manufacturer's guidelines and recommendations.
Multi-Finish Plaster
This type of plaster is a topcoat plaster, which is suitable for most surfaces. We would highly recommend this type of plaster for the home, as it covers a range of surface types, making it ideal for most households. This type of plaster works perfectly for your two-part plastering finish, as described in our guided steps above.