my
myHow to Rod a Drain
This article aims to explain how to rod and clear drains. We will highlight all of the tools, materials and safety equipment needed to complete this type of job, and we will provide a step-by-step guide on how to clear your drain using a rod.
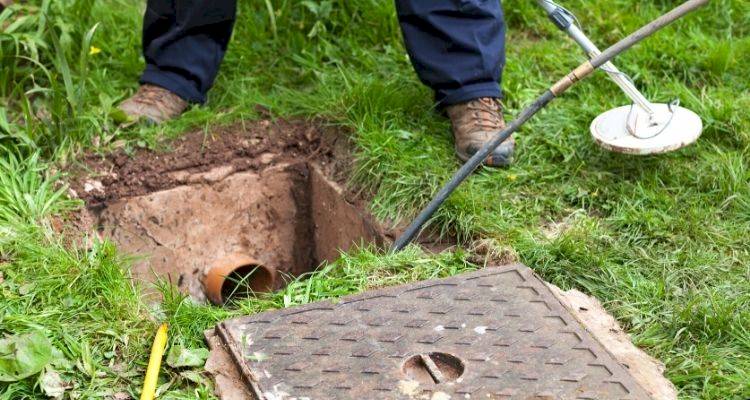
Table of Contents
What Tools Do I Need to Rod and Clear Drains?
There are several tools that you will need in order to rod and clear a drain yourself. Below is a list of the tools that you should have before attempting to clear drains:
- A drain rod with screw attachments
- A worm end for the drain rod
- A plunger end for the drain rod
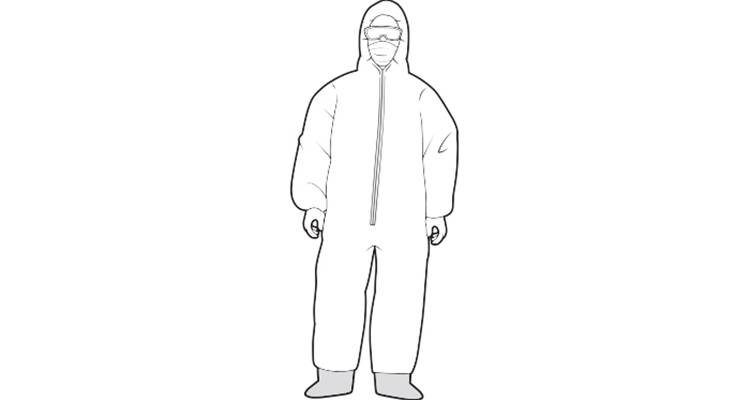
What Safety Equipment Do I Need to Rod and Clear Drains?
It is recommended that, in order to clean and unclog drains safely, the following protective clothing should be worn at all times:
- Eye protection
- Overalls
- Gloves
- Face mask
What Materials Do I Need to Rod and Clear Drains?
To rod and clear a drain yourself, you will need a few key materials. These items allow you to reach and remove blockages effectively, making the job much easier and safer. Although for more serious blockages, it's a good idea to hire the help of a local drainage expert.
- Drain rod (with extendable pieces)
- Worm end for the drain rod
- Plunger end for the drain rod
How to Prepare for Rodding and Clearing Drains
Here is what needs to be done to prepare for rodding and clearing drains:
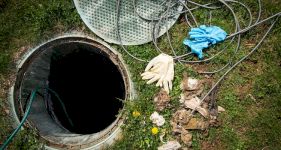
Put on Safety Equipment
The first thing you need to do when rod and clearing a drain is to put on your safety equipment. Drain clearing can be quite a messy and unpleasant job, so it’s crucial that you protect yourself from any spray or splashes that may occur.
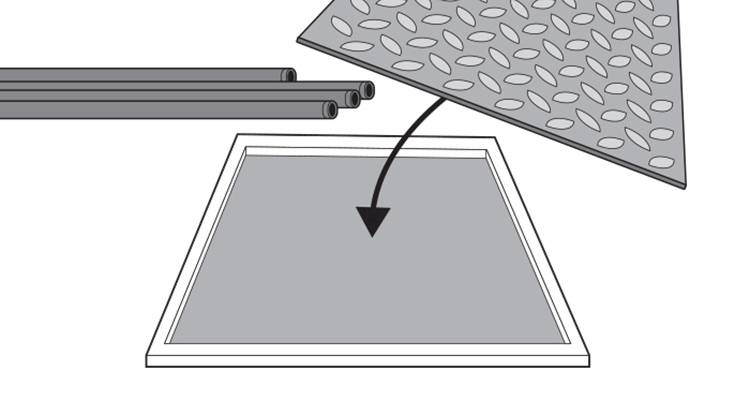
Screw Drain Rod Parts Together
Drain rods come in two main types – universal joint rods and lockfast rods. You will also need to ensure that they are appropriately assembled before inserting it into the drain.
Most rods will come in separate pieces that easily fit together. You should only add two or three pieces of drain rod and then continue screwing them in as the job goes along to avoid having a long rod flying around in the early stages.
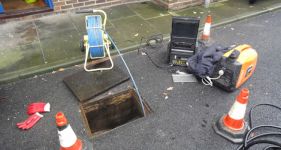
How to Rod and Clear Drains Yourself — Step-by-Step Guide
Below is a list of steps on how to clear blocked drains:
Step 1
The first step when it comes to clearing a drain with a rod is to apply your safety gear. It is recommended that you wear a face covering, gloves, eye protection, and overalls.
Step 2
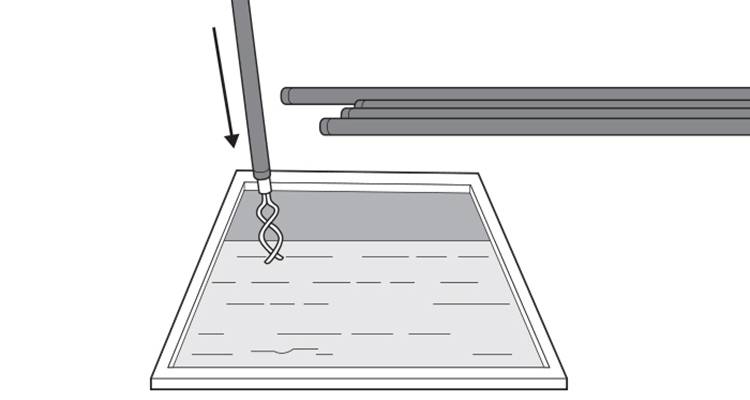
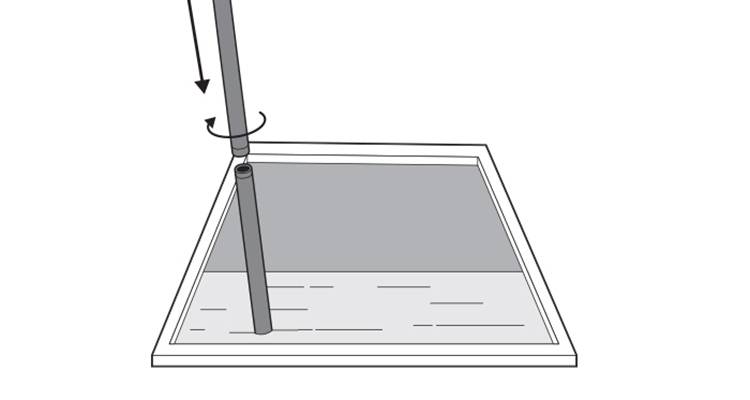
Remove the grid lid so that you can get to the drain. Ensure that the drain rod components are screwed together before you insert it into the drain, including the worm at the top. You only need to screw 2/3 pieces of rod together, to begin with. The rest will be added as the job goes on.

Step 3
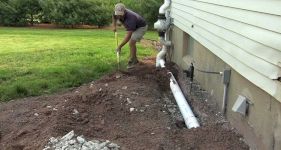
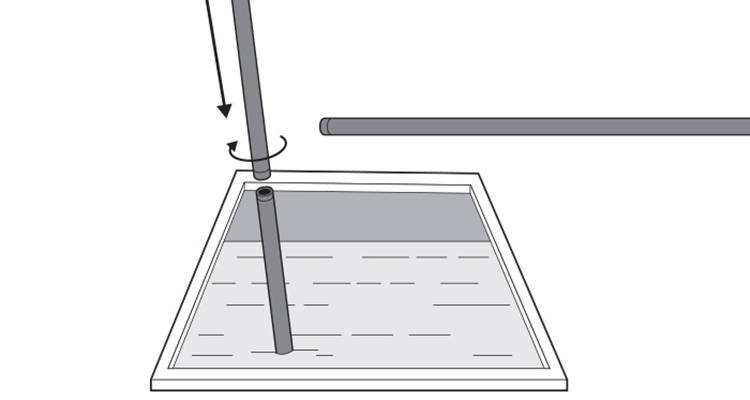
Locate the pipe and insert the drain rod into the pipe as far as you can. Once it’s gone through as far as you can reach, you then need to screw on the next part of the rod to make it longer so that you can push it in even further. If you're unable to reach the blockage from the main drain opening, some drains may have an inspection chamber that need to be opened instead.
Step 4
Repeat the previous steps as many times as necessary until you feel like you may have reached the blockage.
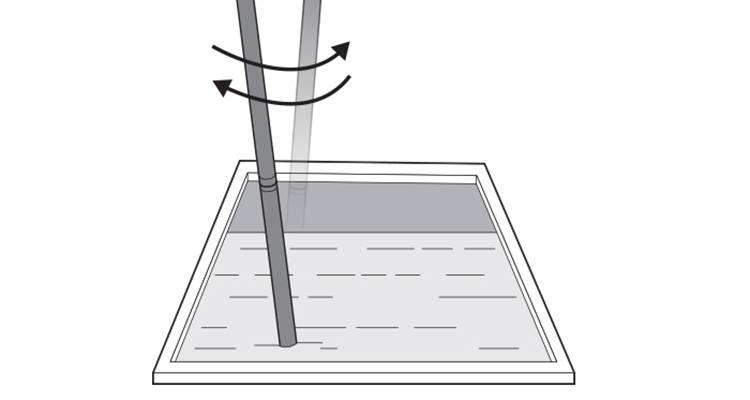
Step 5
Wiggle the rod in and out of the drain slightly to see if it loosens any of the blockages. Keep an eye on the water level to see if it starts to drop at all.
Step 6
When the water level drops, remove the rod and switch the worm end for a plunger end instead.
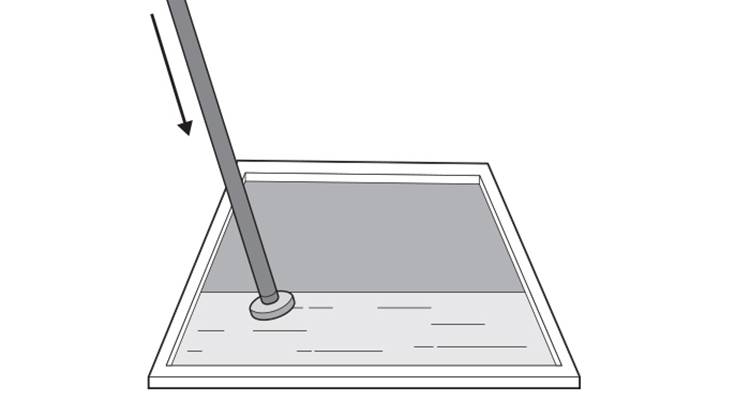
Step 7
Re-insert the rod and continue to pump in and out until the blockage is completely removed and the water level drops completely.
Step 8
Once you’re satisfied that the blockage has been cleared and the water level is correct, flush the drain with clean water, then remove the rod and replace the grid cover to complete the job.