my
myHow to Replace a uPVC Window
If you're installing new uPVC windows or replacing old uPVC windows with newer ones, this guide will show you everything you need to know including the tools you'll need and step by step instructions.
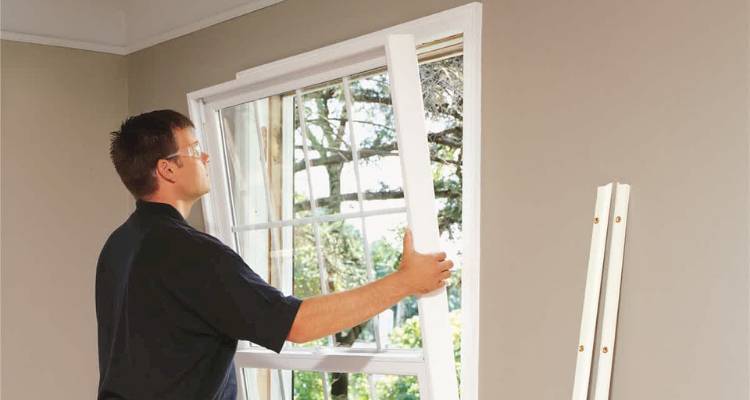
Table of Contents
What Tools Do I Need to Replace a uPVC Window?
Below is a list of tools you will need for replacing a uPVC window:
- Stanley scraper knife
- Flathead screwdriver
- Spirit level
- Silicone sealant
- Caulking gun
What Safety Equipment Do I Need to Replace a uPVC Window?
Although you don't need any specific safety equipment when replacing a uPVC windows and doors, protective gloves and safety goggles are recommended. It is also good to have someone on hand who can help you remove the glass and lift the new glass into place – especially on larger windows.
What Materials Do I Need to Remove and Replace a uPVC Window?
The list below highlights the materials that you will need for a uPVC window installation:
- New windows
- Beading
- Spacers
How to Prepare for a uPVC Window Replacement
When preparing to replace a uPVC window, first of all, make sure the new window is correct. They should be measured accurately and be suitable for your current fittings, however, if you are also removing the existing frame then this also needs to be taken into consideration.
How to Replace a uPVC Window Yourself
The following step-by-step guide will explain the process of removing the glass from a window as a DIY project and replacing with a new uPVC window installation. Please note, if you are also removing the frame or require professional help, then hire an experienced local window fitter.
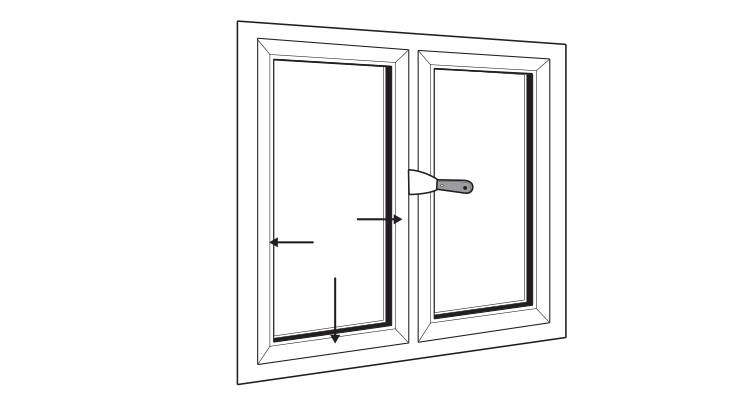
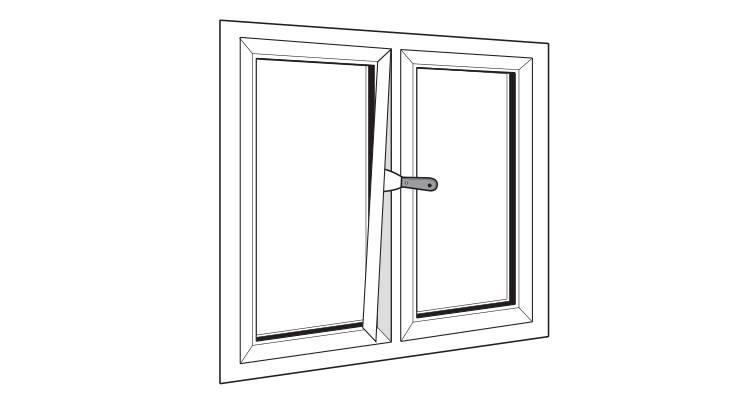
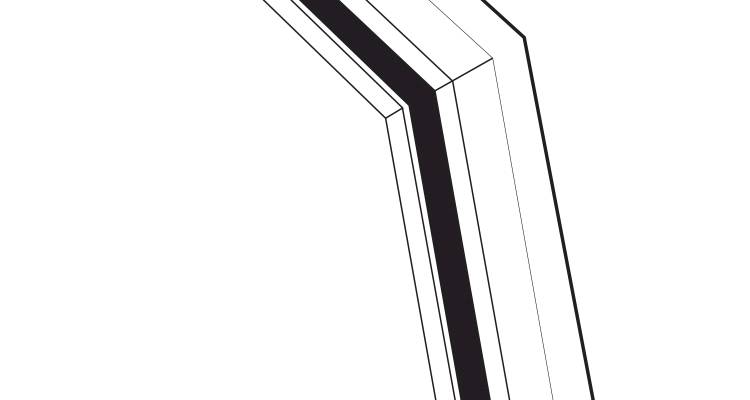
Step 1
Insert your scraper Stanley knife in the gap between the frame and the beading.

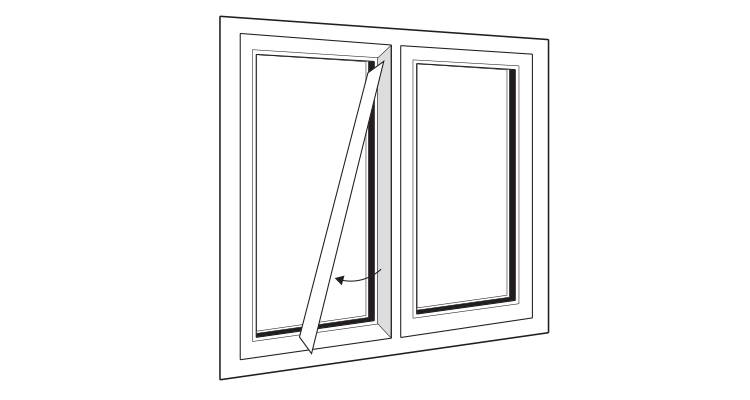
Step 2
Push the scraper and pry the beading away from the frame. Continue this all the way down the frame until you can pull the beading out by hand.
Step 3
Remember where the beading goes and put it on the floor in the direction that you took it off so that you know which way they go back in again.
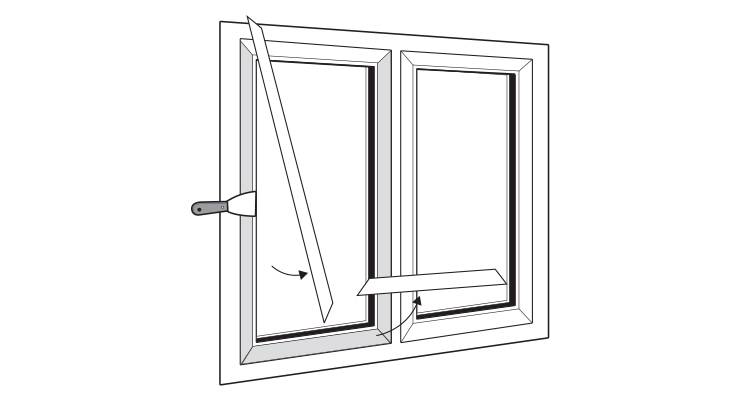
Step 4
Continue this step for the other sides and then do the same at the bottom. Leave the top bead for now as this will be holding the glass, although as there is a risk of the glass breaking you should be wearing your gloves and eye protection.
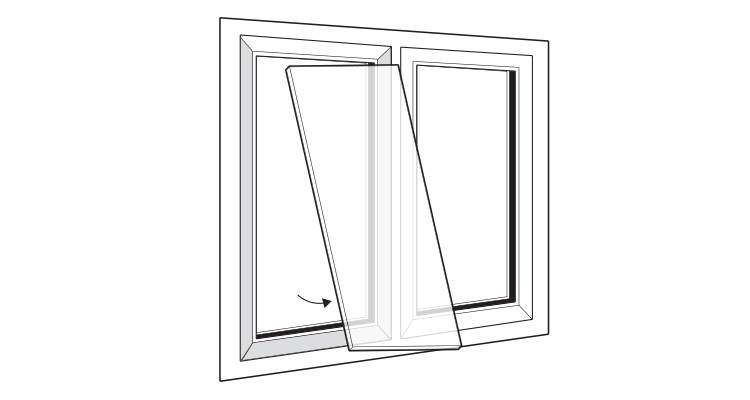
Step 5
You should then be able to push the glass out easily at the bottom and pull it out completely.
Step 6
When you come to fit your new glass, ensure that the spacers are still in place as they were when you removed the old glass.
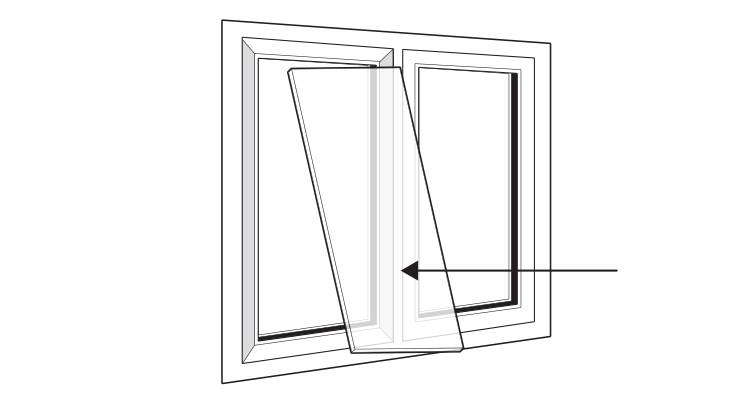
Step 7
To fit the new glass, slide it into position in the opposite direction you did when you removed the old glass. It should fit neatly into place as long as you have got the measurements right.
Step 8
You will then need to re-fit the beading around all of the edges carefully and push them fully into place.