my
myHow to Lay a Patio
In this article we break down step by step with images how to lay a patio. We explain everything that you might want to know regarding the materials, maintenance and answer the most frequently asked questions.
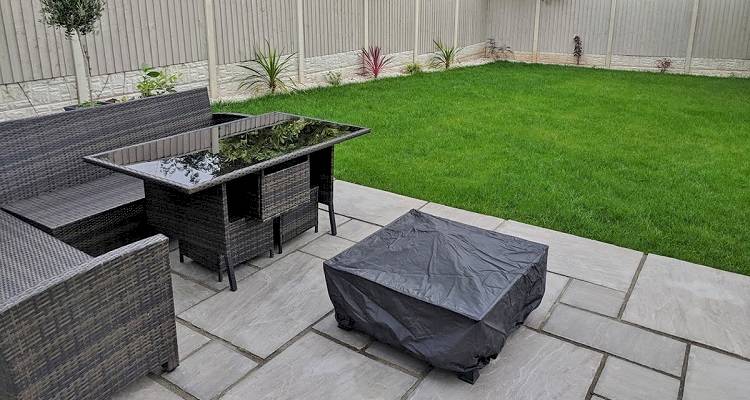
Table of Contents
- What Is a Patio?
- What Tools Do I Need to Lay a Patio?
- What Safety Equipment Do I Need to Lay a Patio?
- What Materials Do I Need to Lay a Patio?
- Preparing to Install Your Patio
- How to Lay a Patio Yourself ? Step-by-Step Guide
- Choosing Where To Lay Your Patio
- Patio Repairs and Maintenance
- How to Clean Your Patio?
- FAQs
What Is a Patio?
People often decide to lay a patio as a welcoming alternative to grass or decking, due to being relatively easy to maintain. By putting down concrete slabs, stone or brickwork, you can create a harmonious outdoor space for socialising with family and friends, a place to add patio furniture and pot plants, or simply somewhere to relax and enjoy the fresh air.
What Tools Do I Need to Lay a Patio?
In order to lay a patio yourself, there are a number of tools you need, although you may wish to hire a company that specialises in paving and patios to ensure a professional job:
- Cable avoidance tool (CAT)
- Pegs & multi-purpose string length
- General-purpose folding square
- Garden spade or lawn edger
- Heavy-duty tape measure
- Cordless combi drill or electric screwdriver
- Spirit level
- Rake
- Tamper or wacker plate
- Rubber Mallet
- Plastic sheet
- Bucket (if mixing a wet mortar)
- Trowel
It would also be advised you have a brush to hand at the end of the process to brush off any excess material to keep your patio clean.
You can find these tools in your nearest DIY store, don’t worry about having to purchase expensive equipment for this project as some tools will be available for you to hire.
What Safety Equipment Do I Need to Lay a Patio?
It goes without saying, when using these tools, it’s important to stay protected. Safety is key here; you don’t want to put yourself or anyone else at risk during this process. To ensure safety, we recommend that you obtain the following items:
- Dust mask
- Rigger Gloves
- Ear defenders
- Safety boots
- Safety goggles
You will need to wear suitable clothing at all times, ensuring you have protected footwear, and use gloves when you handle the following: slabs, sand, gravel/cement and use them when digging.
When it comes to using the wacker plate, you should wear ear defenders and steel toe-capped boots for protection.
Be cautious when using mortar mix, or bedding mortar, ensure you wear a dust mask, safety goggles & protective gloves. Don’t forget to follow the manufacturer’s instructions on all of your products.
Cement can cause irritation and burns when using don’t forget to cover any areas of your skin. If any cement does make contact, wash the area immediately.
If you are mixing concrete, protect your eyes with safety goggles, wear protective gloves and your dust mask to stop any dust entering your system.
Some slabs can be very heavy, so proceed with caution and ask someone to help you if necessary.
What Materials Do I Need to Lay a Patio?
The following are also materials that you will require to install a professional looking patio area:
- Paving slabs (these can come in a wide variety of shape, size and colour. There will be something out there to suit every budget so shop around and make sure you get the right product to suit your design needs).
- Treated timber for edging boards
- Treated wooden pegs
- MOT type 1 or hardcore
- Bedding mortar
- External grade screws
- Sand & cement (dry mortar mix)
Preparing to Install Your Patio
Once you've decided on your patio design, you need to prepare the area so you can start work (or you may wish to look into the cost of a professional patio design and installation).
Begin by removing any furniture or plants etc that are in the way and check the ground using a Cable Avoidance Tool (CAT) for any pipework and such like that may be located within your chosen area. Then make sure the area is free from any remaining turf or weeds, eliminating as many roots as possible to prevent future growth.
The foundation on which the patio slabs will be laid, plays a vital role in creating a firm and long-lasting base. When planning this stage, remember to include the necessary angle of 1 in 60 into your calculations so that water drains away correctly.
Ensuring everything is flat is also important for the longevity and appearance of your patio. Use a spirit level to check the surface is level before you continue.
How to Lay a Patio Yourself — Step-by-Step Guide
Installing your patio should be fairly straightforward, following this simple step by step ‘how to lay patio for beginners’ guide:
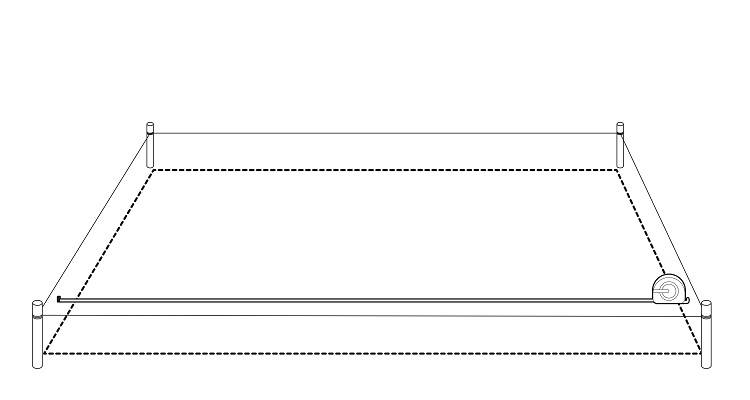
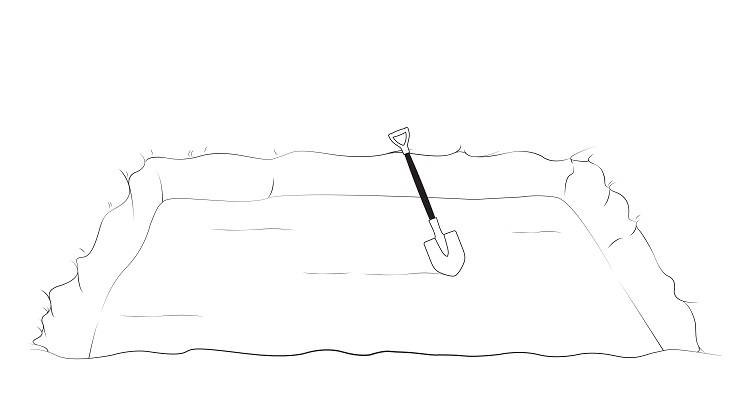
Step 1
Start by measuring the area where you would like your patio to lay. Then, mark out this area with your string and pegs, using a mallet to fix the pegs into place.
Step 2
Using your string as a guide, use your shovel to dig out this area, ensuring removal of weeds and other debris first. It’s crucial you allow for 100-150 mm of sub-base (depending on ground condition), 25 mm of bedding mortar and take the depth of your chosen pathing slabs into consideration when doing your calculations. (Keeping the surface as level as you can).
Step 3
Add MOT Type 1 or hardcore to a depth of 50 mm, then using the rake ensure that you get the surface material level. You’ll then need your wacker plate to compact the material so create a level surface. Next, repeat the process by adding the next 50 mm of sub-base, raking, and then compact the ground again.

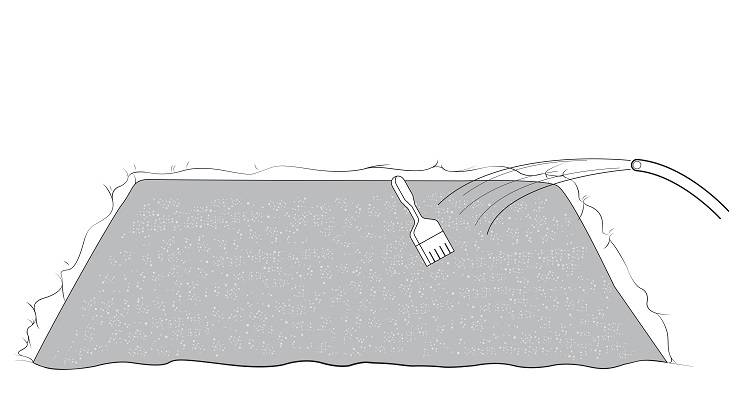
Step 4
Add the remaining bedding mortar to a depth of 25 mm and rake the surface until level. Following the instructions advised by your manufacturer, fill your watering can fitted with a fine rose, and spray over the sub-layer base and rake through.

Step 5
Next, you’ll need your paving slabs. Remember when you are laying these, you’ll need to allow for a slope of 1 in 60, as this will encourage the flow of rainwater. If required, take a brush and add a slurry primer to the underneath of your slab before laying it onto the bedding mortar.
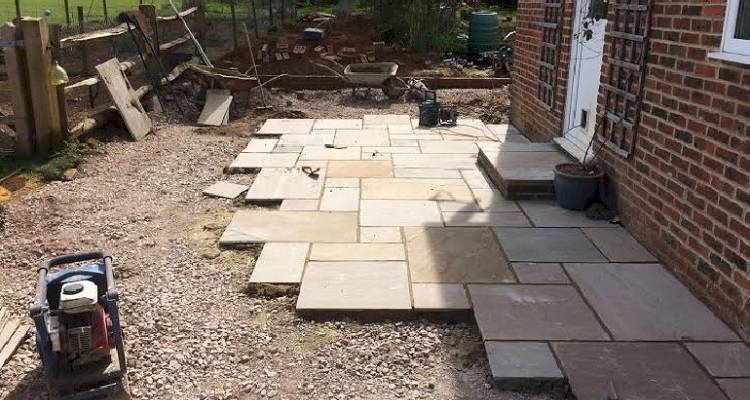
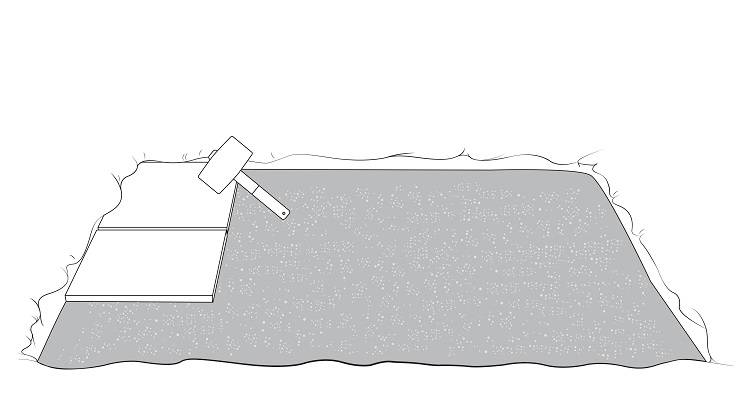
Step 6
When laying your first slab, you’ll need to put this on your highest point of the patio. You can then use this as a guide for your other slabs, so ensure this is level before continuing. Once you are happy, carefully tap down on the slab, using your rubber mallet to secure its position.
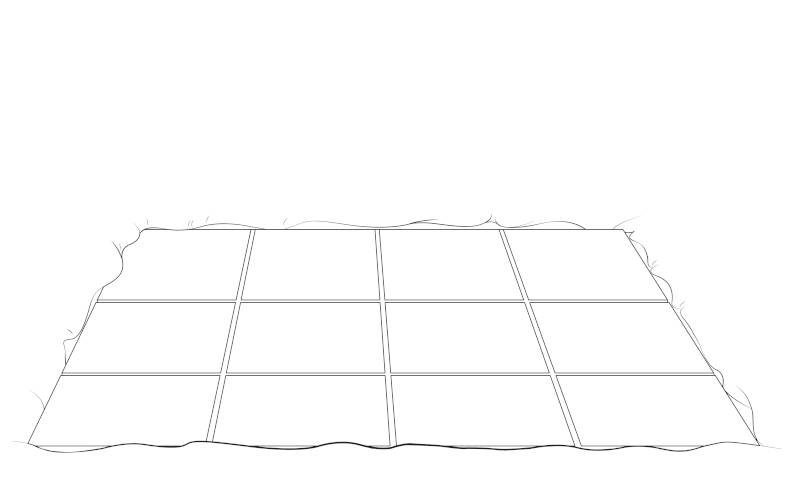
Step 7
Being careful not to rush, continue laying paving slabs, making sure you leave gaps between each, for the jointing material later. You can use a thick piece of wood, or spacer to create aesthetically pleasing, even spacing between each. Don’t forget to keep checking the levels of your slabs are evenly laid before tapping into place.
Step 8
After this, you’ll need to allow time for curing, so remember to cover the surface with a plastic sheet and weigh down the edging with bricks for between 24 and 48 hours (depending on manufacturer guidelines). This will also prevent it from getting wet should it rain before completing the job.

Step 9
You’ll now be ready to fill in the joints with your remaining bedding mortar or a mortar mix (4 parts sand to 1 part cement). You will need to add water to create a slightly damp consistency, being careful not to over-saturate your patio sealant. Using your trowel spread the mix in the gaps of your slabs, ensuring you pat down to compact the material.
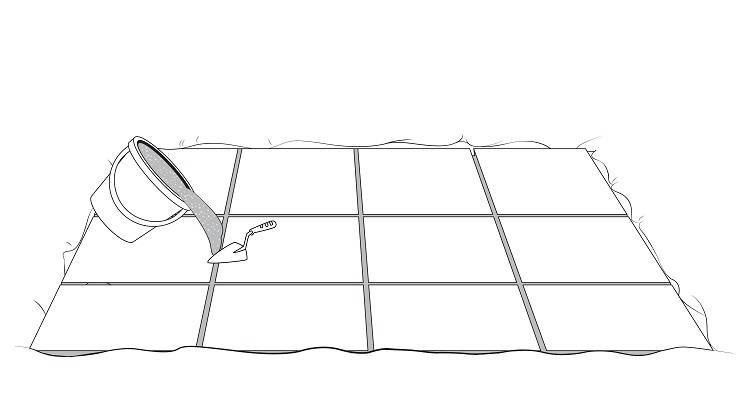
Step 10
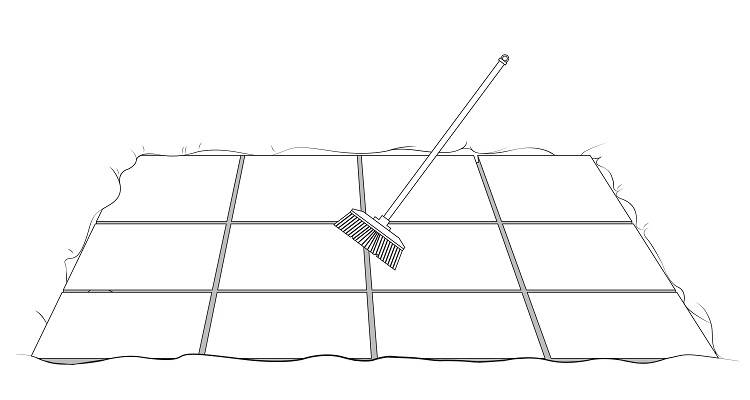
Finally level off any excess mortar. You can then sweep this off from the surface of your slabs. Please ensure you do this before it sets.
If laying your own patio is too large or complicated of a task then consider hiring a tradesman to carry out the work for you. We have researched the cost of hiring a specialist to install a patio. Laying a patio is a labour intensive job with heavy lifting and hard landscaping. Opting to take the job on if you're not physically capable can lead to serious injuries.
Choosing Where To Lay Your Patio
Normally, the area adjoining the house is usually the most convenient place for a patio, as you can walk safely to and from your house without having to walk over grass to get to the area. It’s important to remember that if your patio is adjacent to your house, you’ll need to lay it so that it is 150 mm below the damp proof course.
As we mentioned before this area is used for socialising and relaxing, so utilise your space accordingly. Perhaps a key aspect of the design to build an area which allows you more privacy, so you might want to locate the patio away from the house for this reason. The choice is yours but think about the purpose of your patio before designing.
Also, bare in mind the wind factor in its position and if you will need to acquire protection such as a trellis.

Patio Repairs and Maintenance
Now that you’ve laid your patio, you want to be able to maintain your area. Luckily, as we’ve stated before, patios are fairly low maintenance, which is why they appeal to the masses. Make sure you are regularly sweeping your patio, and washing with water to stop any growths, such as algae. Keep an eye out for any gaps that need filling, as they can wear away after a period of time due to weather and usual wear and tear. Doing this should keep your patio looking fresh and clean.
How to Clean Your Patio?
You will want to ensure you keep on top of your patio cleaning regime. It’s simple to do and low-cost, without the use of expensive jet sprays! For your patio cleaner, all you need is a bucket with warm water and a mild, non-abrasive, cleaning solution. Then, apply the water generously across the surface of your patio; you can then begin scrubbing. Don’t be afraid of getting stuck in. We recommend you do this four times a year, so once every season would be a good way to remember it!