my
myHow to Get Rid of Japanese Knotweed
Want to know how to remove Japanese Knotweed? In this guide, we discuss the steps required to achieve this, as well as other relevant subjects like the tools, safety equipment, and materials needed. We will discuss four different methods that can be used to remove Japanese Knotweed.
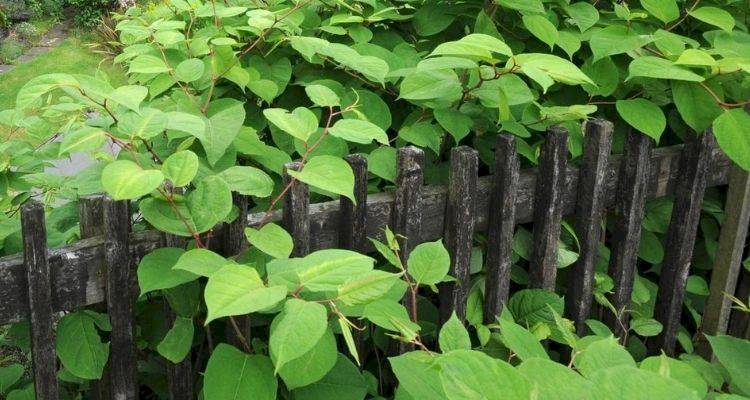
Table of Contents
- What is Japanese Knotweed?
- What Tools Do I Need to Remove Japanese Knotweed?
- What Safety Equipment Do I Need for Japanese Knotweed Removal?
- What Materials Do I Need to Get Rid of Japanese Knotweed?
- Preparing to Remove Japanese Knotweed
- How to Get Rid of Japanese Knotweed Yourself
- Method 1 ? Dig Up Japanese Knotweed
- Method 2 ? Lawn Mowing
- Method 3 ? Cut Stem Application
- Method 4 ? Foliar Spray
- Types of Japanese Knotweed
- FAQs
What is Japanese Knotweed?
Japanese Knotweed is a non-native herbaceous perennial plant. Since the UK is not a natural ecosystem for knotweed, there aren't any natural enemies to help stop it excessively spreading and having a negative impact on local ecosystems.
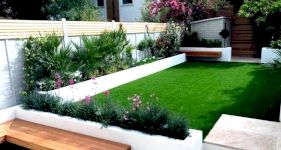
It is often most prevalent on hedgerows, waste grounds, riverbanks, wetlands, and roadsides. However, can also be found on properties across the UK and often causes problems for other plants in the garden.
Therefore, it's important to have Japanese Knotweed removed carefully to prevent harmful and excessive growth. Not only that, but under the Wildlife and Countryside Act 1981 in the UK you could be breaking the law if it's allowed to spread onto neighbouring land.
For best results, hiring a professional who specialises in Japanese Knotweed removal will ensure the job is carried out correctly.
What Tools Do I Need to Remove Japanese Knotweed?
As there are several approaches to getting rid of Japanese Knotweed covered in this guide, below are a list of the tools required for each one:
Digging Up Knotweed:
- Garden spade or shovel
Mowing/Cutting:
- Lawn Mower
Cut Stem Application Approach:
- Spray bottle
- Secateurs or pruning shears
Foliar Spray:
- Handheld garden sprayer
- knapsack sprayer (optional)
What Safety Equipment Do I Need for Japanese Knotweed Removal?
Below is a list of the main safety equipment required, although when foliar spray always follow manufacturer's guidelines before applying:
- Rubber safety gloves
- Protective eyewear
- Protective shoes
- Long sleeves or protective clothing
What Materials Do I Need to Get Rid of Japanese Knotweed?
Digging Up Knotweed:
- Garden waste bags
Mowing/Cutting:
- Garden waste bags
Cut Stem:
- Glyphosate-based herbicides
- Water
- Garden waste bags
Foliar Spray:
- Glyphosate herbicide
- Garden waste bags
Preparing to Remove Japanese Knotweed
Next, preparations are needed before the removal can take place. If you are unsure about anything involved in the process, you should hire a professional.
Japanese Knotweed Identification
There are plenty of ways to spot Japanese Knotweed and differentiate it from other plants. Let’s look at some main pointers.
How to identify Japanese Knotweed:
- The stems feature green and red/purple flecks with a zigzag pattern of growth
- The leaves are lush green featuring a pointed tip and a shovel-like shape
- Can grow up to 3-4 metres in height, with certain varieties reaching even higher
- During the later summer, flowers have creamy white coloured panicles
There are more identifiable tips worth contemplating. However, if you are unsure whether plants on your property are Japanese Knotweed, you should hire a professional.
Examining the Grass
Next, you’ll want to examine the area to assess what is the best method to use to deal with the Japanese Knotweed.
How to Get Rid of Japanese Knotweed Yourself
Below we review different methods of removing Japanese Knotweed. It’s important that once you are finished to wash your hands thoroughly and if you are using Glyphosate-based products, let the herbicide treatment dry allowing people or pets access to your garden.
Also, be aware that if the herbicide treatment is accidentally sprayed on other plants, they may not survive.
Please note you are not legally allowed to dispose of garden waste via your regular refuse collection, therefore use council approved brown bin collection, a responsible waste removal company. Alternatively, visit a local tip or recycling centre.
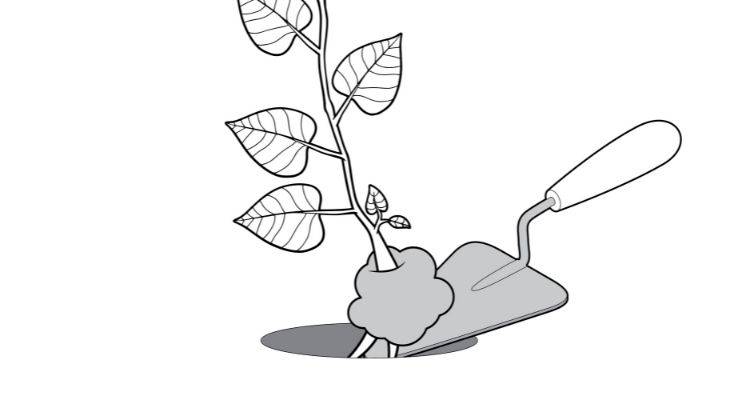
Method 1 — Dig Up Japanese Knotweed
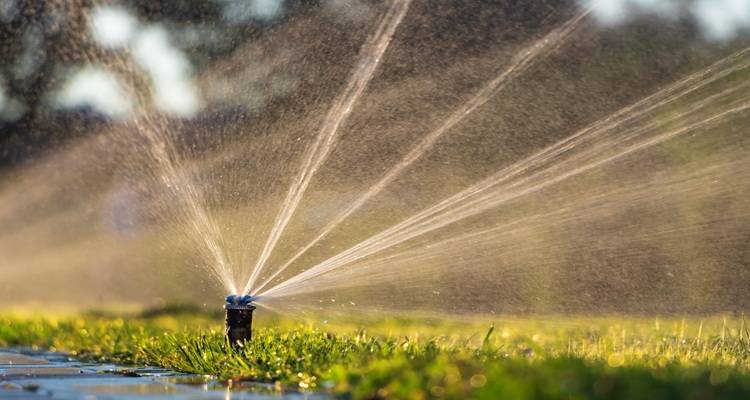
Step 1 — Moisten the Soil
It is important that the soil is moist before digging up the Japanese Knotweed. This may be the case due to sufficient rainfall. However, if not, you should dampen the area using a garden hose.
Step 2 — Remove the Plant
Once the soil is moist, employ a garden shovel or spade to upend each full plant. This would include removing the runners and the root system in their entirety. It’s important that the entire plant is removed. Even a small 2cm piece of a Japanese Knotweed plant could resprout and establish a new colony.
Step 3 — Dispose of the Plant
The removed plant should be carefully placed into a garden waste bag, ensuring nothing has been left behind. Dispose of the waste responsibly, as it is not legally permitted in household rubbish. You should either arrange collection through your council or take it to a local tip or recycling centre.
Review the area you've cleared about twice every month to check for any evidence of the weed returning.
Method 2 — Lawn Mowing
Step 1 — Mowing Weekly
Another approach involves mowing the Knotweeds once per week with the mower deck set to the lowest setting possible. This can potentially reduce the rhizomatous reserves within the plants to a sufficient degree that will kill the whole plant.
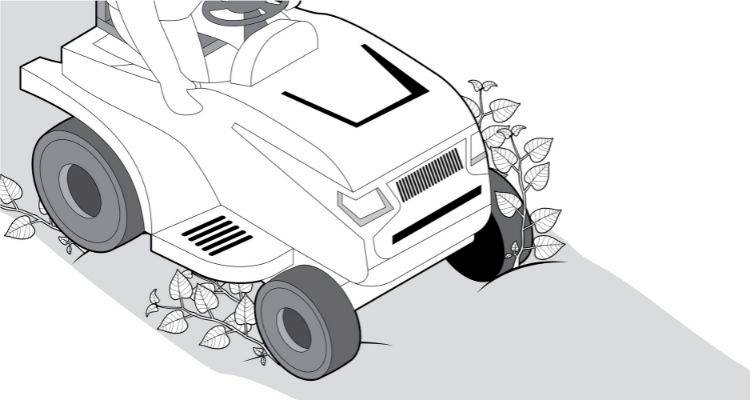
Step 2 — Continue Mowing
You should continue mowing the whole area through the growing season till the winter frost kills the plants. You can also kill the whole plant by cutting the stems off by the soil line on a regular basis. Make sure that you cut the stems to the ground a minimum of three times per year. The final cutting of the year should take place in the late autumn.

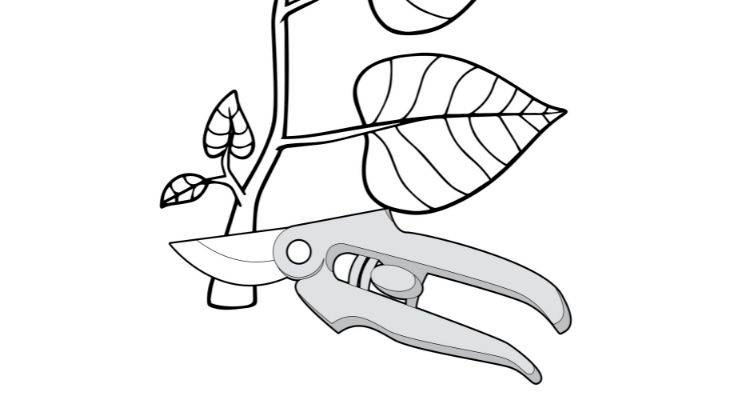
Method 3 — Cut Stem Application
Step 1 — Spray Application
This method involves using a spray bottle with a Glyphosate-based herbicide. Please make sure to follow the instructions given by the manufacturer and to follow COSHH guidelines (Control of Substances Hazardous to Health). Sometimes, the manufacturer will suggest using the product undiluted, but in other cases, it will be advised to mix it with water for a 1:1 ratio.
Step 2 — Cutting the Stems
You’ll want to cut the stems of the knotweed at a position that is 2-3 inches above the level of the ground. As soon as this is done, spray onto the stem that has been cut. Give it a week or more prior to moving the treated stems or simply cutting them.
This will give the chemical application time to work. Cut, spray or pull up by hand any remaining sprouts that pop up. It is best to treat weeds in late summer or early autumn at a time when no rain is forecast for at least one hour. For this method, you should wear the safety equipment described earlier.
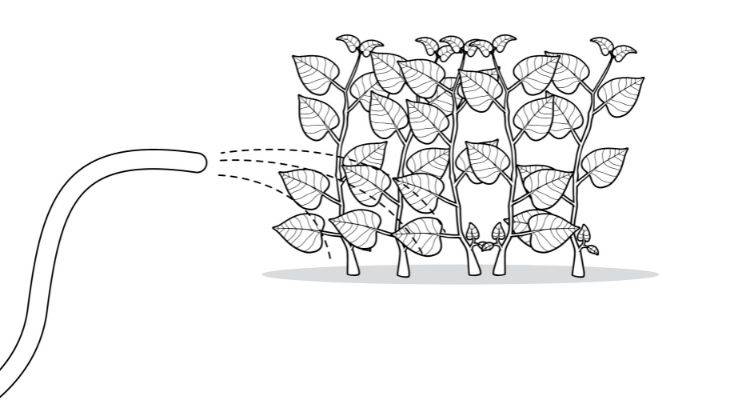
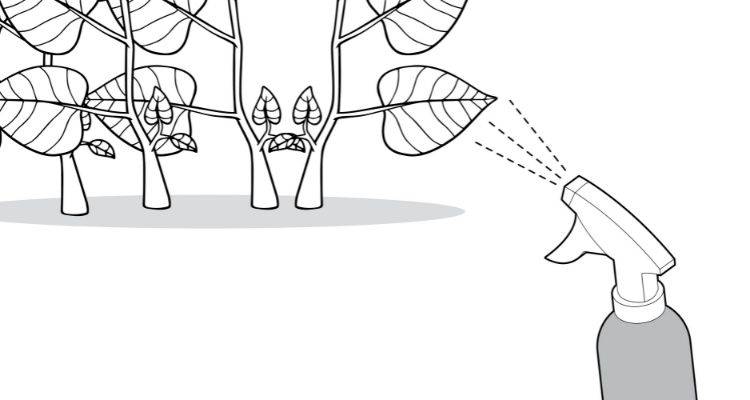
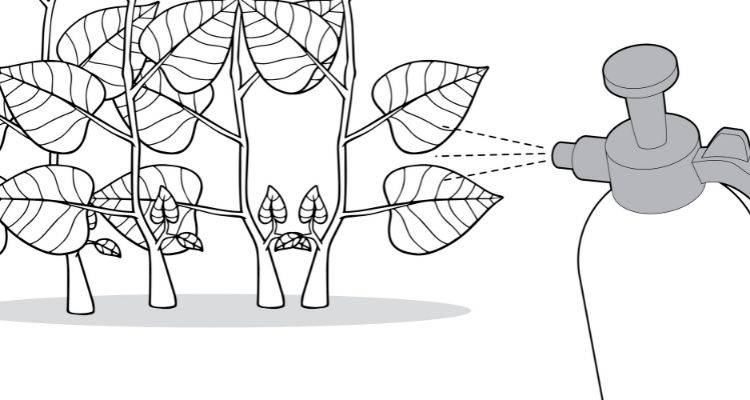
Method 4 — Foliar Spray
Step 1 — Spray Application
Another method that is similar to the prior involves applying a foliar spray with a handheld garden sprayer.
This approach is best suited to situations where there is a large colony of Japanese Knotweed. Based on the manufacturer’s guidance, combine 2% glyphosate or roughly two and a half fluid ounces for each gallon of water used.
Wet the Knotweed down using the handheld garden sprayer. Avoid spraying the leaves to the point that you get runoff. Repeat this once a year if needed.
It is best to apply a Foliar Spray in late Autumn, during dry conditions. You should wear the safety equipment described in this article for this method.
Types of Japanese Knotweed
In this section, we’ll discuss the several primary types of Japanese Knotweed that exist.
Giant Knotweed
This type of Knotweed tends to grow larger than most, and stems can reach up to 4-5 metres in growth during just one season. You may spot a heart-shaped base on each of these and alternate leaves can grow to as much as 30cm in length.
The stems tend to be knotted, woody, and similar to bamboo. A cut stem application or foliar spray is the best course of action when dealing with this type of Knotweed. Giant Knotweed can be particularly troublesome and significantly impact the aesthetics and biodiversity of your property.
Himalayan Knotweed
Himalayan Knotweed is a robust perennial that can grow up to nearly 2 metres, while producing clusters of white or pinkish flowers during the late summer or beginning of autumn.
Himalayan Knotweed is often misidentified for Himalayan Balsam due to similar flower colours and leaf appearance. The method needed will depend on the extent of the issue, but a mowing method may suffice.
Dwarf Japanese Knotweed
While not as tall as other varieties, left unattended can grow to around a metre. The leaves of Dwarf Japanese Knotweed feature a leathery texture and edges that are crinkled.
You’ll often find pale pink or whiter Japanese Knotweed flowers appearing toward the end of the summer. As they mature, these flowers can redden or become dark pink. Again, one of the mowing approaches should do the job unless it is a particularly widespread problem.