my
myHow to Lay a Path
Are you looking for a guide on how to lay a path? This article aims to explain how to lay a garden path. We will highlight all of the tools, materials and safety equipment needed to complete this type of job, and we will provide a step-by-step guide on laying a path.
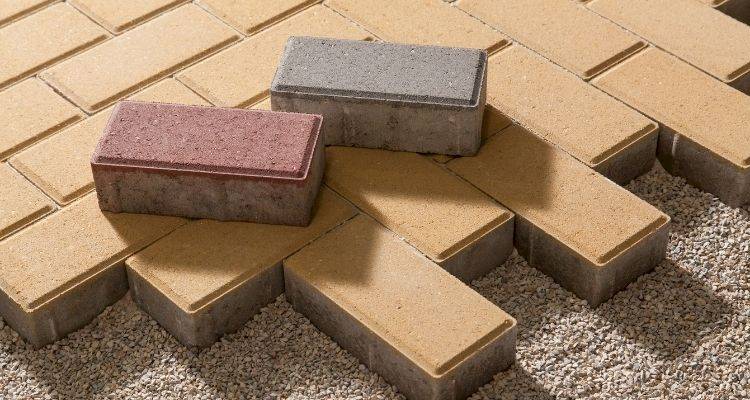
Table of Contents
What Tools Do I Need to Lay a Path?
There are several tools that you will need to lay a path. Below is a list of the tools that you should have before attempting this job:
- Pegs & multi-purpose string length
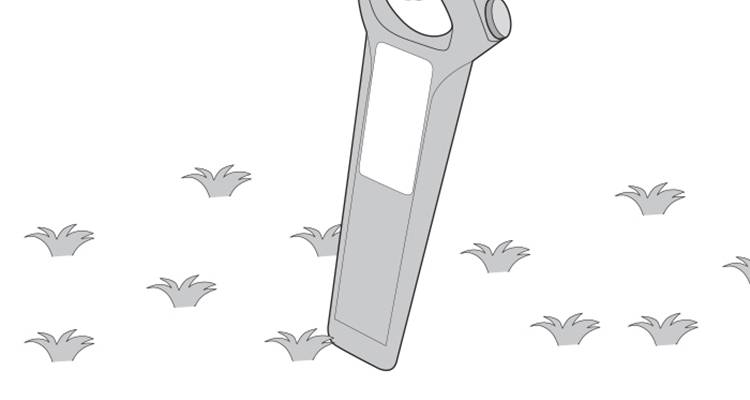
- Garden spade
- Heavy-duty tape measure
- Spirit level
- Heavy-duty scissors
- Rake
- Tamper or wacker plate
- Screwdriver
- Rubber mallet
- Bucket (if mixing mortar)
- Watering can with a fine rose or spray gun
- Soft brush (for block paving)
- Trowel
What Safety Equipment Do I Need to Lay a Path?
There are a number of recommended safety precautions that you should take when laying a garden path. Below is a list of the safety equipment that you should use for this type of job:
- Safety boots
- Dust mask
- Safety goggles
- Rigger gloves
- Ear defenders (if using wacker plate)
What Materials Do I Need to Lay a Path?
There are several materials that you will need to use in this type of job. Below is a list of the materials that you will need to lay your path:
- Treated timber (for edging boards)
- Treated wooden pegs
- External grade screws
- Weed control landscape fabric
- MOT type 1 or hardcore
- Decorative gravel (for gravel path)
- Sand and cement (dry mortar mix for jointing if not using a slab layer)
- Paving slabs (for concrete slab path)
- Sharp sand (for block paving)
- Kiln-dried block paving sand
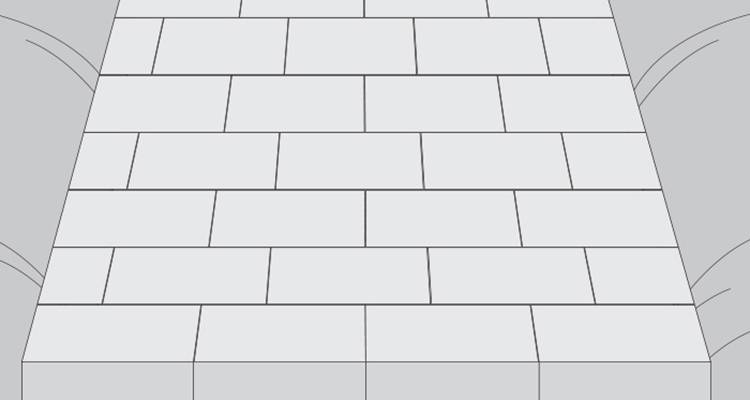
- Block paving
How to Prepare for Laying a Path
In preparation you will first need to design your pathway, which you can do yourself or by consulting with a garden designer that specialises in landscaping.
Once you have a design in mind, check there aren't cables or pipework that will be affected, as well as planning the job around the weather forecast. Lay out the design, which will also help mark where you need to dig, by using pegs linked together with a length of string.
How to Lay a Path Yourself — Step by Step Guide
Below will help guide you through how to construct a gravel, block-paving, or slab path. Although you can also hire an experienced garden path layer for a more professional finish if you prefer.
Step 1
Once you have checked the area for any underlying cables or pipes, create a layout for your path using pegs and strings, so you know exactly where it is going.
Step 2
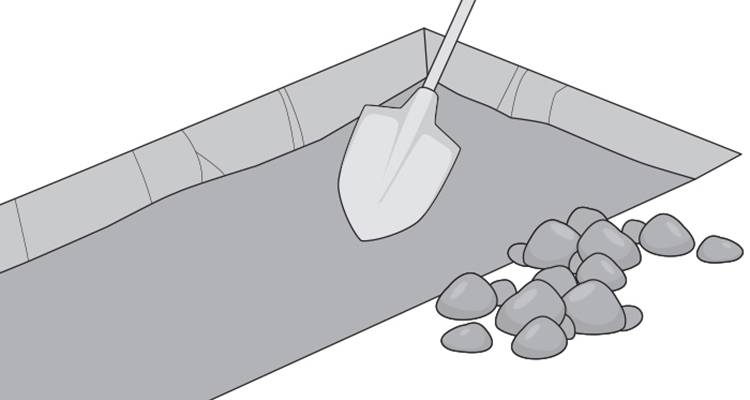
As a guide, mark the edges of your layout with a spade and then dig out a channel in line with the layout. The depth you need to dig will depend on the type of path you are installing and the materials being used.
A gravel path will need a depth of around 100mm, whereas paving slabs and block paving usually have a depth of 100-150mm for the sub-base, plus an additional 30-50mm bedding layer along with the depth of the slab or paving blocks themselves.
Step 3
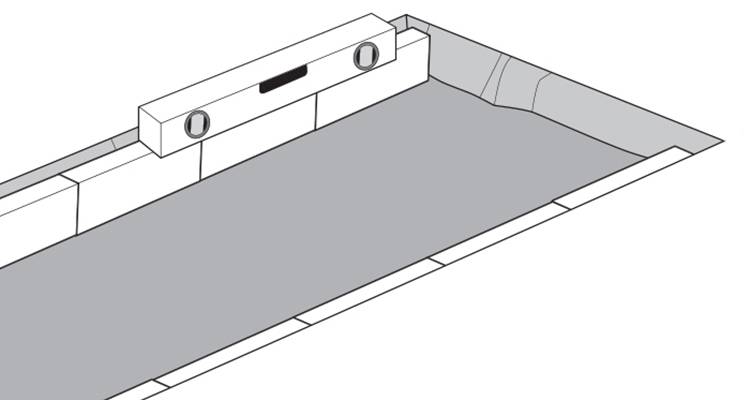
Lay timber in position along the edges of the path and then drive in pegs at intervals of no more than 1200mm apart. You should then fix the edging to these pegs using exterior grade screws to secure everything in place. Check the level as you go to ensure it is straight.
Step 4
When laying a gravel path, you will need to lay some landscape fabric along the path, although this isn't required for slab or block paving. If you need to use more than one piece of fabric, ensure you allow for an overlap between sheets.
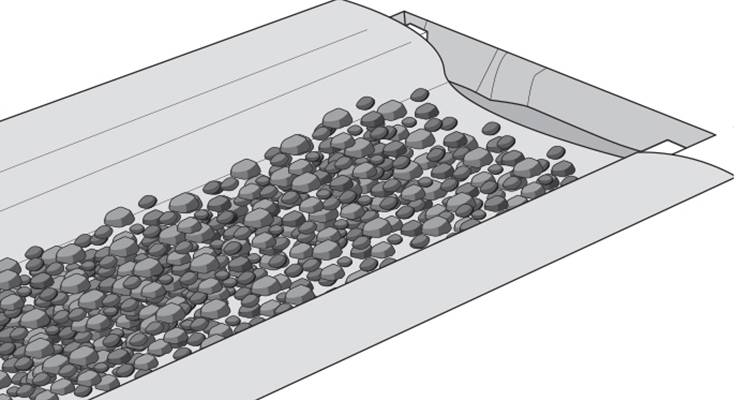
You will then need to add a 50mm layer of sub-base or hardcore and rake it until it is completely level. Compact the sub-base or hardcore with a tamper or wacker plate. Now, simply pour the gravel over the top to a depth of 25mm, leaving a gap of 25mm to the top of the edging.
Step 5
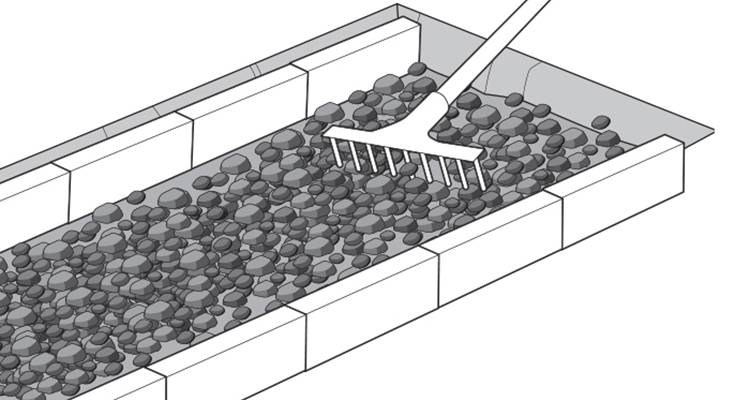
For paving slabs, begin by laying 50mm of sub-base and compact it as explained in the previous step, then add another layer to make up the complete 100mm. Next add your 30–50mm layer of mortar or another suitable laying mixture, leveling it out with a rake or trowel. If you are using a premixed option, check the manufacturer's instructions for further guidelines.
Step 6
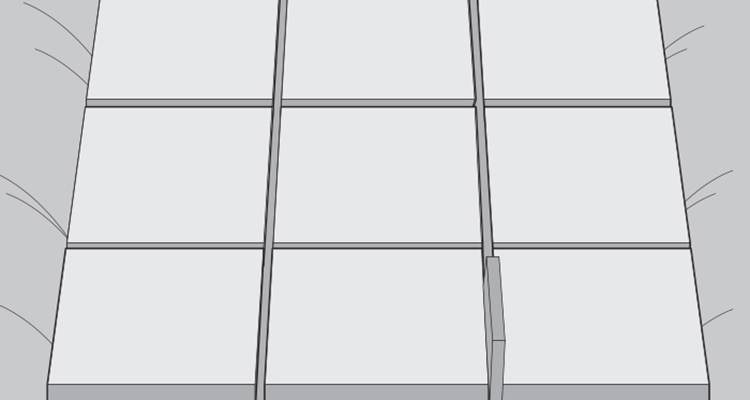
Damp the underside of the slab and then place it into position, embed it in using a rubber mallet. Repeat this process for all of the slabs, while checking they're level by using a spirit level as you go along. Use spacers to maintain a consistent gap between the slabs. Allow the slab layer to completely dry before continuing.
Step 7
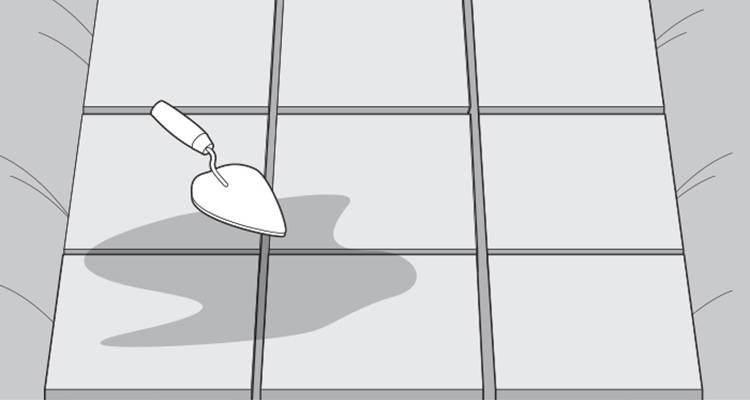
Once the path is completely dry, fill in the gaps with a mixture of water and slab layer. Apply this mixture to the openings using a trowel. Be sure to clean any excess away from the face of the slab before continuing onto the next one.
Step 8
For block paving, compact two 50mm sub-base layers, then add 50mm of dampened sharp sand. Lay the blocks on top, lightly tapping them with a rubber mallet and checking levels as you go.
Step 9
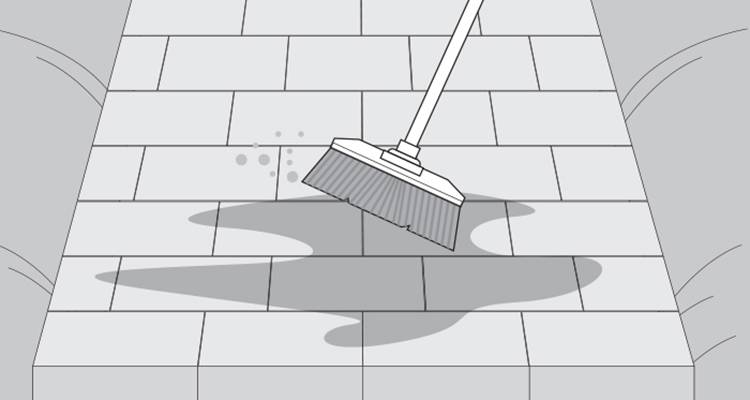
Once the path is in place, brush kiln dried sand into the joints before compacting with the wacker plate for the final time. Apply more sand if necessary to fill in any gaps that you can see in the joints.
Step 10
As you can see, it is quite similar to build all three types of path. Once you have completed the above steps, your path should be allowed some time to set before any heavy use. A good 24 hours should do the trick.