my
myHow to Fit an Architrave
We've created a step-by-step guide that's easy to follow, so you can learn how to put up architrave correctly. Check it out below!
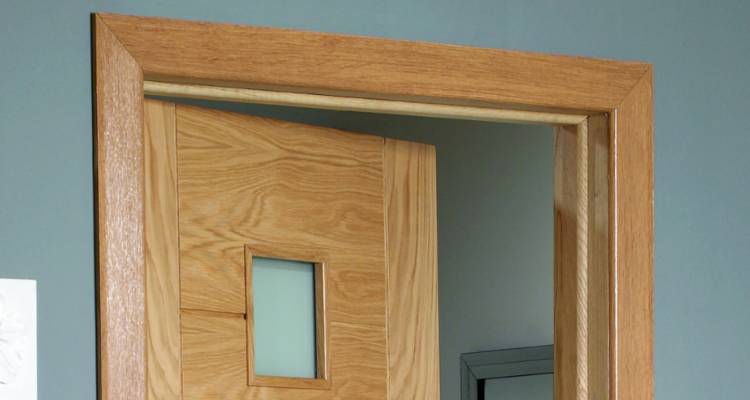
Table of Contents
What Tools Do I Need to Install an Architrave?
Here is a list of the tools that you will need for an architrave fitting:
- Pipe and cable detector
- Tape measure
- Pencil
- Long spirit level
- Mitre box
- Work bench
- Fine tooth saw
- Fine sandpaper
- Hammer
- Block plane
- Paintbrush
- Nail punch
- Filling knife
What Safety Equipment Do I Need to Fit an Architrave?
Below is a list of the recommended safety equipment when fitting architrave:
- Safety goggles
- Protective gloves
What Materials Do I Need to Install an Architrave?
Below is a list of the materials that you will need for an architrave installation:
- Architrave
- Grab adhesive
- Sealant gun
- 40mm lost head nails
- PVA adhesive
- Filler
How to Prepare for an Architrave Installation
When preparing ahead of replacing skirting and architrave, you should run a pipe and cable detector along all of the edges of the door to ensure that there are no hidden pipes or cables behind the wall where you are about to work.
How to Fit an Architrave Yourself — Step by Step Guide
Below is a step by step DIY guide on how to install an architrave around a door, alternatively you can find a local carpenter that can help:
Step 1
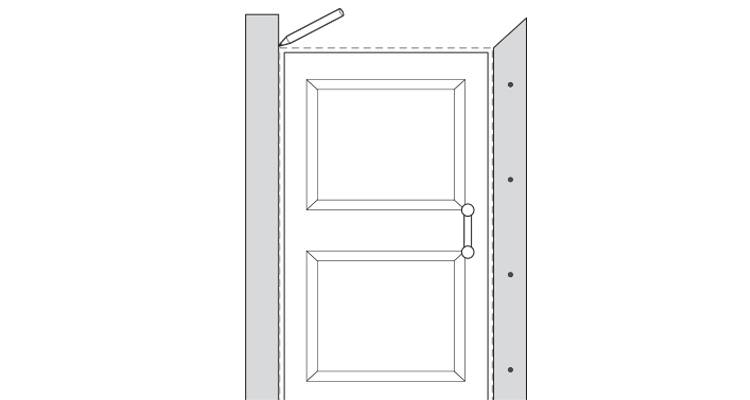
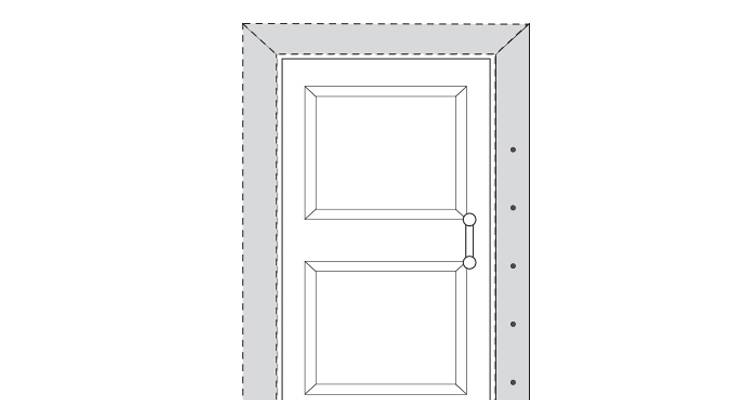
Use a tape measure to draw marks 6mm from the edge of the door casing. Do this down both sides and across the top. Join the marks using a spirit level or straight edge. This will give you three lines to which the architrave will be aligned to.
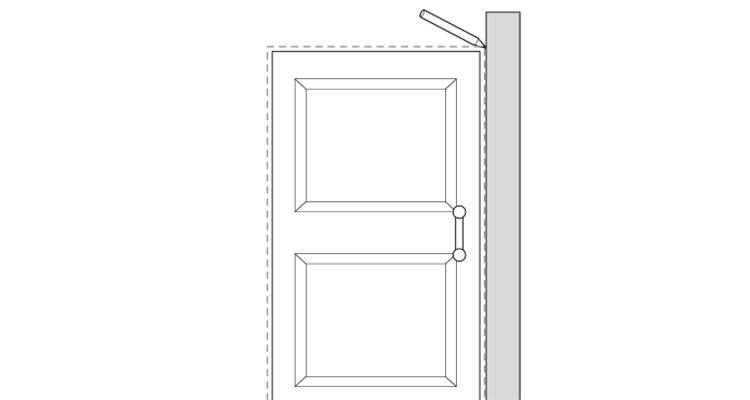
Step 2
Then, measure the line across the top of the door. Mark the length onto the architrave's inner edge but make sure you leave room at either end to allow for the mitre cuts.
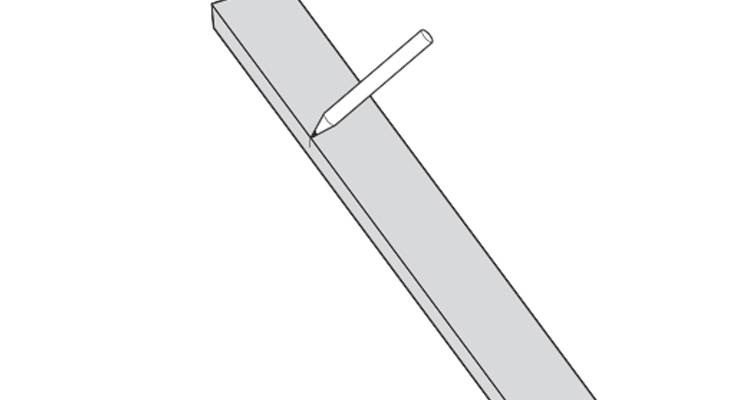
Step 3
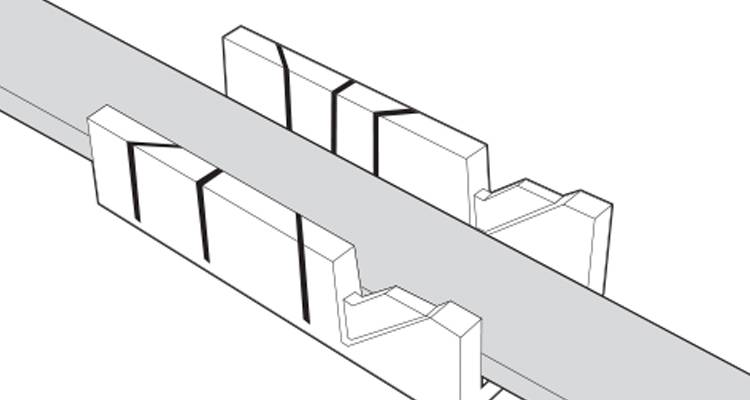
You should then mark the intended direction of the mitre cuts onto the architrave.
Step 4
Secure the mitre box onto your work bench and then lay the architrave on it with the flat side facing down.
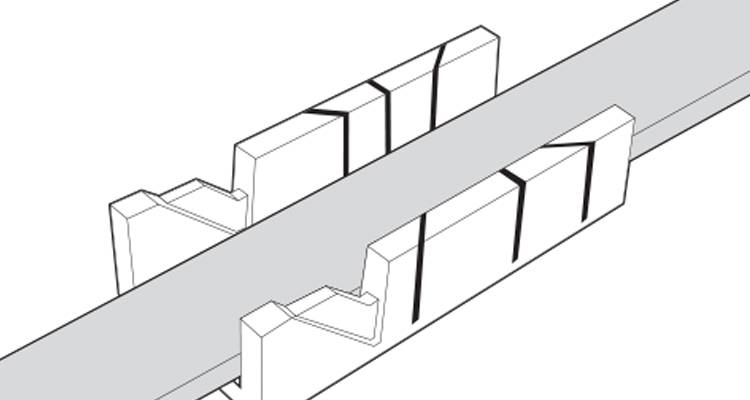
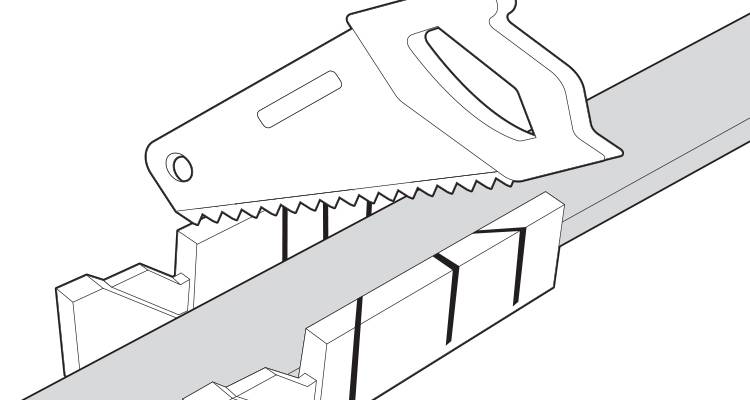
Step 5
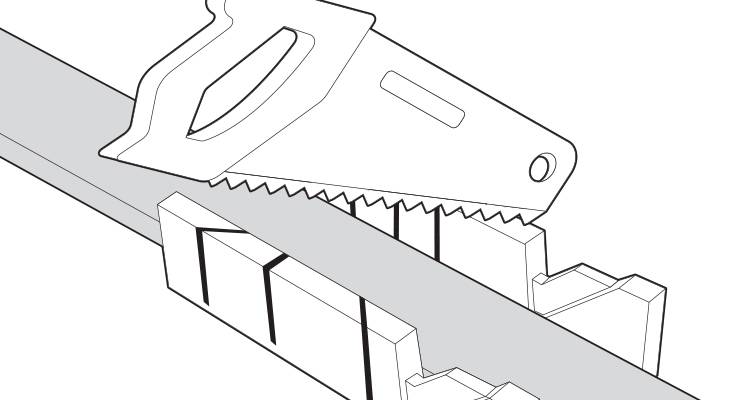
Use your saw to make the two 45 degree mitre cuts. Once you've made the cuts, lightly sand the edges until they're smooth.
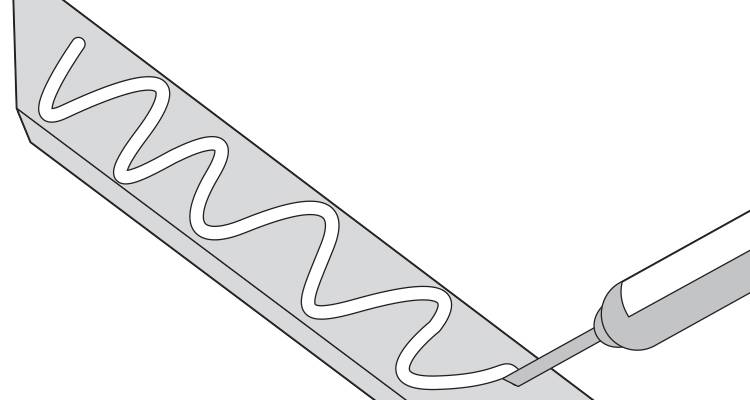
Step 6
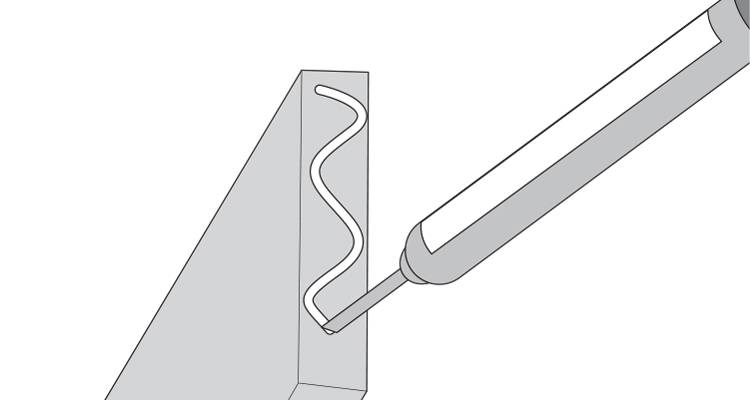
Apply a thin bead of grab adhesive along the back of the headpiece where it will contact the wall and door frame. Apply evenly as per the below diagram.
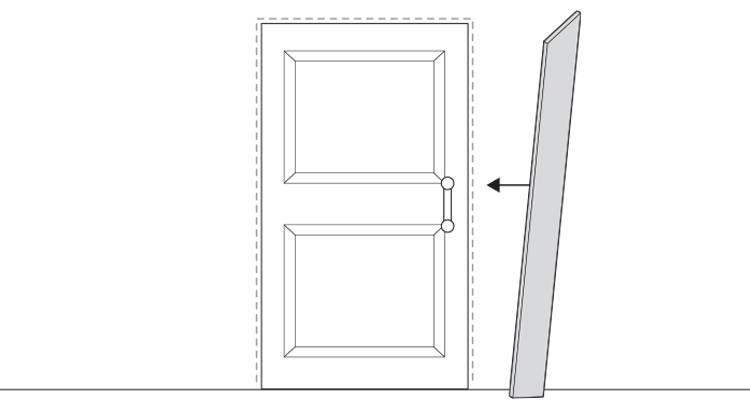
Step 7
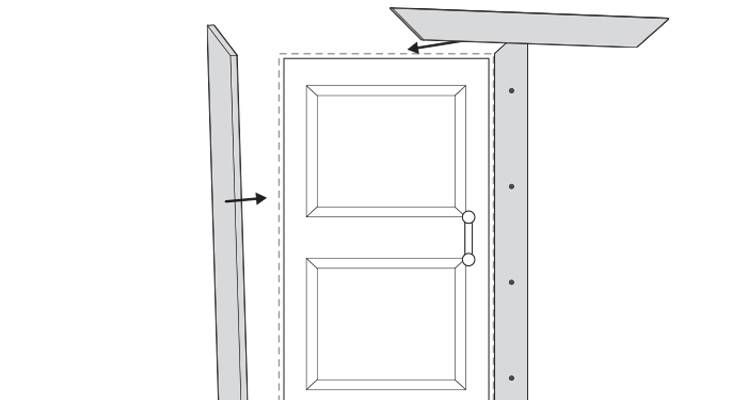
Then, carefully fix the headpiece into position along the 6mm line above the door. Ensure that the mitred corners are in line with the corners on your markings.
Step 8
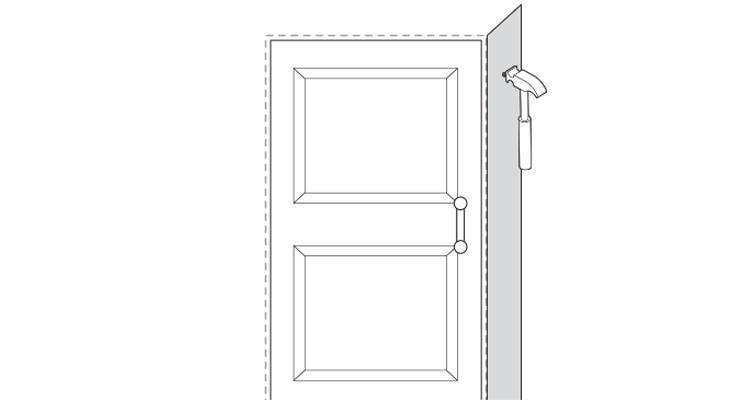
To hold the architrave into position while the adhesive dries, you should then hammer four 40mm lost head nails evenly spaced into the architrave and casing of the wooden door.
Step 9
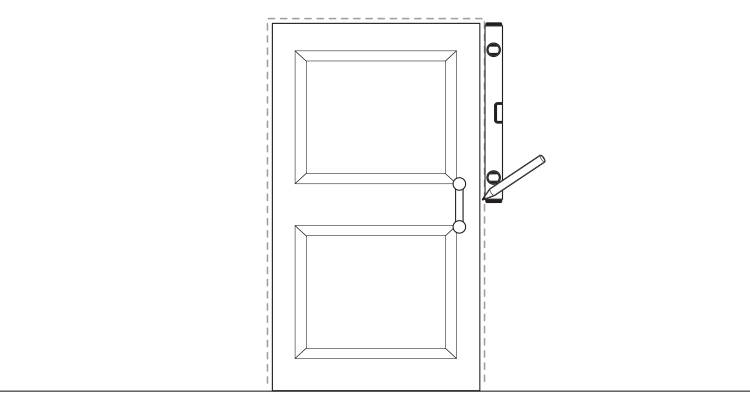
Now it's time to prepare the side pieces. Use your tape measure to measure the length from the floor to the bottom of the headpiece. Mark this distance onto the two sections of your architrave that will be your side pieces.
Step 10
Mark out the intended direction of the mitre cuts onto both pieces. Keep in mind that one end on each piece will need to be cut square so that it can sit flat on the floor.
Step 11
Use your saw to create the mitre cuts on each side and sand them down so that they are smooth.
Step 12
Hold the mitre joints in position to ensure that they fit neatly and make small adjustments with a block plane if needed.
Step 13
Apply PVA glue to one end of the headpiece where the mitre cut is and add grab adhesive to the appropriate side piece.
Step 14
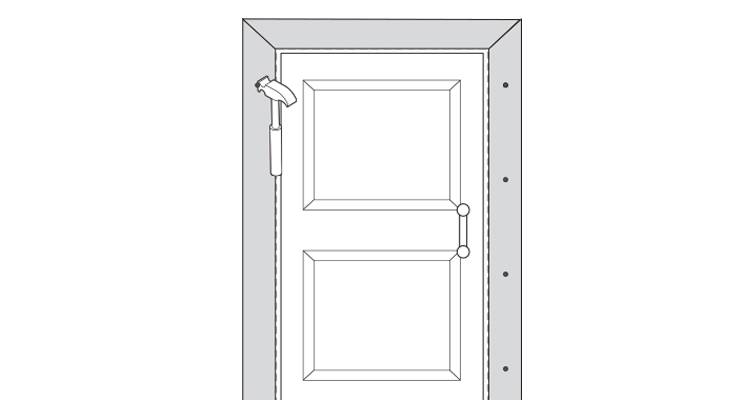
Then, put the side piece into the correct position and hold it in place with six 40mm lost head nails, again evenly spaced along the length. Repeat the above step to fix the other side section into place.
Step 15
Finally, use a hammer and nail punch to sink all the nails to just below the surface.
Step 16
If you plan to paint the architrave, then it is best fill and sand down the nail holes first. Then, use a sealant gun to apply a thin bead of sealant along any gaps between the architrave and the wall. Smooth the bead with a damp finger or finishing tool for a neat finish before painting. However, also check the manufacturer's instructions first as for best results, you may need to prime the wood beforehand.
How to Remove Architrave
If you are removing an old architrave, then below is a simple step by step guide on how to do so. If you are hiring a professional, then you should confirm if this is included within the cost of installing your new one.
- Run a Stanley knife or a sharp blade along the edge of the architrave to create a small gap between the architrave and the wall.
- Use a chisel to tap into the side of the architrave and loosen it away from the wall.
- Gently pull the architrave away from the wall using the chisel until it is all completely off.