my
myHow to Install a Kitchen Sink
In this article, we explain how you would go about installing your kitchen sink. We detail what the job involves and everything you need to get started.
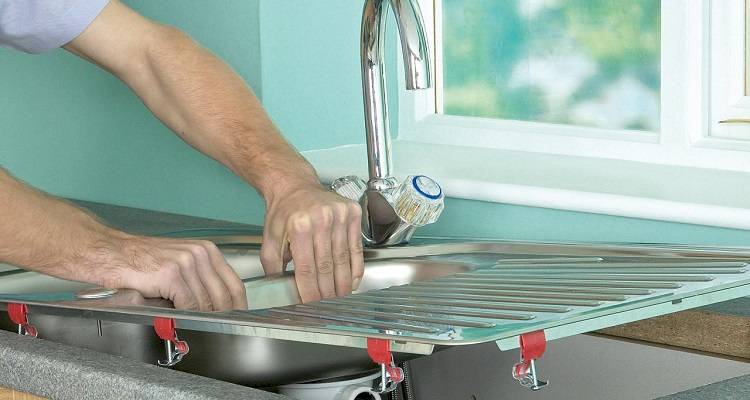
Table of Contents
What Tools Do I Need to Install a Kitchen Sink?
You want to ensure that your DIY project runs smoothly and successfully, to avoid any hiccups, you will need the correct tools and materials to allow you to install your kitchen sink successfully.
You will need the following tools:
- Flat blade screwdriver
- Cross-head screwdrivers
- Adjustable wrench/spanner
- Utility knife
- Pliers
- Bucket
- Cloth/old rags
- Pipe wrench (optional)
- Sealant gun (optional)
- Jigsaw (if required)
If you don't have these tools to hand, then you should be able to purchase these at your local DIY shop.
What Safety Equipment Do I Need to Install a Kitchen Sink?
As you are handling potentially heavy and sharp objects when you install a kitchen sink, it is important that we highlight the importance of safety and protection during this installation process.
- Eye protection glasses
- Gloves
- Get a friend to help you when lifting and moving heavy items
Always read the manufacturer’s instructions and take care when using power tools.
Upon removal of your sink, do avoid lying directly underneath the sink as small parts may fall down during this process. This is why you should wear goggles or protective eyewear during this time.
If at any stage you have any doubts or are uncertain, then please call an expert for advice on any issues you face.
What Materials Do I Need to Install a Kitchen Sink?
You will need to purchase the following materials:
- New sink
- Tap
- Flexible hose connectors
- Isolating valves (if needed)
- Plumbing fittings and sundries
- Sealant (some manufacturers already supply this with your new sink)
- Fixing clips
- PTFE tape
You can purchase the above materials from local DIY stores or locate them online.
How to Prepare for Installing a Kitchen Sink
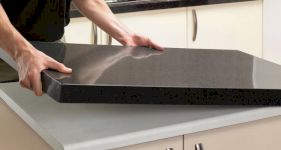
Taking the time to plan and prepare before learning how to install or replace a kitchen sink in a new counter top will ensure the process goes smoothly and mistakes are minimised.
When considering your new sink unit, it is much easier to fit a bowl the same size and depth as your existing one to avoid making any changes to the pipework and without having to cut or replace the worktop. Similarly, you will also want to ensure you choose a waste that is similar in size. This will make the fitting and reconnect process much easier.
It's important to remember that when you are removing and replacing your old sink and tap that you ensure the water supply to the area is turned off before attempting to remove the appliance. If your supply pipes have an isolation valve, then to switch them off, turn the screw head a quarter-turn so it’s at a right angle to the pipe.
If isolator valves are in place then your water supply will need to be switched off at the mains. Locate your mains stopcock; this could be outside or inside your home. To turn these off, simply turn the stopcock clockwise.
When it comes to replacing the kitchen sink, you should still be able to use your current water supply pipes and outlets. However, you may need to extend the cold and hot water supply pipes if your tap position alters. This is where flexible hoses should be used to allow you to connect the inlet pipes to the water supply.
We also recommend that you assemble the new sink and kitchen sink taps together before removing the old sink. This will give you a chance to make sure all the seals are applied and attached correctly. This will help preparations to run smoothly to ensure the joints are leak-free.
You will find that when you are fixing your new sink in place, that you have some fixing clips provided to you by the manufacturer. These should be used to hold your sink into position, and you will need to attach these to the new sink before fitting. Fix these clips to the worktop and space them out evenly at intervals following the instructions provided.
How to Install a Kitchen Sink Yourself — Step by Step Guide
Step 1
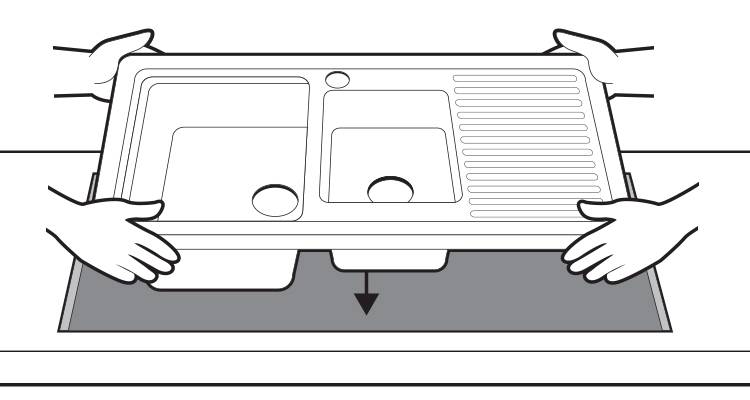
Make sure you are wearing safety gloves for this as the edges can be sharp. Check that the sink fits into the cut out area on your worktop and that the pipes connect correctly. If they don't fit, you may need to refit your pipework and consider purchasing additional pipes to allow it to connect together correctly.
Step 2
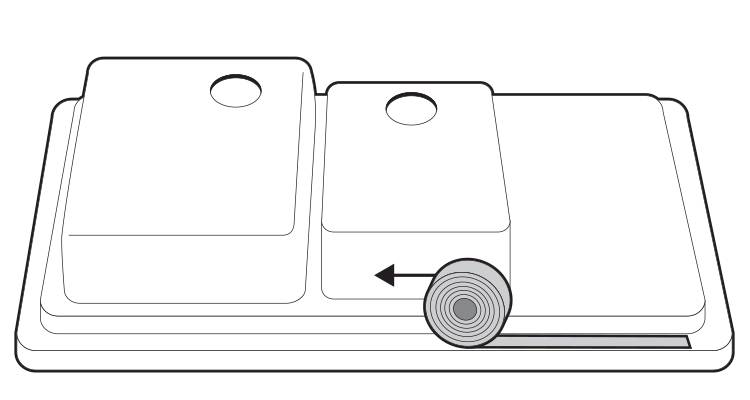
Once you're satisfied the sink fits the cut-out, prepare it for installation. Place the sink upside down on a protected surface and apply the supplied sealing strip or foam gasket around what will be the underside of the sink pressing it down firmly, to prevent water from going where it shouldn't.
If there isn't a strip provided, use a small bead of silicone sealant or a non-setting compound instead. Adhesive-backed seal trims should be actioned in small sections at a time, peeling the backing away as you go to avoid mistakes.
Step 3
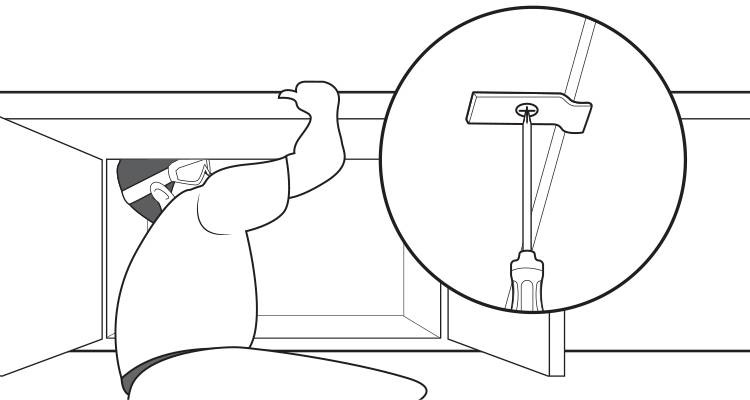
Make sure that the area under the sink is clear before putting it into place, so you can start working beneath the worktop. Where applicable, start by tightening the sink retaining clips. To do this, wear your eye protection and try not to lay directly underneath the sink, as you tighten the clips around the edges using a screwdriver.
Step 4
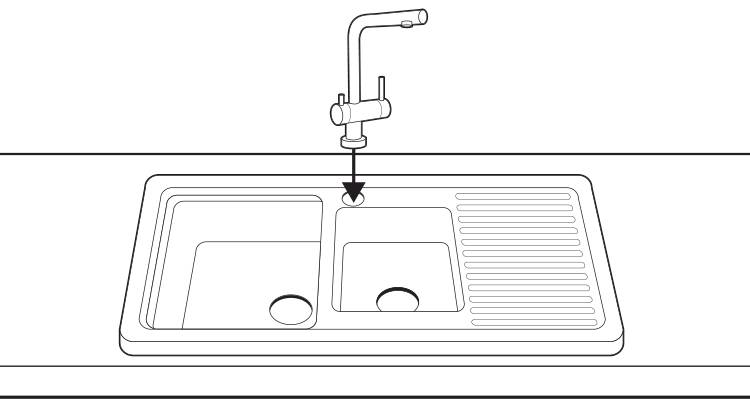
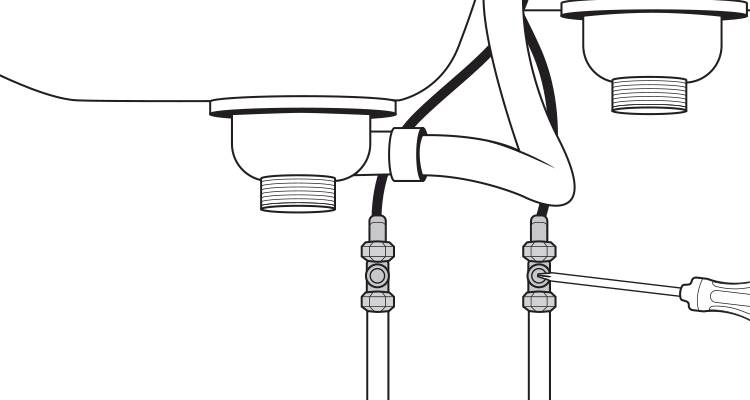
At this stage, you can now fit taps into your new sink. Please ensure you follow the manufacturer's guide from the instructions provided. If you are refitting your original taps, you will need to assemble these correctly back into place and connect the tap to the hot and cold water supply via the mains pipework.
Step 5
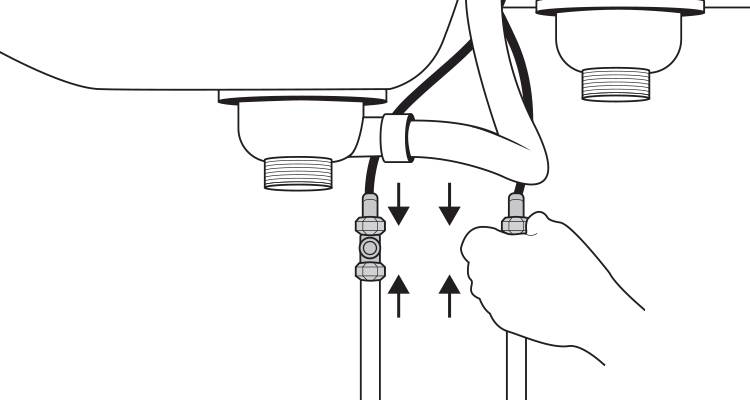
Secure the hot and cold supply using flexible hoses and connecting them with a screw valve. However, you may find some taps have a dual flow design, and this just means hot and cold water can pass directly through the tap in separate tubes, then these will mix at the outlet of the tap.
If your tap combines hot and cold water internally, then the water regulation or local bylaws may require a non-return valve or single check valve to be fitted on pipes that are connected to the current mixer tap. This is due to the difference in pressure between hot and cold water.
Step 6
With the tap connections in place, before reinstalling the waste pipe test your water supply. Turn on the isolation valves or stopcock and gradually start with the cold tap, then the hot as you check any joints for leaks.
If you spot a leak, turn the water off and inspect the affected joint. For compression fittings, carefully tighten the nut slightly without overtightening. If a plastic or rubber washer is damaged, replace it.
In the event the leak is coming from damaged or corroded pipework, stop and contact a qualified plumber .
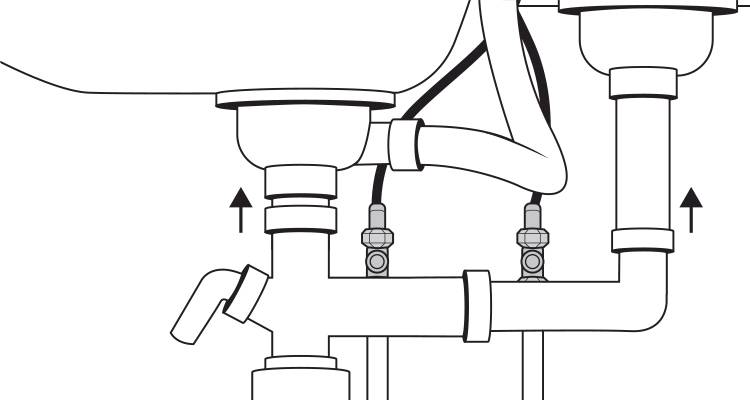
Step 7
Once you've checked the pipework, move onto fitting the waste pipe. Check all the joints and seals are in good condition and are positioned correctly. The seals may need replacing, in which case we'd recommend purchasing new ones, to avoid any accidents down the line. It might also be useful to thoroughly clean any waste and gunk from the u-bend, before refitting.
Step 8
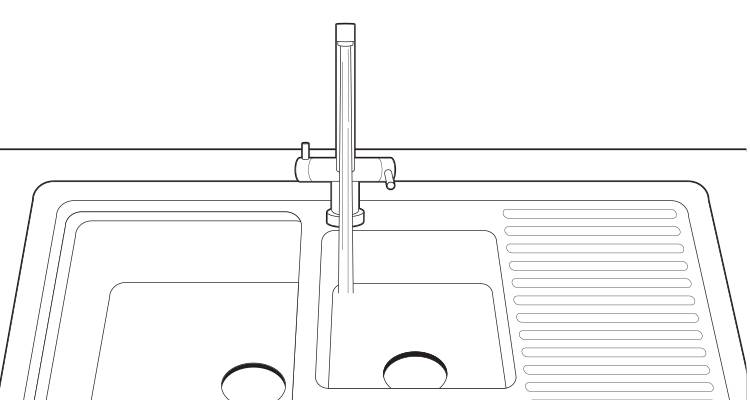
You can now turn the water back on and check for leaks. If you find any issues, turn off the water and then inspect the seals, tighten or replace them as needed. Fill the sink compartments with water and remove the plug so you can test the waste is being removed as expected.
Don't be alarmed if you hear loud gurgling noises from the tap; this is just air bubbles and pressure being released from the supply tap work. If you turn the tap slowly, this will help avoid any splashes.
How to Remove a Sink
When it comes to renovating your home or just chasing to redecorate a room, it's out with the old and in with the new. You might be considering upgrading your sink, and before you can replace the old with a newer model, you will need to know how to remove a sink. It might seem like a complicated task but removing a sink can be done by even the most inexperienced DIY goer.
Before you begin to remove the current sink, you will need to turn the water supply off. To do this, locate the valves behind the sink. If you don't have shut-off valves, then you will need to shut off the water supply at the main stopcock.
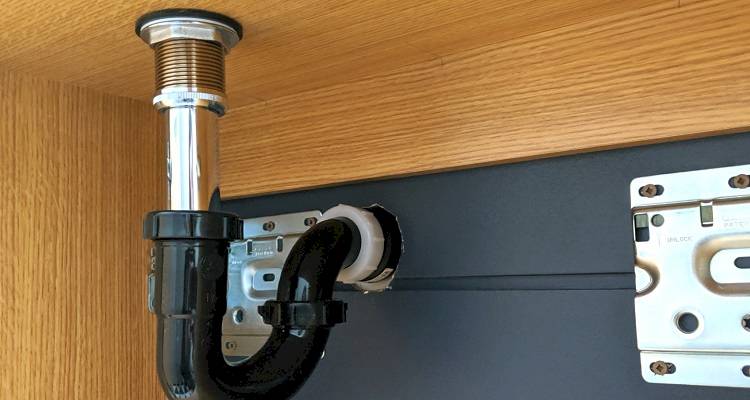
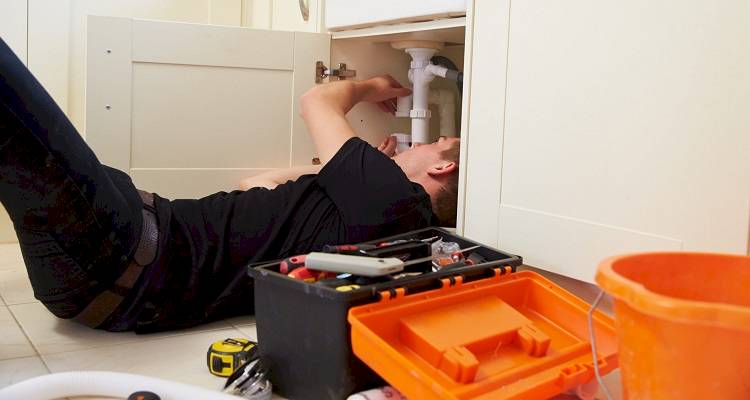
Next, you will need to remove the P-Trap, which is the U shaped section of the drainpipe. Using pliers, you need to loosen the nuts which hold the P-Trap in place. Before doing this, you will need to place a bucket beneath the area to catch any water drops.
Now, you will need to remove the clips which fasten the sink directly to the countertop. Use a screwdriver to loosen and remove the clips.
Once the clips are removed, you will need to remove the sealant. You can do this using a utility knife which can be used to loosen the sealant.
Finally, you can remove the sink by lifting it straight from the countertop. If the sink is stuck, check all the slant has been removed, and any clips or bolts are off.