my
myHow to Paint Kitchen Cupboard Doors
In this article, we explain how to paint kitchen cupboard doors. We explain everything that you might want to know regarding paint, tools and other materials along with answering frequently asked questions.
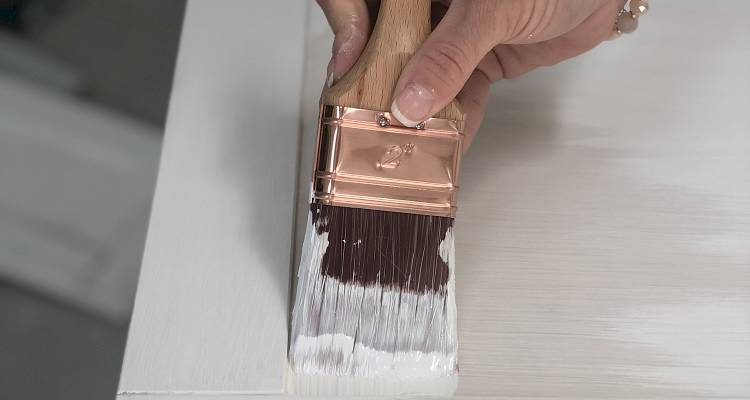
Table of Contents
- What Tools Do I Need to Paint Kitchen Cupboard Doors?
- What Safety Equipment Do I Need to Paint Kitchen Cupboard Doors?
- What Materials Do I Need to Paint Kitchen Cupboard Doors?
- How to Prepare for Painting Kitchen Cupboard Doors
- How to Paint Kitchen Cupboard Doors Yourself
- Paint for Kitchen Cupboards
- FAQs
What Tools Do I Need to Paint Kitchen Cupboard Doors?
Before you start reaching for the kitchen cupboard paint, you will need to first ensure you have all the correct tools to allow you to complete the job to a high standard and leave you with a professional finish.
Please ensure you have the following tools:
- Screwdriver
- Planks
- Drill
- Paint brush
- Paint stirrer
- Microfiber paint roller
- Trestle legs (optional)
The above tools can be easily sourced and purchased at a DIY shop or online.
However, if you're not confident carrying out the job yourself then finding a professional painter and decorator is an alternative option, especially if it's part of a wider redecorating project.
What Safety Equipment Do I Need to Paint Kitchen Cupboard Doors?
As with any project, you need to ensure that you are safe with any tools and materials that could be potentially harmful to you.
Kitchen units can also be heavy, so it's advisable that you ask for help if you need to move them ready to paint or when you're putting them back afterwards
When building your painting surface, you will need to move planks of wood, or scaffolding board. Please ensure you wear gloves when handling and get help from a friend when carrying and manoeuvring these heavy planks around your home.
You will also be sanding down the surfaces of your cupboard door. Of course, sanding creates a lot of dust. Please ensure you wear a face mask whilst sanding.
To recap, please ensure you have the following:
- Dust mask
- Gloves
- Someone to help with any heavy lifting
What Materials Do I Need to Paint Kitchen Cupboard Doors?
Now that you have the tools, it's equally as important to source the correct materials (in addition to the kitchen cupboard paint of your choice).
You will need the following:
- Cloth
- Sandpaper
- Sugar Soap
- Dust Sheet
- Sponge
- Pencil
- Spare Screws
How to Prepare for Painting Kitchen Cupboard Doors
Before painting any object, it's important that you fully prepare the area and the surface for paint.
- Firstly, begin by removing any knobs or handles from the cupboard door. This makes it much easier to paint, rather than trying to paint around an obstacle. You will then have a much even and professional finish.
- Next, remove the cupboard doors for a better finish. Some prefer to paint doors while still attached; if so, protect the area underneath with newspaper or sheets.
- Once removed, sand the surface using fine 220-grit sandpaper for a smooth finish. Work slowly and methodically, avoiding fast or vigorous movements to easily buff out imperfections.
- When you have finished sanding down the surface, you will need to wipe down the surface with a wet cloth to ensure removal of any dust particles.
- You should now look at removing any grease from your surface, as over time grease can build up on your kitchen surfaces. To remove the grease, you can use a lint cloth or consider using sugar soap to clean the surface of your cupboard. You need to remove the grease to allow your paint to stick to the surface of your cupboard.
- You may also want to consider applying a primer before you begin painting the kitchen cupboards. Using primer stops the wood grain from showing through and helps the paint adhere better. For wooden kitchen cupboards, a shellac-based primer is usually recommended.
- However, for laminate doors, a shellac primer is not ideal, instead try using a bonding primer or a primer specifically formulated for laminate surfaces. Always read the manufacturer's guidance before using any product. To apply the primer, use a paintbrush and leave to dry according to the manufacturer's instructions.
- After you have applied the first coat of paint has been applied and has dried, lightly sand the surface of the door before continuing to apply the topcoat of paint.
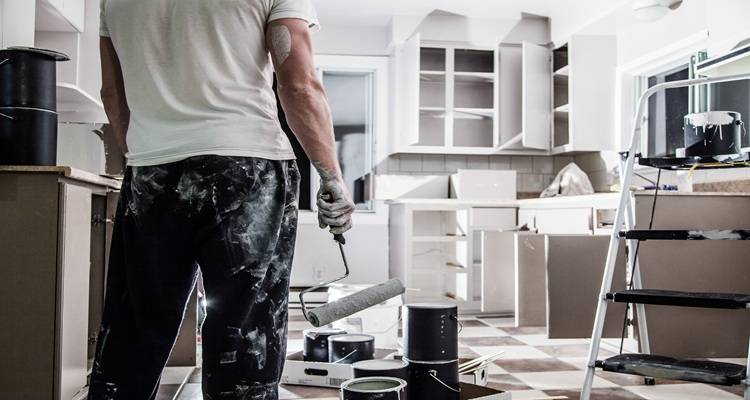
How to Paint Kitchen Cupboard Doors Yourself
Please follow the following step-by-step guide to teach you how to paint kitchen cupboards to a professional standard.
Step 1
The first stage is to remove the current handles from your kitchen doors. You can either choose to use a drill or a screwdriver to remove the screws currently holding the handles in place.
Step 2
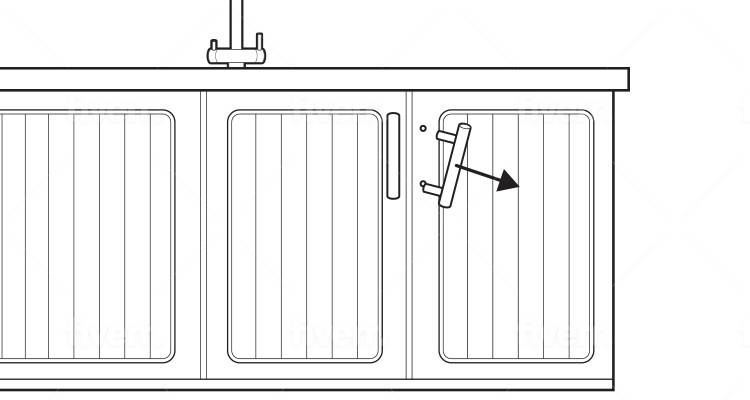
It's now time to number each door individually. Open each cupboard door and ensure you write the same number in the cupboard which corresponds to its cupboard door. We would advise you to go around in a linear and methodical order when numbering your cupboards.
The reason we ask you to do this is to make it simple and easy to find and fix your cupboard back on after they have been removed and paint has been applied to the kitchen cupboards.
Step 3
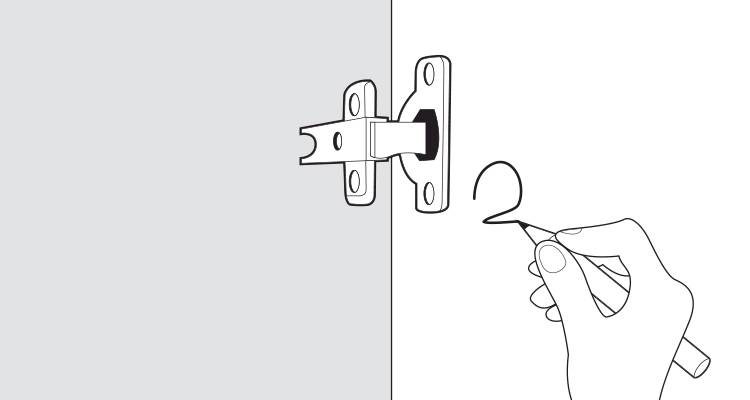
Once numbered, you can now start to remove the doors completely. Open the door and, using your screwdriver, remove the screws that hold the hinge together. There is no need to remove the hinge from the cupboard.
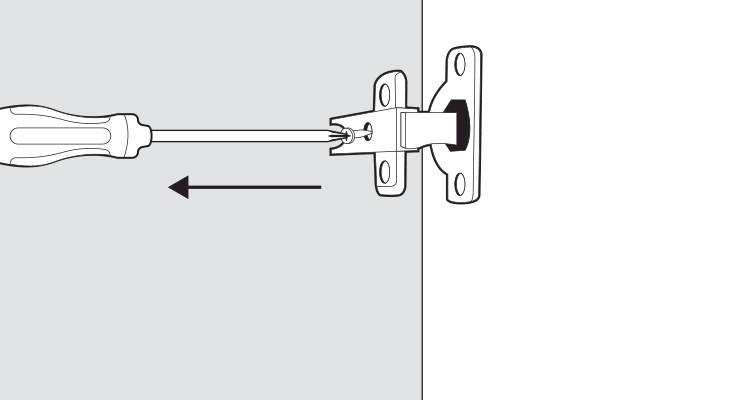
You will need to keep all the screws, so don't forget to keep these safe. You will need to use these later when you reattach the doors. Continue this process until all the doors have been removed. Ensure you get someone to help you remove and lift doors if they are too heavy.
Step 4
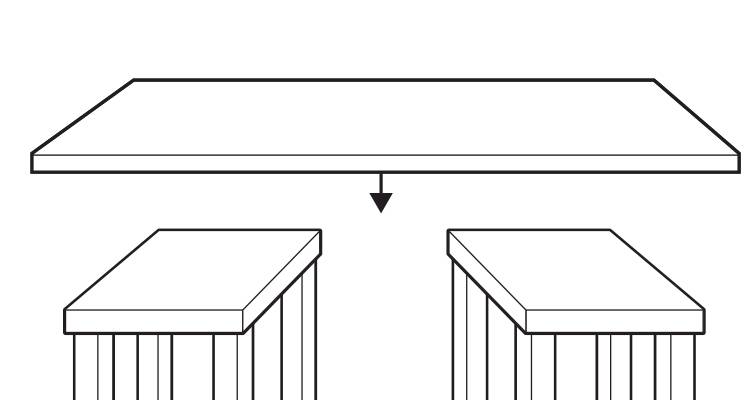
Next, set up a stable surface for painting your kitchen cupboard doors. Place two planks of wood or a scaffold board across trestle legs to create a sturdy work area.
Step 5
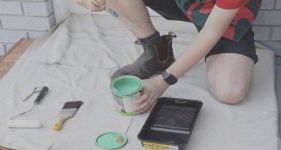
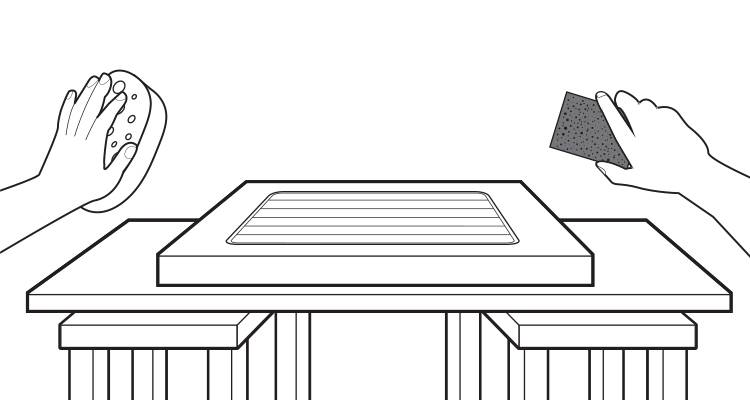
Taking one of the doors, place this onto your surface. Using a damp sponge, wipe down your surface to ensure you remove and dust and grease. Once dried, lightly sand the door surface using fine grit sandpaper. To remove any excess dust, use a lint-free cloth and wipe thoroughly over the surface.
Step 6
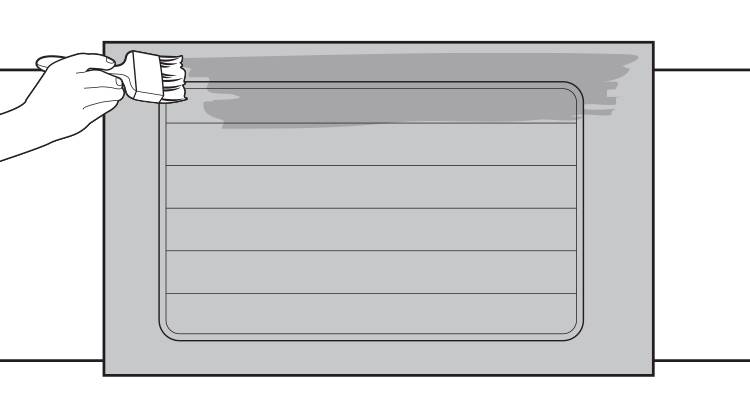
Now it's time for the fun part! Taking your chosen paint, open and stir thoroughly with a paint stirrer. Using a small paintbrush, target the fiddly areas of the door first. Paint over and in-between and ridges and grooves within the door.
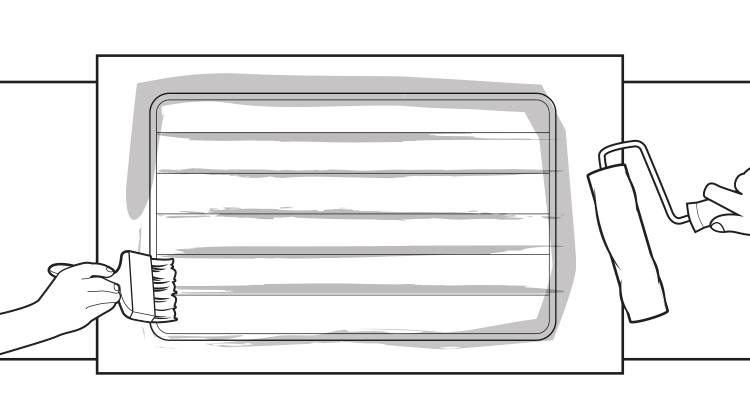
Then take your roller, coat with paint in your paint tray first, to ensure you get an even coverage of paint. Use the roller and apply an even pressure on the door. Continue with this technique until the door is covered evenly with paint.
Step 7
You will then need to leave the doors to dry for 12 hours, then repeat the painting process again with a second coat of paint. Then leave to dry further. Please check the manufacturer's instructions on advice for drying times.
Step 8
Once dry, you can reattach the newly painted doors ready for use. Make sure each door is matched to the correct position according to the numbers marked labeled earlier in the process.
Paint for Kitchen Cupboards
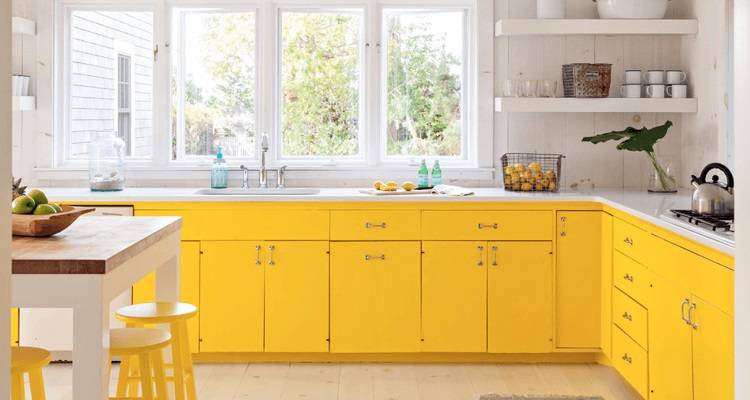
Can I paint kitchen cupboards? Absolutely! If you are looking to change the decor of your kitchen without breaking the bank then choosing to paint your kitchen cupboards can really change the feel of a room.
With any DIY project, you want to ensure you are using the best paint for kitchen cupboards to allow you to get the best finish and look that you want.
When choosing paint, you should avoid matte and eggshell paint on kitchen cabinets. Instead, you should consider satin and gloss as they last much longer and are easy to wipe clean. They are classed as hard-wearing paints which is what you need for a kitchen.
Not only is it important to choose the correct type of paint, but also the correct colour for your kitchen. Bear in mind that your kitchen cupboards are a key focal point within the room, so choose a colour you are confident with. Don't forget; you can always consider buying tester samples and trying them out on your kitchen cupboard first.
If you are new to painting, choosing the correct paint can be overwhelming because there are many different variations of type and colour.
You may want to consider looking at the following before choosing a paint:
Oil-Based Paint
This type of paint gives you a lovely smooth and even finish. Another pro to this paint is that it's more durable than a latex type of paint. However, be aware that this type of paint takes considerably longer to dry than water-based paint products. If you are going to opt for this paint, ensure you keep the room ventilated, opening windows and doors due to the strong odour produced.
Water-Based Paint/Latex-Based Paints
Choosing this type of paint is great if you are looking for something durable and fast drying. Ideal if you are on a short time limit to complete your project. This paint Is also easy to apply, and unlike oil-based paint doesn't come with a strong odour.
When it comes to cleaning the surface after it has been painted, using a cloth and soapy solution makes it easy to clean. If you are using this type of paint, this requires more prep work as you will need to use a primer before applying paint.