my
myHow to Move a Waste Pipe
If you want to learn how to move a waste pipe, have a look at our easy-to-follow guide, which includes a list of tools and safety equipment you'll need as well as step-by-step images on how to complete the job. Check it out below!
Table of Contents
What Tools Do I Need to Move a Waste Pipe?
Below is a list of the tools that you will need to move a waste pipe:
- Multi-purpose saw
- Pipe cutter
- Tape measure
- Spirit level
- Rubble sack
What Safety Equipment Do I Need to Move a Waste Pipe?
Below is a list of the safety equipment that you will need for a waste pipe relocation:
- Safety goggles
- Protective gloves
- Dust mask (optional)
- Overalls (optional)
What Materials Do I Need to Move a Waste Pipe?
Below is a list of the materials that you will need when relocating a waste pipe:
- Waste pipe
- Uni-fit compression fitting
- Solvent weld
- Piece of wood
How to Prepare for Waste Pipe Relocation
To prepare for moving a waste pipe to a new location, you must always start by shutting the water off to the home. You should also already have a good idea of your new layout and know where your waste pipe needs to be moved before you start the job.
How to Move a Waste Pipe Yourself
The following is a basic guide on how to move a waste pipe, although adjusting drains and sewerage systems in general may well be part of a much larger project:
Step 1
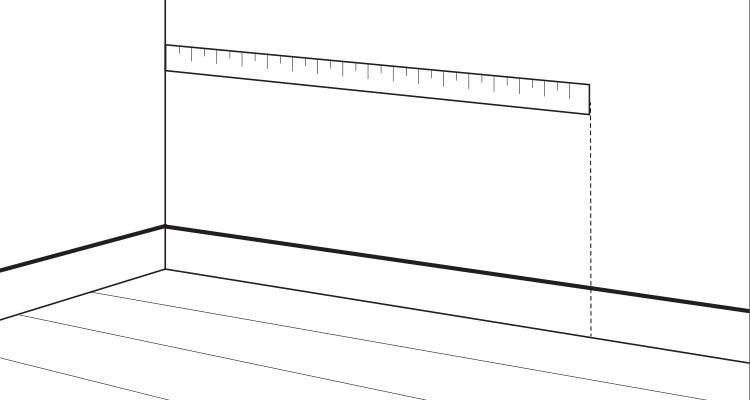
You must begin by determining exactly where your waste pipe needs to be moved to. Once you’re sure of the position, make a mark on the wall so that you can refer back and so that you know exactly where it’s going.
Step 2
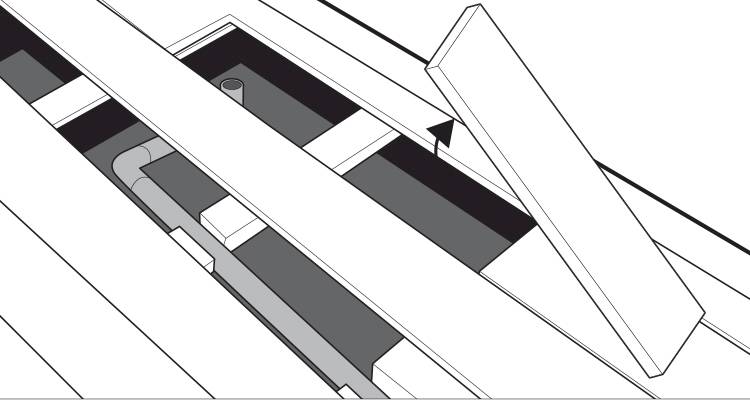
Lift up the floorboards to expose the waste pipe underneath the flooring. Place a rubble sack underneath the pipe where you’re about to cut it so that you can catch any water that remains inside the pipe.
Step 3
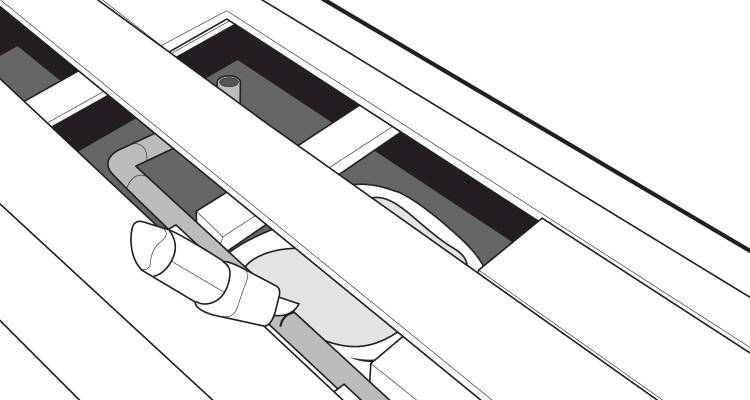
Cut the pipe to size, with a multi-purpose saw or for a more accurate use a pipe cutter. Don’t forget to put on your safety goggles when using power tools. Remove the piece of pipe that you have cut off and smooth away any rough edges if required by using a file or sandpaper.
Step 4
You will also need to cut out a bit of the flooring where the pipe will feed through near the wall. Work out where this needs to be based on where your new waste pipe is going and then mark it out on the floor.

Step 5
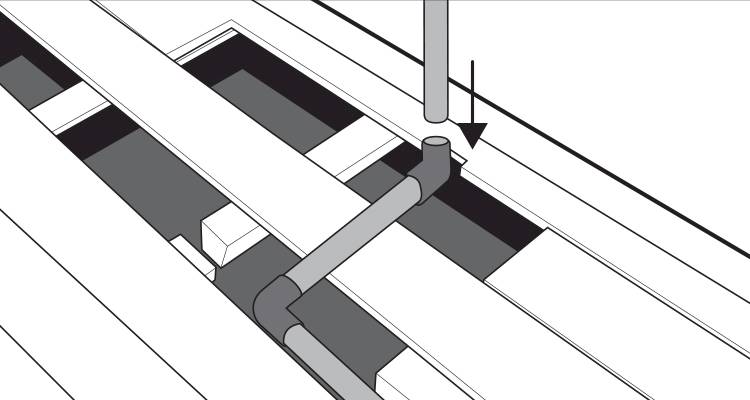
Cut out this section of the floor so that your waste pipe can sit comfortably within the gap. Hand basins will usually use a 32mm waste pipe, while for larger sinks a 40mm pipe is recommended and a standard toilet waste pipe in the UK is 100mm in diameter.
Once your hole is the correct size, the pipe can feed through and under the floor, ready to connect to your existing system.
There are three methods for connecting pipework: the push-fit method makes for a quick join without the need for any tools, while a compression fitting allows for the joint to be adjusted at a later date. Alternatively, a solvent-weld joint creates a more permanent bond (on the assumption the adjoining pipe is compatible).
Step 6
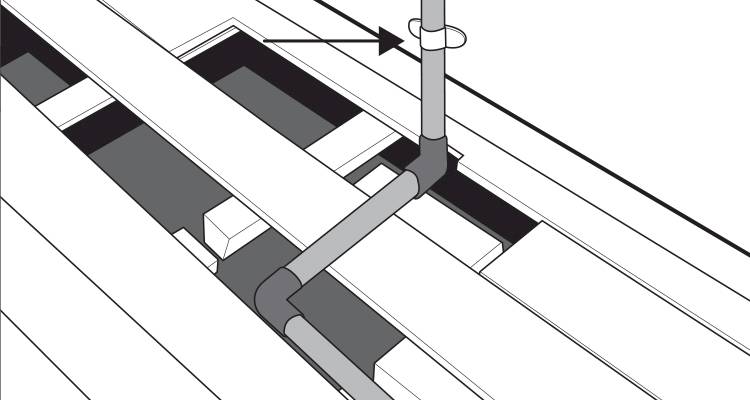
If necessary, place a block of wood underneath the pipe so that it remains supported at all times.
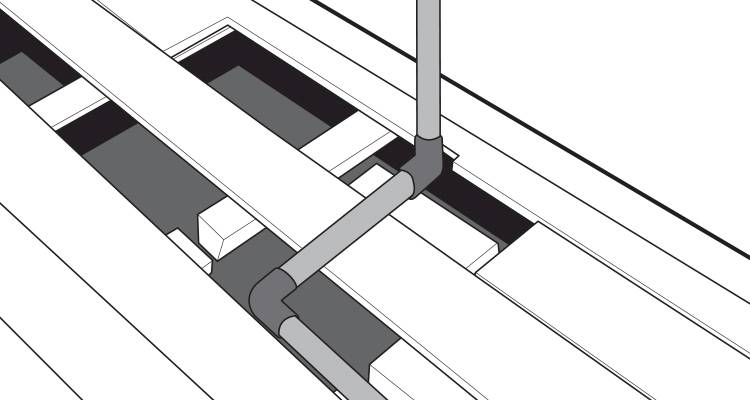
Step 7
Clip the vertical pipe to the wall so that it remains stable. Make sure that you’ve got plenty of height on the vertical pipe so that when you come to fit your unit, you can just cut it down to the correct height, put a fitting on, and then connect the waste directly to it.