my
myHow to Hang a Garden Gate
A garden gate can create a beautiful entrance into your garden as well as add some extra security and contain any pets. Whatever the reason you want to install a new garden gate, we have created this handy guide to explain what you need and how to go about fitting it yourself.
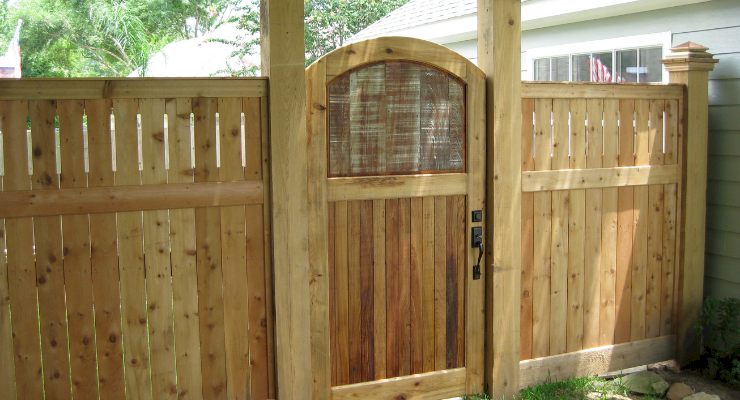
Table of Contents
What Tools Do I Need to Fit and Install a Garden Gate?
Below is a list of the tools you will need to install a new garden gate successfully:
- Tape measure
- Drill
- Drill driver
- Spirit level
What Safety Equipment Do I Need to Fit and Install a Garden Gate?
There are no specific safety items that you need when hanging a gate. However, it may be beneficial to wear gloves when handling wood and timber to avoid the possibility of getting splinters.
It would also be a good idea to wear safety goggles when drilling screws into a garden gate and to protect your eyes from any flying debris.
What Materials Do I Need to Fit and Install a Garden Gate?
The list below highlights all of the materials you will need to install a new garden gate:
- Garden gate
- Screws
- Security bolt
- Hinges
- Latch
How to Prepare for Garden Gate Installation
To prepare for your garden gate installation, you should begin by making sure the gate frame is the right size. The frame should be 20mm wider than the actual gate to make room for expansion and contraction, in order to help prevent any problems from occurring further down the line.
Although if exposed to regular adverse weather conditions, this additional width may need to be increased to 25mm. Likewise, when it comes to how much gap should be left at the bottom - 20mm to 25mm will usually provide suitable ground clearance, providing the garden is well-maintained.
You should also use the spirit level to ensure that the posts where the gate is going to go are perfectly level, and it can also be a good idea to add a rebate or stopper on the gate to stop it swinging too far.
How to Fit and Install a Garden Gate — Step-by-Step Guide
Below is a guide on how to fit and install a garden gate, which you can do as a DIY job or by hiring a local handyman:
Step 1
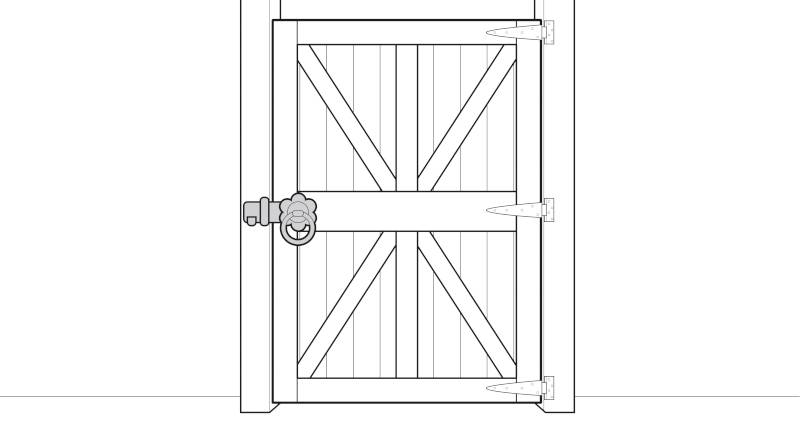
Attach the hinges to the gate. For double diagonal supports, hinges can go on either side. Whereas for a single diagonal, the hinges should be placed on the side where the bottom of the diagonal meets the frame.
Find the centre of the three pieces of thicker timber across the gate and mark out the centre line.
Step 2
Then you can mark up where your garden gate hinges are going to go. Do this by resting the hinge up against the lines that you have drawn. The hinges will have a little nick in them at the end.
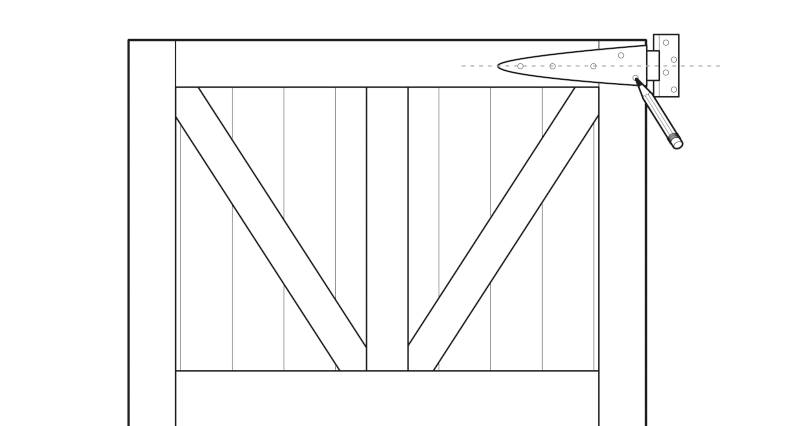
These nicks need to go level with the outside of the gate. When you line it up, make sure you can see your marked centre line through the centre holes.
Step 3
Next, you need to get some screws. Use the ones recommended for your particular hinges by the manufacturer. Screw the screws into the holes on the hinge using a drill.
Ensure that you screw it into place level with your centre line. Repeat this step for all three hinges. You should have a hinge at the top, one at the bottom, and one in the middle for optimum security.
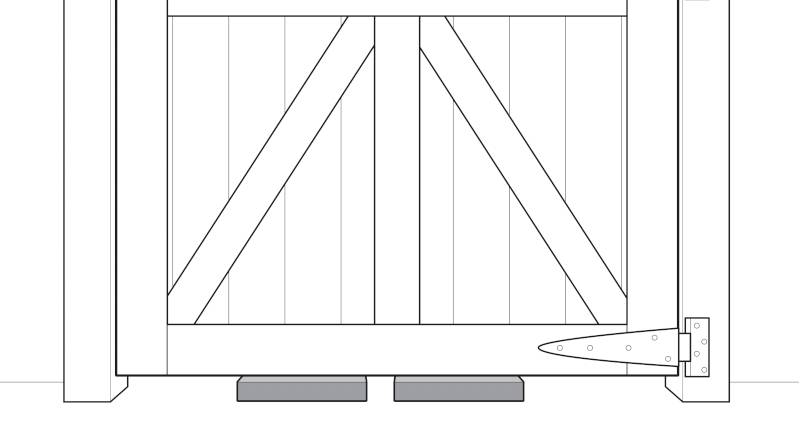
Step 4
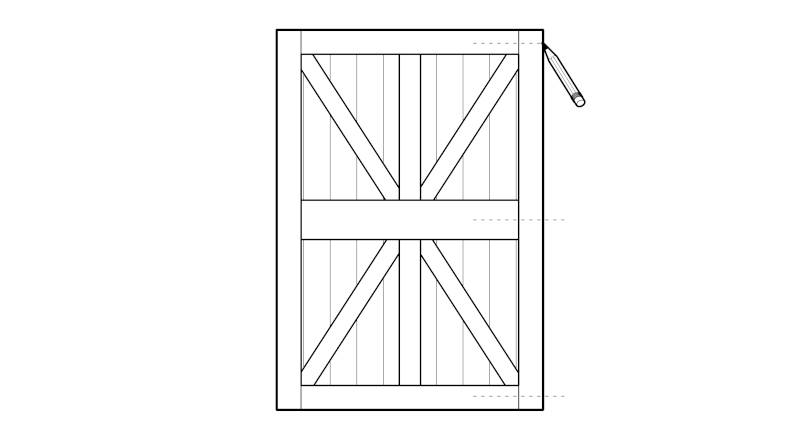
Once you have installed the hinges to the gate, it’s then time to place the gate into the frame. Use some 2x1 pieces of timber to place underneath the gate to make sure there is plenty of room underneath, so there are no obstructions when it is opening and closing.
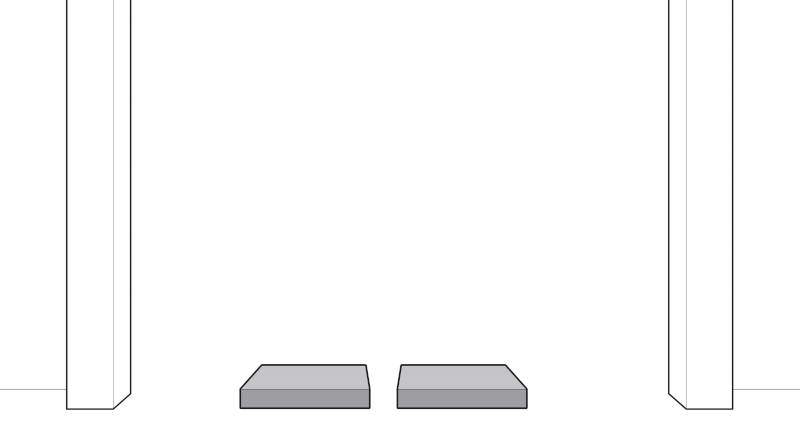
Step 5
Place the pieces of timber underneath the garden gate frame and then put the gate into the frame on top of these pieces of wood. Make sure the gate is evenly spaced out so that there is an even gap on either side.
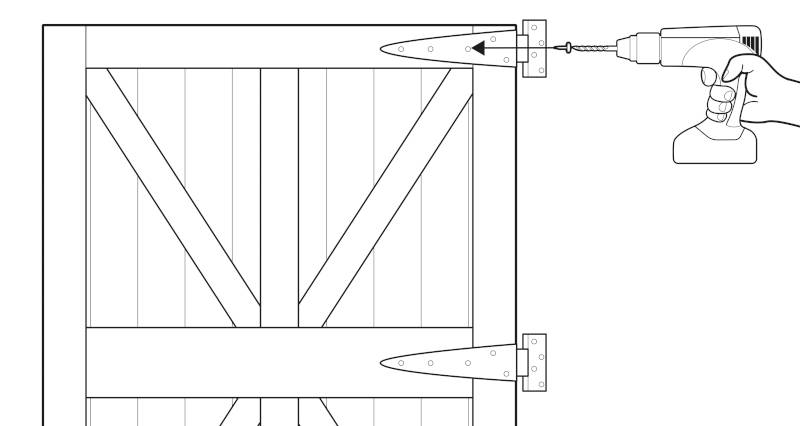
Step 6
Next it's time to put the screws into the hinge so it can fit onto the gate frame. It’s a good idea to initially fit the screws into each of the hinges, until you’re absolutely sure that the gate opens and closes properly before using your drill to drive the screws in fully.
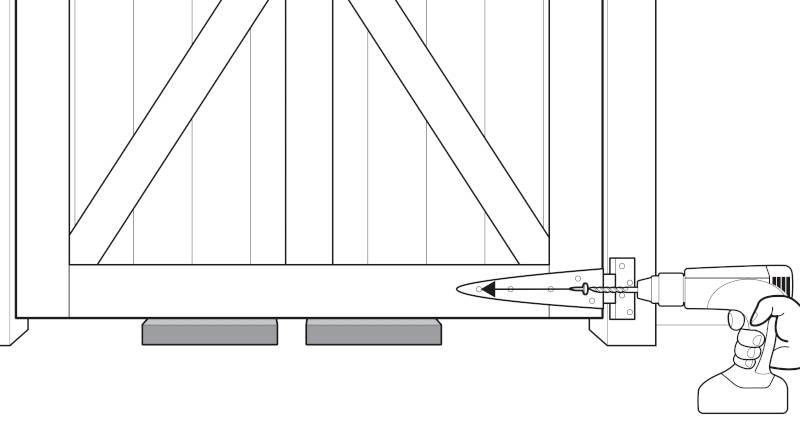
If there are more screws to be added, these can then be added once the gate is securely in place.
Step 7
The next step is to fit the gate latch or lock. Since every lock or latch is different, it is a good idea to look at the manufacturer’s instructions for the correct way of installing your particular model.
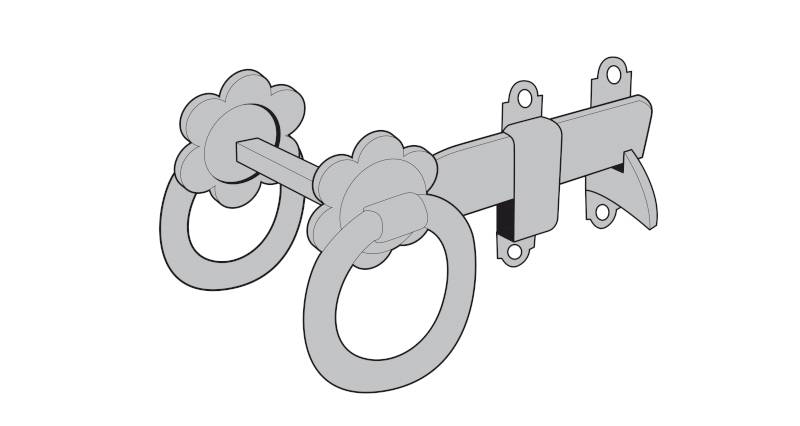
There will usually be numerous parts. Some of which are fitted to the gate itself and others that are fitted to the gate frame.
Step 8
If you are fitting a lock to your gate, for security reasons aim to fit it at a lower level so potential intruders can’t reach over and unlock the gate from the other side. However, it still needs to be at a comfortable height for the user. Once you latch and lock are installed on the gate, it is now complete.
For extra peace of mind, you can add a padlock to the bolt lock so that it can’t be opened without a key or unique code.