my
myHow to Install a Ceiling Fan
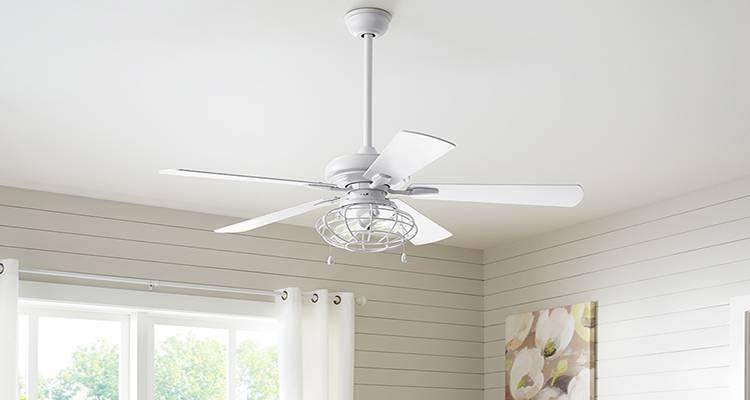
Are you thinking of installing a ceiling fan, but not sure how? Have a look at this easy-to-follow guide, which includes step by step images, and a list of tools you'll need. So, take a look below!

Table of Contents
What Tools Do I Need to Install a Ceiling Fan
Below is a list of the tools that you will need for a ceiling fan installation:
- Stepladder
- Tape measure
- Screwdriver
- Circuit tester
- Wire cutter/stripper
What Safety Equipment Do I Need to Install a Ceiling Fan?
Below is a list of the recommended safety equipment that you will need for a ceiling fan fitting:
- Safety goggles or glasses
What Materials Do I Need to Wire a Ceiling Fan?
Below is a list of the materials that you will need to fit a ceiling fan:
- Ceiling fan
- Ceiling fan-rated junction box
- Fan brace support
- Wire
- Light bulbs
How to Prepare for a Ceiling Fan Installation
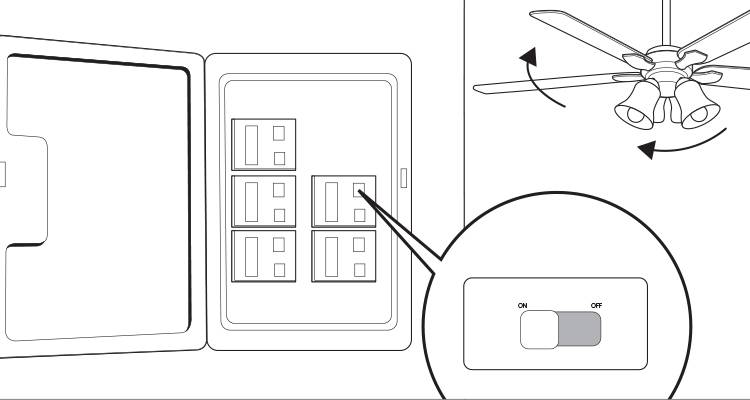
Turn off the circuit which is providing electricity to where you are planning to install your ceiling fan. Test uncapped wiring with a non-contact voltage tester to ensure the electricity is completely off before you get started.
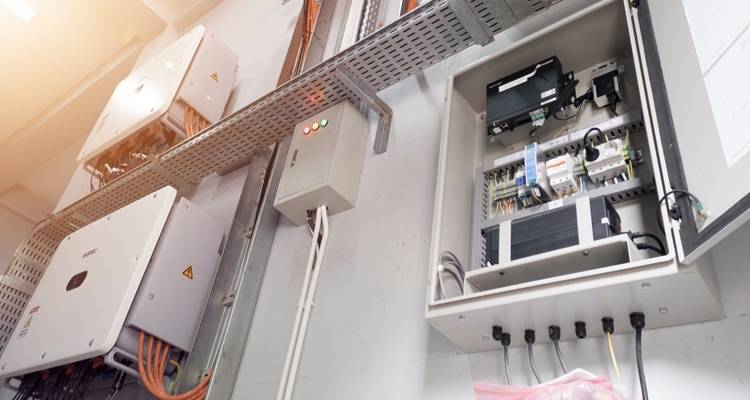
You should also check that the current junction box is rated as suitable for a ceiling fan. If it isn't, you will need to hire an electrician to replace it with a new one.
You should also check the location of your ceiling joists as you will need them for proper installation.
How to Wire a Ceiling Fan Yourself
Below is a step-by-step guide on fitting a ceiling fan yourself:
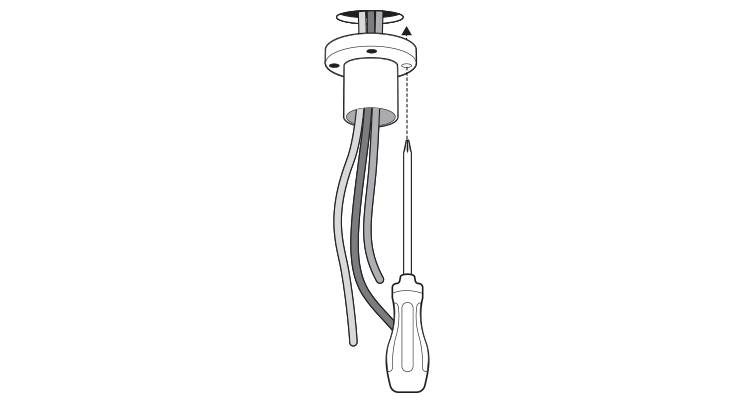
Step 1
Begin by threading the wires through the fan's mounting bracket. Then, slide the bracket over the junction box's mounting hardware and tighten the screws to fix it in position.
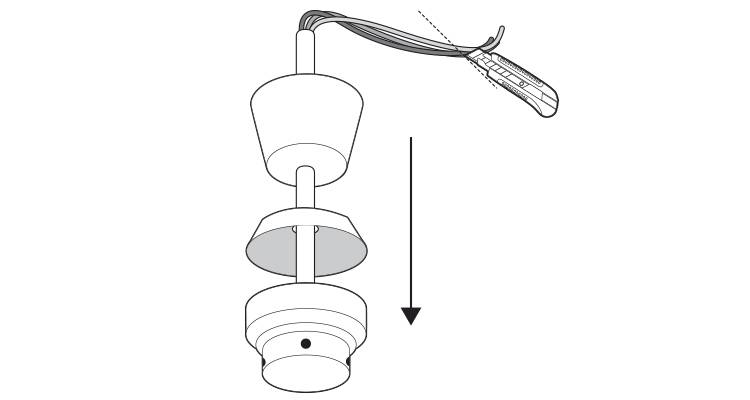
Step 2
If the ceiling is higher than nine feet, the fan may require a downrod to work efficiently. In which case, slide the canopy onto the downrod and run the main wires through it. Attach the clevis and cotter pins to connect it to the fan's base and trim any excess wires.
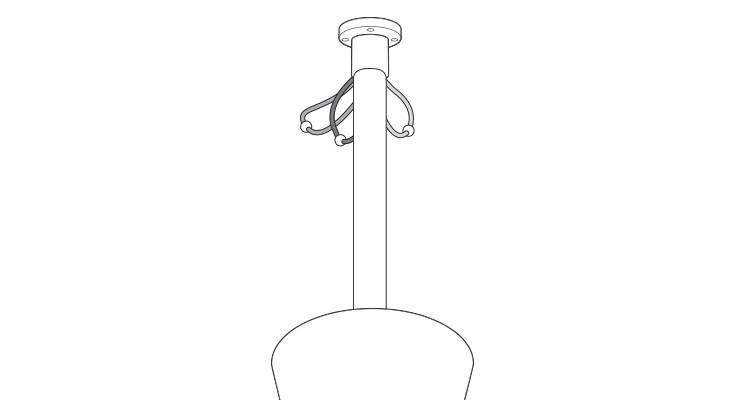
Step 3
Now, attach the hanging ball at the top of the downrod to the ceiling's mounting bracket.
Step 4
When installing your fan, always match up the colour-coded wires correctly and secure them in place. In the UK, typically this is brown for live, blue represent neutral and earth is green/yellow. Then safely connect the fan to your home's wiring by using the caps that should already be supplied with your fan's installation kit.
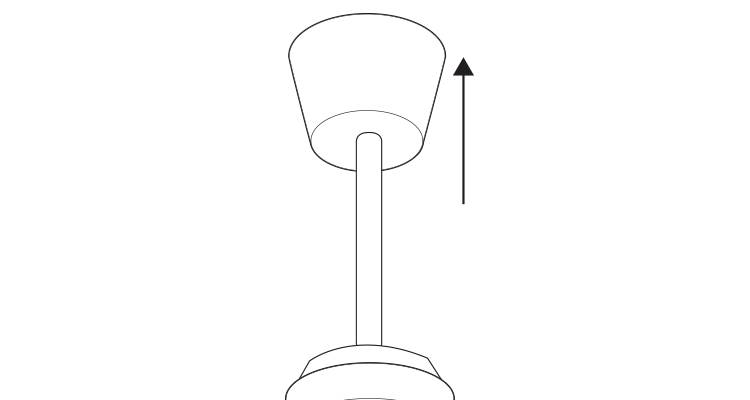
Step 5
Once you have connected all of the wires, carefully tuck them into the junction box, ensuring they don't become loose. Then, attach the canopy onto the mounting bracket and tighten the screws to secure it in place.
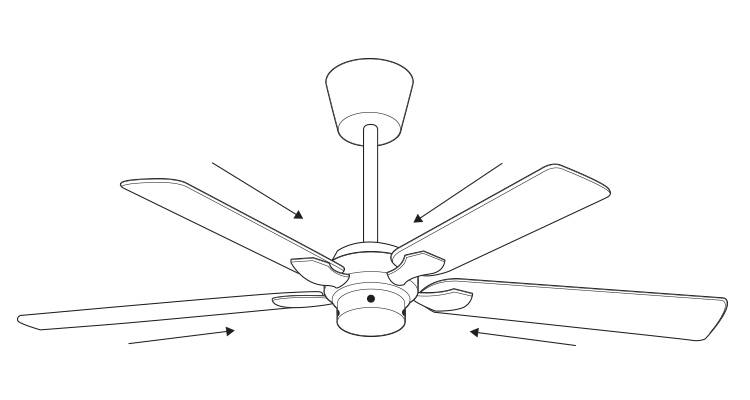
Step 6
Once the fan's motor housing is installed, fix the blades to the motor unless they are already attached. Most will either slot into place or require screws, although everything needed should automatically be included within the packaging. For the best results, always check the manufacturer's instructions as installations can vary.
Step 7
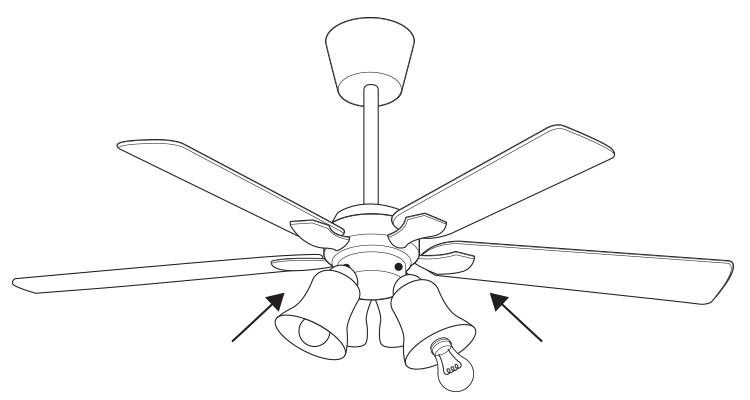
Once the fan blades are secure, you can then go on to installing light fittings if required. Install the light shades first and then screw in the appropriate light bulbs for your particular fan.
Step 8
You can then turn your main power back on and test the fan and light to ensure it is working correctly.