my
myHow to Fix Toilet Flush Button
Want to know how to repair a toilet flush button?
If you don't want to hire a local plumber, in this article, we lay out what's needed to complete this task. This guide will primarily explore what you'd need to do if your toilet continues to flush well after you pressed down the flush button.
Without further ado, let's discuss what this type of button is exactly and what to do about a toilet flush button that's broken.
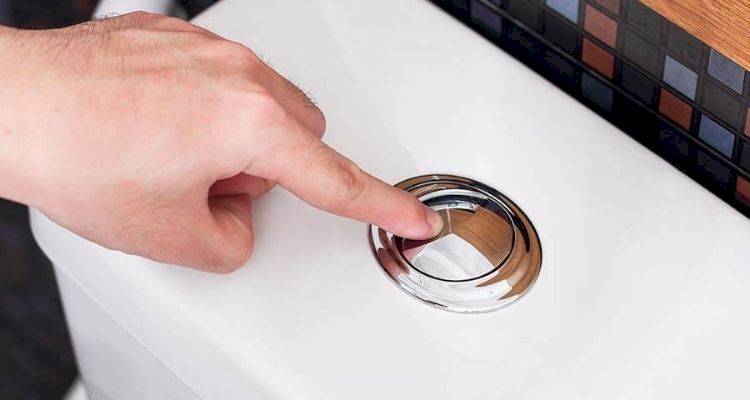
Table of Contents
- What is a Toilet Flush Button?
- What Tools Do I Need to Fix a Toilet Flush Button?
- What Safety Equipment Do I Need to Repair a Toilet Flush Button?
- What Materials Do I Need to Repair a Toilet Flush Button?
- Preparing to Repair a Toilet Flush Button
- How to Fix a Toilet Flush Button Yourself ? Step-by-Step Guide
- Toilet Flush Button Problems
- FAQs
What is a Toilet Flush Button?
This is a button on top of a cistern used to flush the toilet, it will usually either consist of one button or modern systems often come with a dual flush option. With a dual flush the smaller button can be used to remove waste water, while the larger one is employed for removing heavier waste.
It is possible to fix a toilet flush button yourself, although if it doesn't resolve the issue then you may need to arrange for emergency plumbing from a professional.
What Tools Do I Need to Fix a Toilet Flush Button?
For this section, we'll now look at the tools required to repair a toilet flush button. Let's list out these tools.
Here are the tools you may require to fix a toilet flush button:
- Screwdriver
- Adjustable wrench
- Cleaning cloth
- Pliers (optional)
Other tools could be required in specific circumstances per the manufacturer's instructions, especially if you are installing a new flush altogether. Otherwise, the basics are likely to be all you'll need.
What Safety Equipment Do I Need to Repair a Toilet Flush Button?
Generally speaking there's no specific safety equipment required beyond standard PPE such as wearing protective gloves for hygiene purposes. This will help protect the skin against bacteria and when using any cleaning solutions.
Don't forget to wash your hands with soap before and after repairing the toilet, and it's also recommended to turn off the water while carrying out the work to help prevent any accidents.
What Materials Do I Need to Repair a Toilet Flush Button?
There are key materials you'll need for this job, although these vary slightly depending on the design and extent of the damage:
- Toilet flush button
- Flush valve
- Valve seal (also known as a "flapper")
- Diaphragm (optional)
Preparing to Repair a Toilet Flush Button
Before you can actually repair a toilet flush button, you'll need to take a closer look at the toilet and remove the relevant parts. Let's discuss these preparations.
You must turn off the water supply before delving into this work. This may be achieved by twisting the valve on the pipe feeding the toilet, or a screwdriver may be required. Alternatively, you could turn off the mains.
Checking the Existing Button
Once the water supply has been turned off, carefully remove the cistern lid as it may be connected to the fill valve/tube (in which case there should be a small mechanism to release it). In some designs the lid may need to be unscrewed before removing.
You can then test the flush by pressing the flush lever or rod connected to the flush valve. Next unclip the valve allowing any excess water to drain, providing access to inspect the area and check the rubber seal for any damage.
A likely cause for the flush not working is down to the bottom half of the valve rising when being flushed but not returning into position, which results in a continuos flow of water.
While checking the seal for damage, remove any debris and limescale, and if you're unsure if the rubber seal is the issue you may have to replace the entire flush valve instead.
How to Fix a Toilet Flush Button Yourself — Step-by-Step Guide
We'll now break down the steps required to repair the flush button. The exact details will vary depending on the nature of the issue.
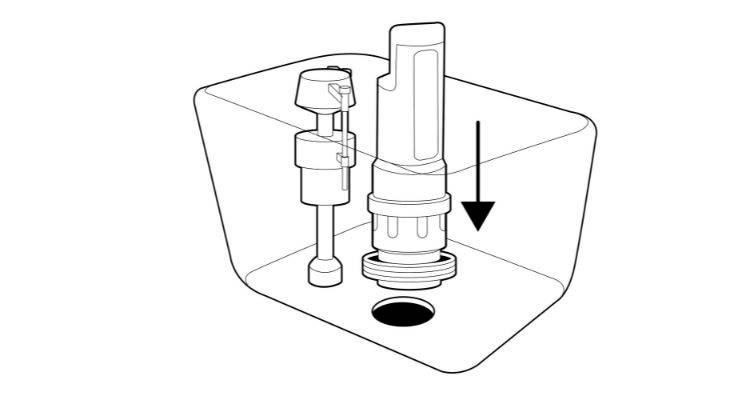
Step 1 — Replacing the Toilet Flush Valve
It is not always necessary to replace the entire valve, in which case remove the corresponding piece you need from your new flush valve and place it into the cistern. Push it gently into position and twist until it clicks.
You may wish to adjust the flush valve levels to match that of the old one, although their default settings are usually fine left as they are.
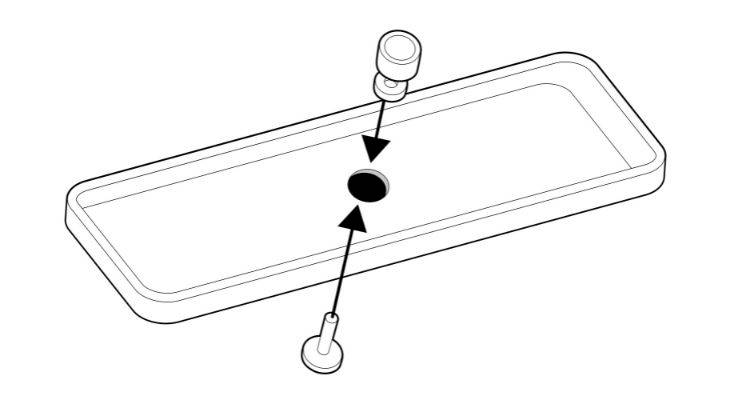
Step 2 — Replacing the Toilet Flush Button
Next, it's time to replace the flush button itself. Simply remove the old button (if this has not already been done) and install the new flush button. Ensure to tighten the last plastic element to go on the underside of the cistern lid.
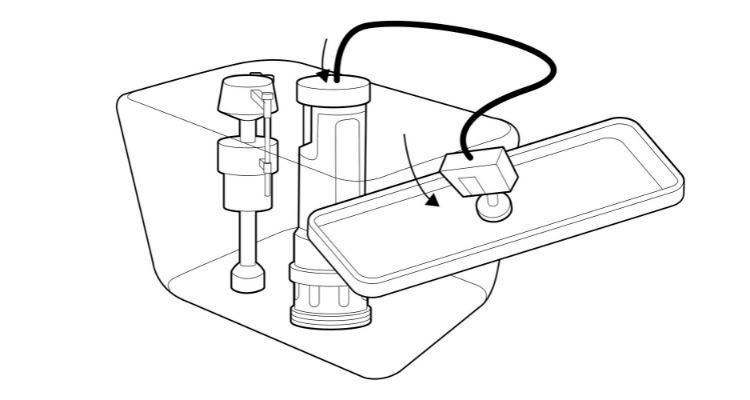
Step 3 — Connect the New Button
In order to attach the bottom of the toilet flush button components, connect it to the fill valve or tube. To connect it, you'll need to press the side button down that you had to press on the previous/old fill valve/tube to remove it in the first place.
Step 4 — Test the Toilet
Once everything is in place, put the lid back on the cistern and test the flush button is working. You should try a few times to ensure everything is running as expected. If the issues are not resolved, check everything is installed correctly and if you can't identify the problem, consider hiring a professional if required.
Toilet Flush Button Problems
Let's discuss the different ways in which a toilet button problem may arise and what the appropriate solution is for each case.
Rubber Seal Damage
It's possible that the toilet flush valve's rubber seal is damaged, which may be the only issue. You could simply replace the seal in this case.
Of course, since there is a risk that there is further damage inside the main section of the flush valve unit, this is still a bit of a gamble, but more than likely, replacing a seal (if it is damaged) will solve the problem.
Toilet Flush Valve Unit Issues
If you find no problems with the rubber seal or decide that you're not sure if the seal is the issue, then it's best practice to replace the entire flush valve.
You may also want to replace the flush button itself, and this is advisable as there may be a problem with the actual flush button.