my
myHow to Put Up a Fence
So you’re thinking about fitting a new garden fence? This article explains how to fit a fence. We will highlight all of the tools, materials and safety equipment needed to complete this type of job, and we will provide a step-by-step guide on how to erect a fence.
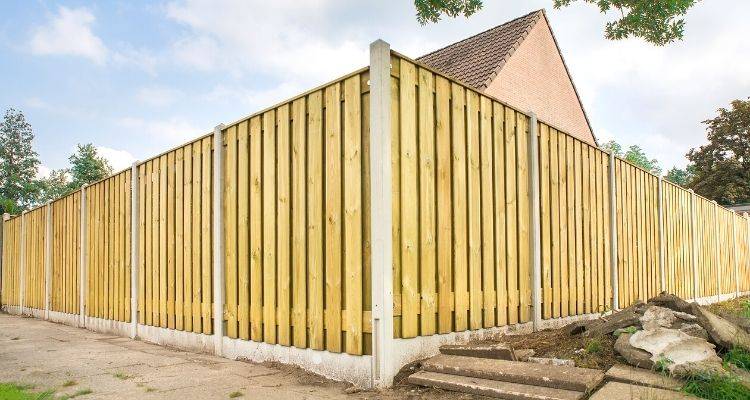
Table of Contents
What Tools Do I Need to Fit a Fence?
There are several tools that you need for replacing garden fences, below is a list of the items you should have before starting:
You will need the following tools:
- Builder’s liner
- Trowel
- Spade or post hole borer
- Long tape measure
- Spirit level
- Screwdriver
- Bucket
- Power drill with twist and wood bits
- Hammer
- Panel Saw
What Safety Equipment Do I Need to Fit a Fence?
There are a number of recommended safety precautions that you should take when fitting a new garden fence. Below is a list of the safety equipment that you should use for this type of job:
- Protective gloves
- Face mask
- Safety goggles
- Boots/sturdy footwear
Take care when using tools and be sure to wear safety goggles and a mask when mixing cement.
What Materials Do I Need to Fit a Fence?
There are several materials required, but if you're not confident in doing the job, you can hire someone who is already experienced in installing fencing and gates. However, if you are going DIY, then below is a list of the items you will need to carry out the work succesfully:
- Fence posts
- Fencing panels
- Fence clips
- Screws
- Nails
- Wood to make temporary support
- Cement and aggregates or post cement
- Water for mixing cement
- Sealant
- Fence post caps
- Wood preservative
How to Prepare for Fitting a Fence
To prepare for building your fence, you want to begin by removing any small plants that may get flattened in the process. Transfer these small plants into temporary pots and move them away from the work area. These can then be re-planted in place after the fence has been erected.
The best time to erect a new fence is in autumn or in early spring when plants are at their lowest heights or aren’t blooming just yet. You should also discuss your fencing plans with your neighbours as a form of good common courtesy.
Prepare fence posts by soaking the base of each on in a wood preservative overnight. While most fence posts are already pressure-treated to British Standards as outlined by their UC4 classification, this extra step will help further extend their lifespan and long-term resistance to decay.
Fitting a new fence in your garden is ideally a two-person job, so you should find someone to help you with it before you attempt to take on the job yourself.
How to Fit a Fence Yourself — Step-by-Step Guide
Step 1
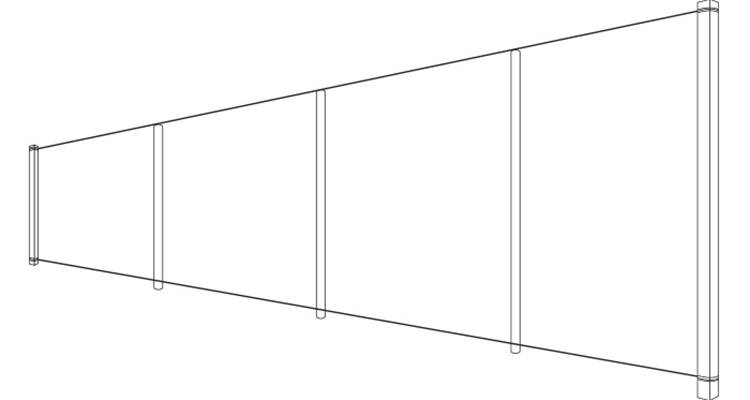
Layout a straight line of string to mark out where your fence panels are going to go. Then, use tall bamboo canes to mark out where your posts are going to go.
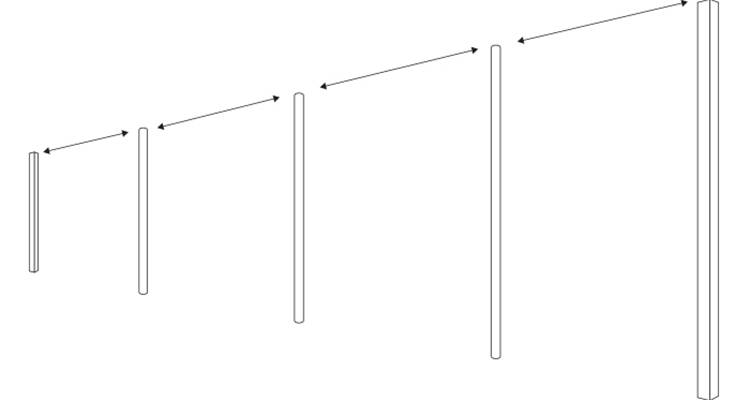
This is so that you can see exactly what needs to go where and so that you have a guide to work around. Make sure that your post markings are measured to the length of your fencing panels so that you can ensure that you dig at the correct location for each post.
Step 2
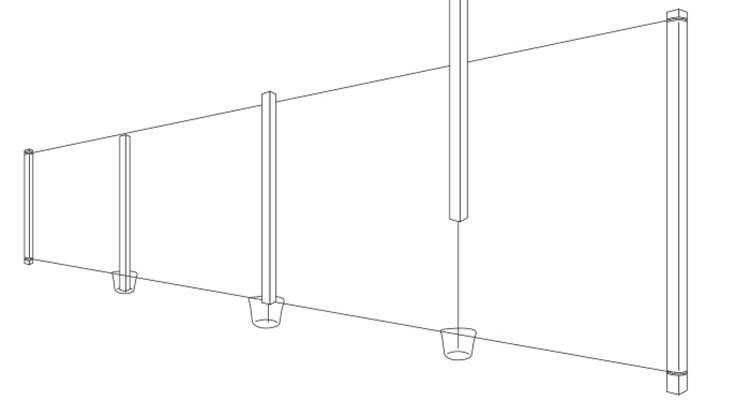
Dig out the ground down to 450mm for each post for a fence up to 1.2m tall, or 600mm-750mm for fences up to 1.8m tall. This is a standard depth for most fence panels, although on softer ground you may need to dig deeper and use a longer post.
Step 3
Aim to insert your posts at both ends first before doing the middle posts. Dig down to 450mm and insert your posts into the holes. You should then use a piece of string tightly along the tops of the posts as a guide for the rest of the posts to make sure that they are level. You should also check that your posts are completely upright using a spirit level on all sides.
Step 4
Once you’re happy that the post is at the right level and completely upright, hammer in some pegs at the bottom to temporarily hold it in place.
Step 5
After all the posts are in place, check they are standing upright by using a spirit level and that they are all aligned with your guide string. When you're happy they're all correct, ensure the pegs are secure to help prevent any movement.
Step 6
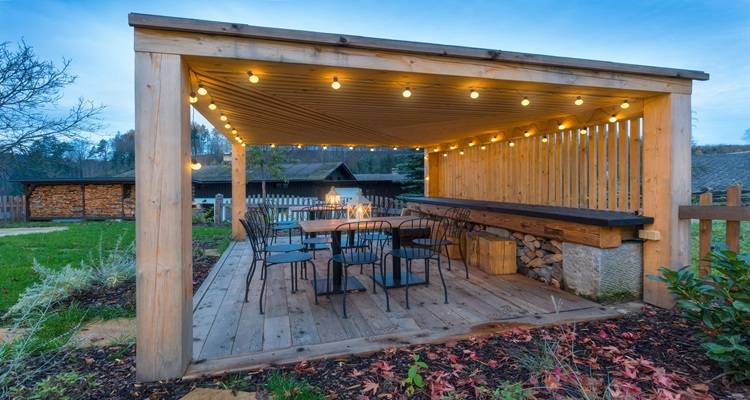
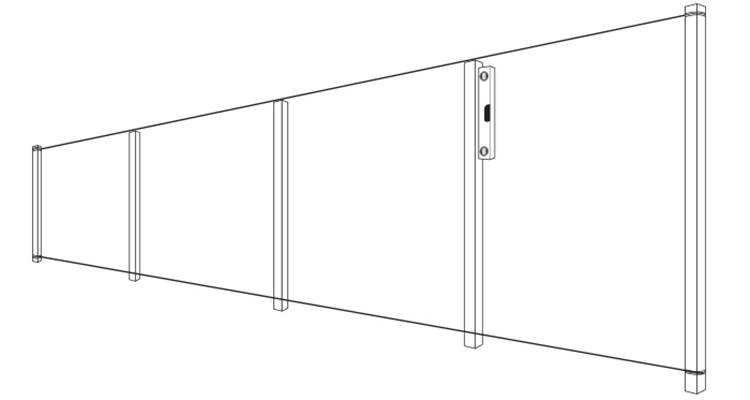
Attach the fencing clips to each post on both sides, 150mm from the top and bottom of where each panel will sit.
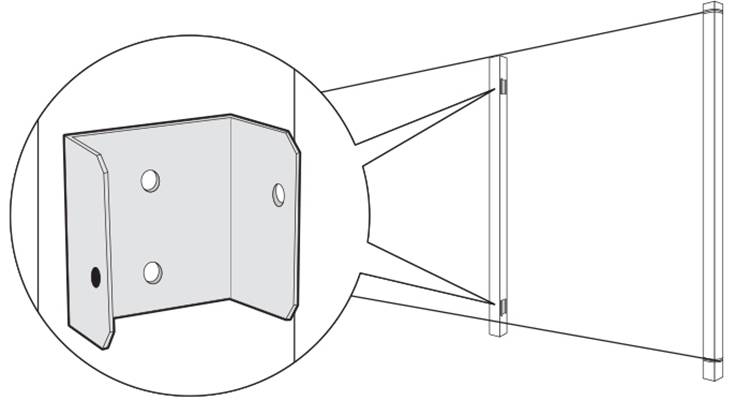
Step 7
Slide your fence panels in using the fencing clips as your guide.
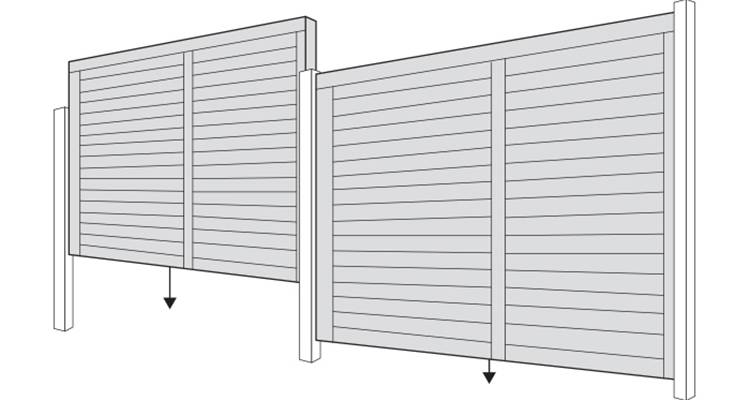
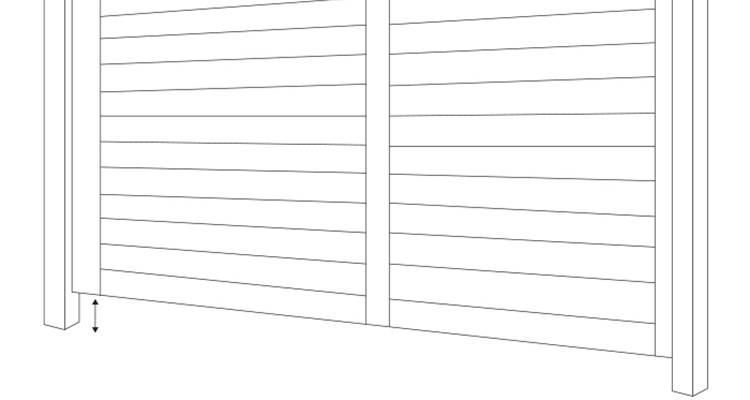
Step 8
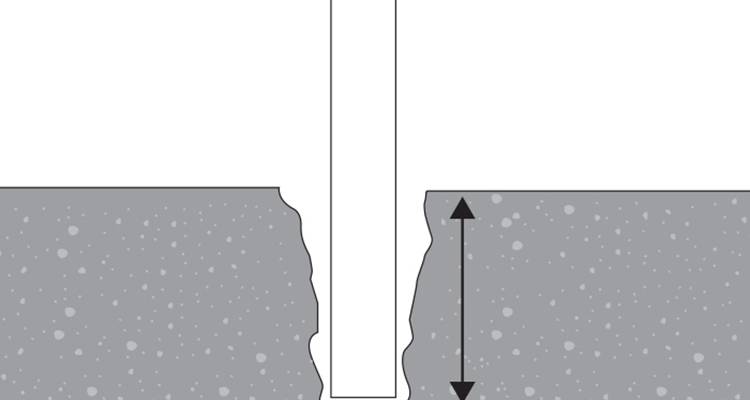
Before fixing your fencing panels in place, you want to raise them at least 50mm away from the ground, so they don’t rot.
Step 9
You now need to cement your posts in place. We recommend using fast setting cement so that you don’t have to stand holding the posts in place for hours on end. This process can cause a lot of dust so ensure you wear eye protection and a face mask for this part of the job. Begin by double-checking that everything is in line and in the right place before you cement the posts.

Step 10
If you are using a ready-mixed post-setting concrete, then half fill the post hole with water and add post mixture to the water and mix it around with a spare length of wood. Traditional cement, sand, and gravel, should be mixed together beforehand adding water to create a consistent mixture. Continue to fill the post hole until it reaches the top. Remember that your fence panels should be raised, so the concrete shouldn’t reach the fence panels.
Step 11
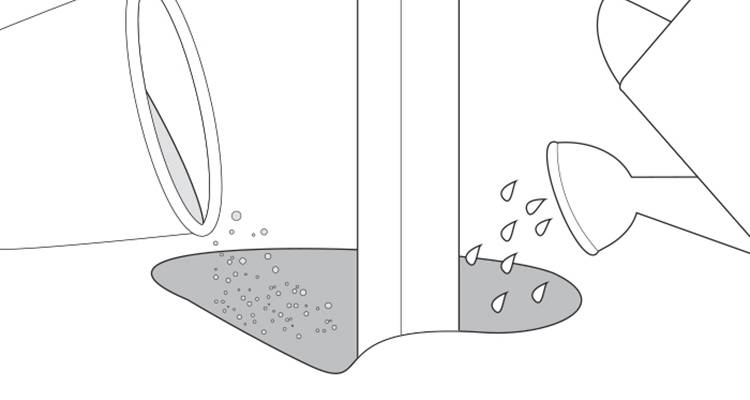
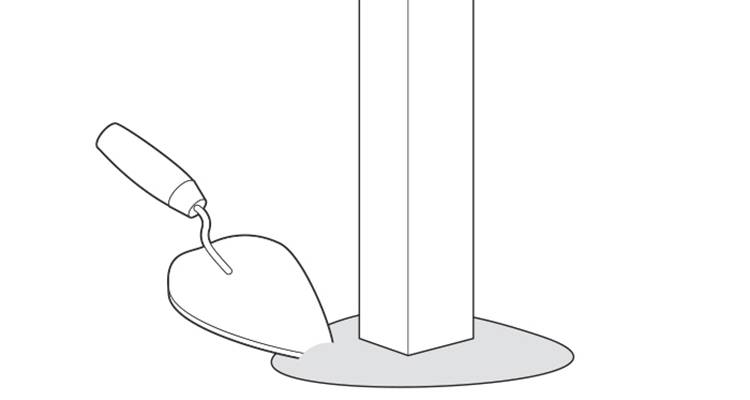
Allow the concrete to dry slightly and then trowel some of the mixture upwards towards the post to create a slope. This is so that water runs away from the posts and it won’t rot.
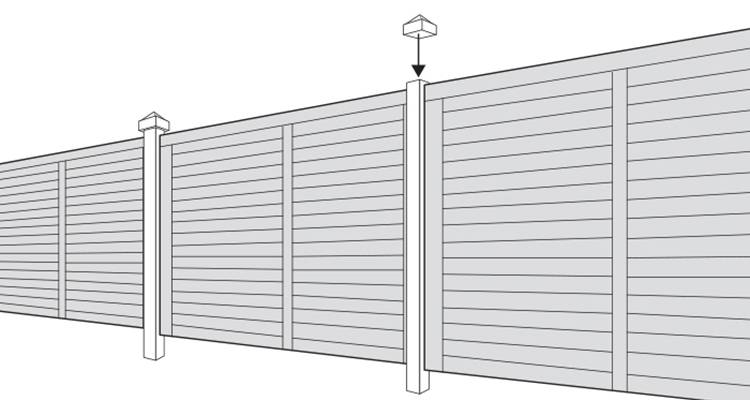
Step 12
Add post caps to the top of the posts if desired. Do this by adding sealant to the underneath of the cap and then place it on top of the post where it can then be screwed into place.