my
myHow to Artex a Wall or Ceiling
To update your walls or ceiling, you may want to apply new Artex in order to refresh and rejuvenate your home. This guide offers everything you need to know about how to Artex a wall or ceiling. It includes the tools required and the materials needed, while also offering a step-by-step guide on how to Artex a wall or ceiling yourself.
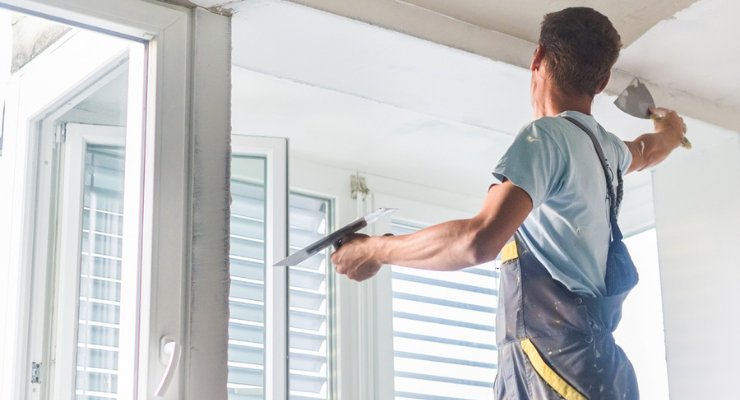
Table of Contents
What Tools Do I Need to Artex a Wall or Ceiling?
There are several tools required to ensure that Artex is applied to walls or a ceiling correctly. Below is a list of the tools that you will need to Artex a ceiling or wall.
- Trowel or float
- Texturing brush/Artex comb
- Paintbrush
- Clean bucket
- Mixing tool
What Safety Equipment Do I Need to Artex a Wall or Ceiling?
When working with artex on a wall or ceiling, it is important to take precautions, especially in powder or spray form. Dust can irritate your skin, eyes, and lungs, so using proper safety equipment is recommended.
If you need to remove artex from a wall or ceiling, this should be done with caution as artex installed prior to 1999 can potentially contain asbestos.
Asbestos is a hazardous chemical which if inhaled can lead to long-term health issues, such as respiratory problems. It is therefore a legal requirement that removing asbestos in the UK should only be carried out by a qualified professional.

Although the use of asbestos has since been banned, it is still strongly recommended that you stay protected when applying new artex to a wall or ceiling. To do this, there are some basic safety equipment you should purchase:
- Gloves
- Protective eyewear
- Face mask
- Dustsheets
- Coveralls
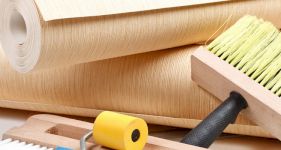
What Materials Do I Need to Artex a Wall or Ceiling?
You can purchase Artex as a ready-made product which comes in powder or paste form which is ideal for small repairs.
However, for a whole ceiling, you may want to consider purchasing a large bag of powdered Artex. This is then mixed with cold water using a mixing tool to create the right texture ready for application.
There aren't any other materials needed, so as long as you have all the equipment in advance you're ready to get started.
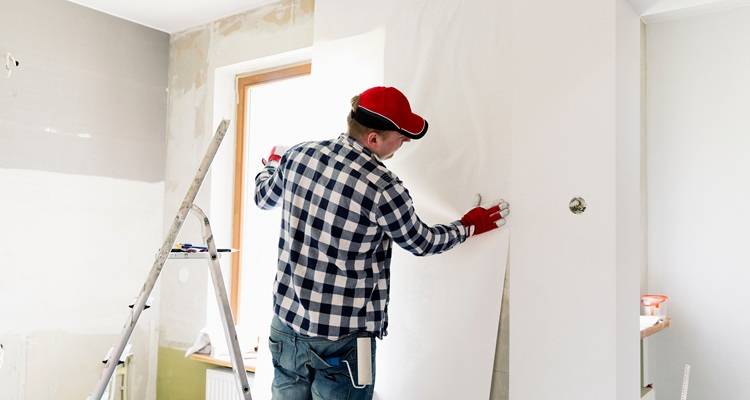
How to Prepare to Artex a Wall or Ceiling
Before you artex a wall or ceiling, make sure you lay down dustsheets to protect your flooring and furnishings. You should also make sure that you wear overalls as well as safety goggles to protect yourself.
Brush away any dust, dirt, or debris that exists on the wall or ceiling, and then you are ready to complete the job.
Artex can be applied to plasterboard, plastering and painted surfaces. However, if working with plasterboard and nails, tape and fill any nail heads before applying the Artex. Plasterboard and plaster will also require a coat of diluted Artex sealer or PVA bonding solution.
Artex can also be smoothed over paint. If the paint is a satin finish, then sand over it first, and to create a better finish dark colours can be painted over with a lighter shade as part of the preparation work.
It is also important that when removing hanging wallpaper it is stripped correctly and the wallpaper paste is also completely removed before applying the Artex.
How to Artex a Wall or Ceiling Yourself — Step by Step Guide
Below is a list of steps to take when Artexing a wall or ceiling:
Step 1
Lay your Artex on fairly thickly using a float and spread it around similar to how you would with plaster.
It doesn’t need to be too thick. The thickness will depend on the surface that you are laying it on. Look out for the thickness tips on the manufacturer’s instructions.
Step 2
When applying the Artex, try to apply it in even thickness. Do this by spreading it evenly with your trowel.
Step 3
Use a stippling brush and dab sections of your artex to create a dabbed look. This will create a classic dabbed artex texture.
Step 4
If you would prefer a swirled Artex look, simply place your stippling brush into the artex and then twist and pull it away simultaneously. This will create a swirling artex effect.
Step 5
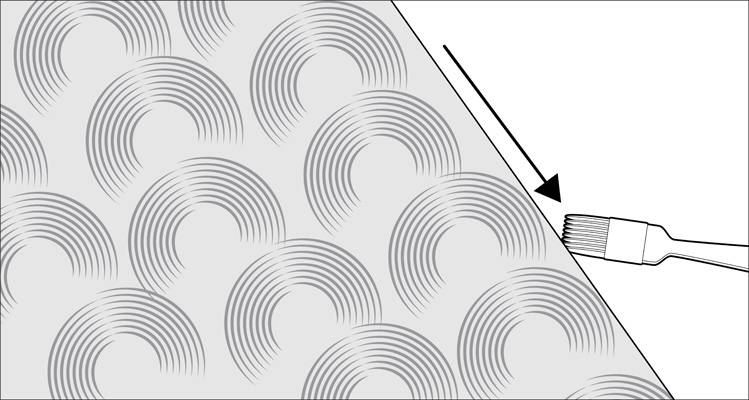
To finish the edges, use a paintbrush and simply run it along the edge to create a brushed finish around all of the edges.
Step 6
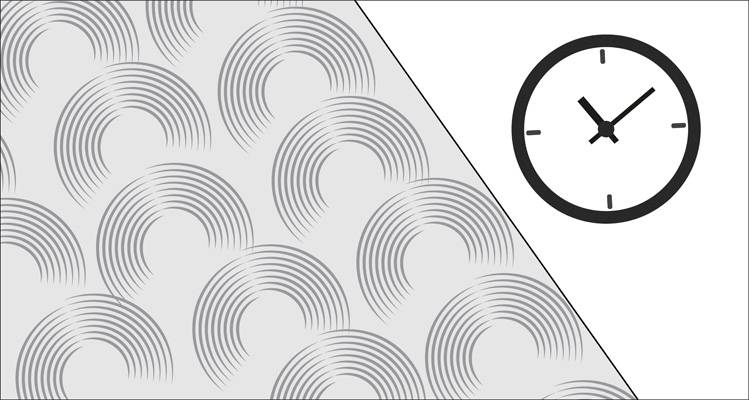
You must then leave your Artex to dry completely. The time it takes to dry will depend on the mixture that you have used. Follow the guidance in the manufacturer’s instructions.
Step 7
If you wish, you can then paint over the Artex as desired. We would recommend using an emulsion paint, and you will usually need around three coats on average for complete coverage.
Types of Artex Patterns
It is also important to consider the design you're after before you start on the project. Here are some of the most popular Artex patterns:
Broken Leather
Broken leather is one of the most common Artex designs as it offers a smooth, brushstroke texture.
It is also the easiest to apply as long as you use an Artex texturing brush which should be covered with a polythene bag before painting on the Artex.
The application requires dabbing motions with half twist movements from the wrist, which should be followed to achieve the broken leather pattern.
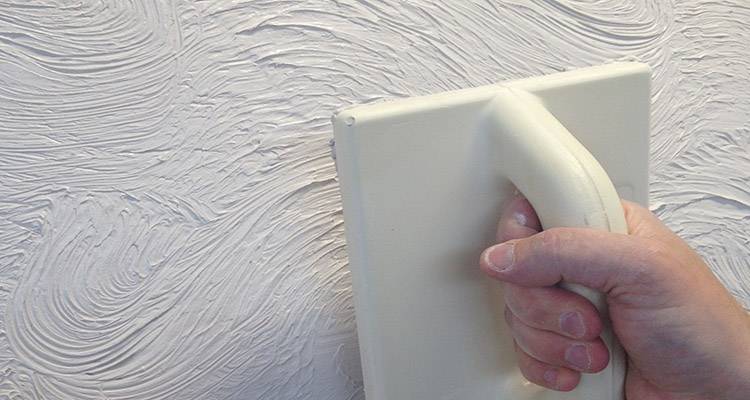
Stipple
Stipple Artex is one of the most simplistic designs which adds depth to your ceiling. To create this style, all you need to do is take your Artex texturing brush and lightly run it over the ceiling or wall, making sure you bring the brush down to avoid a dragging look.
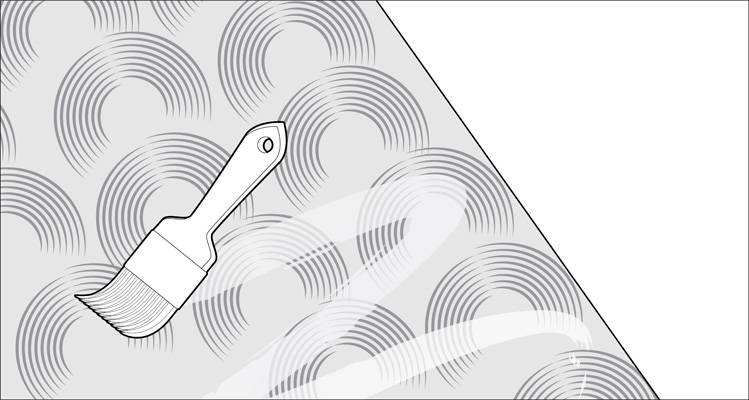
Swirl
Another popular Artex ceiling design is the swirl pattern which creates a sleek and professional finish. To make the swirls, you should take your brush and start spinning the brush at the bottom of the circle and move in a circular motion.
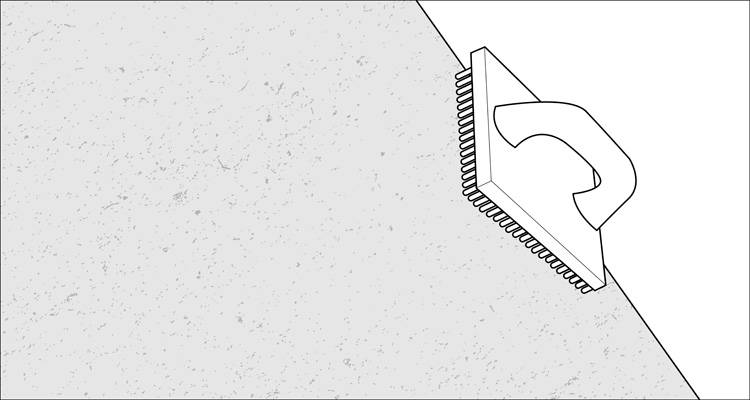
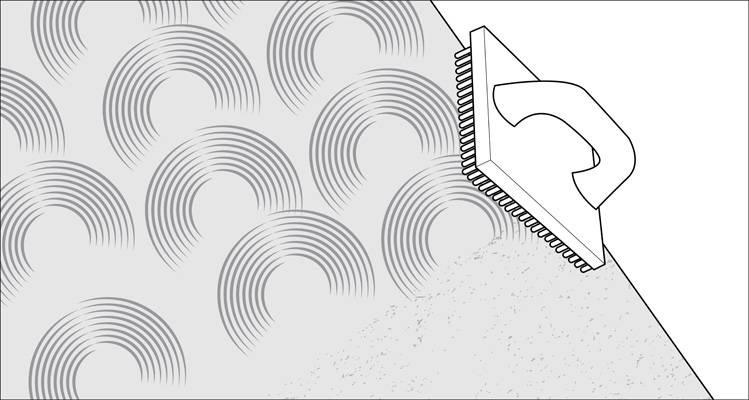
Shell
To create a fan or shell Artex pattern, you will need an Artex comb which should be held at a 25 - 30° angle in order to make sweeping motions to create a half-moon shape. This should be repeated in rows making sure the shell-shapes are all the same size.
Knife Plaster
If you would prefer a unique Artex design, then you may want to consider a knife plaster pattern. To create this design, you will need a filling or jointing knife which should be used to make short strokes across the surface. When doing this, you should take hold of the knife at a low angle and work in various directions.