my
myRender Repair Guide
Are you looking for information on render repairs? In this article, we will go over everything you need to know about repairing render, including the processes involved, the different types of render repairs, the cost of repairing render, and things you should look out for when finding the right contractor to carry out the work for you.
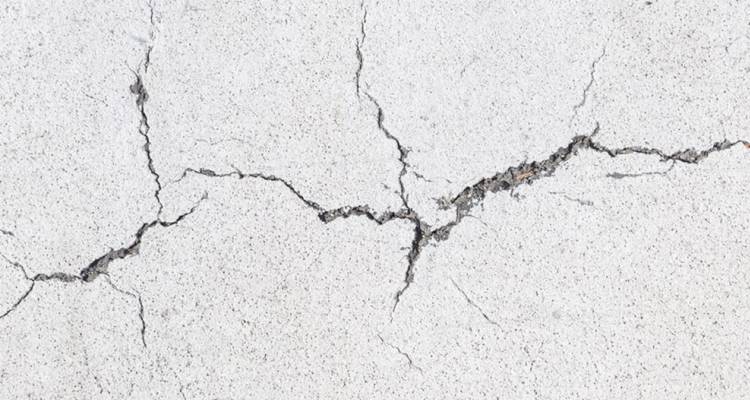
Table of Contents
- What is a Render Repair?
- Types of Render Repairs
- What Are the Pros and Cons of Repairing Render?
- Render Repair Materials
- How Much Does It Cost to Repair Render?
- How to Repair Render
- How Long Does It Take to Repair Render?
- Building Regulations & Planning Permission for Render Repairs
- Questions to Ask When Hiring a Render Repair Specialist
- FAQs
What is a Render Repair?
A render repair is a localised job that helps to protect your home from the elements. If you notice any damage to rendering on your house, it should be rectified as soon as possible.
Carrying out render repair work when needed and maintaining the brickwork of your home is necessary to ensure your external walls continue to defend the home from the elements. There are several different types of render repairs which we will go over in the next section.
Types of Render Repairs
When it comes to render repairs, there are several different methods. Each rendering problem will need to be treated in a different way. Below, we will go over some of the most common rendering issues and how to fix them:
Fixing Small Cracks
Whenever you notice a crack in your rendering, you should aim to fix it as quickly as possible, no matter how small it may be.
Even the smallest of cracks can allow water to penetrate the render, which can then seep into the underlying structure and cause lasting damage. Small cracks can be filled in with an acrylic-based sealant or a render repair mix.
Fixing Groups of Cracks or Large Cracks
If you notice groups of cracks or large cracks on your rendering, simply filling them with sealant may make the rendering appear uneven, and the sealant could be very visible.
In these cases, you should instead fix the entire affected area and then go over it with cement-based paint or acrylic exterior paint. This will allow you to match the repair up with the colour of the rest of the render.

The best way to go about this is to remove the damaged render and then replace it with new render. Ensure that you give it enough time to completely dry and cure before applying the paint.
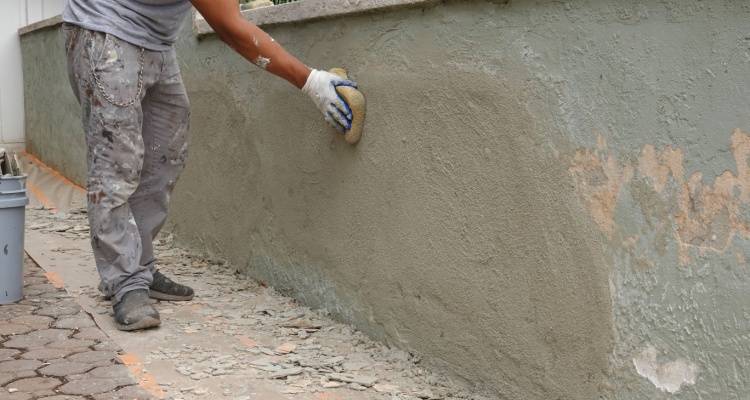
Repairing Discoloured Render
Discolouration is the simplest type of render repair. To fix discoloured areas of render, simply clean the affected areas and then go over them with the same coloured paint as the original render so that the colours match up. Be sure to leave your render enough time to dry before applying any new paint.
What Are the Pros and Cons of Repairing Render?
It's very important to repair your render as soon as you notice any problems with it. Below is a list of the advantages and disadvantages that come with repairing render:
Pros
Protect Your Home
If you notice small cracks in your rendering, these can quickly become big problems. Water can seep through these cracks and into the underlying structure, causing water damage to your walls. By fixing any rendering issues straight away, you can greatly reduce the risk of damage to the external structure of your home.
Improve Appearance
Cracks, missing parts, and discolouration on your rendering can be very unsightly in appearance and can reduce the curb appeal of your home. Fixing your rendering issues can make your home look neat, fresh, and very aesthetically pleasing.
Avoid Further Damage
If you leave your render problems without fixing them, they can lead to bigger issues down the line, which could cost you a lot of money. If you leave small cracks in your rendering, they can quickly turn into much bigger cracks that are harder to fix.
Cons
May Not Match
One of the disadvantages to repairing rendering is that the repair patch may not completely match the original render. However, the advantages that come with repairing render massively outweigh this small disadvantage.
With the right paint and a bit of dedication, you can easily get your render repair patch looking the same as the original.
Costs
As with any repair job, there are costs involved with repairing render. No matter what your budget is, you should aim to fix your render problems as soon as possible to avoid having to pay more.
Bigger render repair jobs aren't cheap, so it's much better to spend a bit on repairing your render early to avoid having to spend much more in the future.
Render Repair Materials
Lime Render
Best For: Older properties and period buildings.
When repairing lime render, you must use lime-based materials for compatibility. Lime render repairs are forgiving because the material is breathable and flexible, so the repair patch is less likely to crack over time.
The breathable nature allows moisture to escape, reducing the risk of damp problems developing around the repair area, which makes it ideal for older buildings where some wall movement is to be expected.
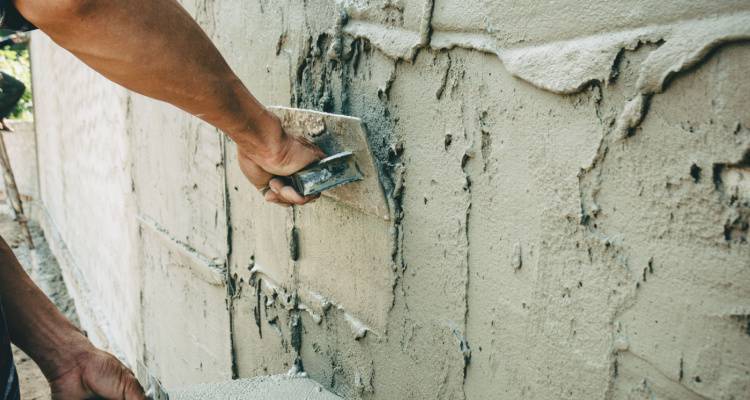
Cement Render
Best For: Modern houses and budget repairs.
Cement is the most used render material for modern homes and is the industry standard for exterior walls. It's a popular choice with homeowners due to its strength and durability. However, it's worth noting that cement render often needs several coats to achieve the desired finish. You'll also need to paint cement render to keep it looking neat.
Pebbledash, Roughcast and Decorative Aggregates
Best For: Repairing textured finishes.
The finish of your render is a critical consideration when planning repairs. Pebbledash and roughcast both involve adding a coarse material, typically small pebbles or gravel, to the base coat of render, which creates enhanced weather resistance and produces a distinctive textured appearance.
You can also use other types of aggregates instead of pebbles to create more unusual finishes. Modern aggregate options can even boost the insulation performance of the render itself.
Polymer Render
Best For: Colour-matched repairs and areas prone to cracks.
Polymer render includes plastic additives mixed into the base material. These additives help to minimise the risk of future cracking. Another key advantage is that polymer render typically comes pre-coloured, so you can skip the painting stage once your repair work is complete.
Acrylic Render
Best For: Topcoat repairs and refreshing old render.
Acrylic render is typically applied as a topcoat over your base render, whether that's existing render or a new render you've just put on. Many acrylic renders contain a silicone-based ingredient that reduces future cleaning needs. Bear in mind that adding silicone would significantly increase the overall cost of acrylic render.
Monocouche Render
Best For: Quick repairs.
Repairing monocouche render can be more straightforward, as it's a single-coat system. You only need to apply one layer to complete the repair, which significantly speeds up the process.
The material comes ready to mix with water. Because monocouche is pre-coloured, your repair should blend seamlessly once it's dry. The main drawback is the higher material cost, but this is offset by the time saved and reduced need for ongoing maintenance.
How Much Does It Cost to Repair Render?
The cost of render repair can vary depending on the type of repair needed and the level of the damage.
The most common render repair job is a patch job where the cracks or missing pieces are patched up with the same type of render as the original.
Repair costs for rendering are much lower than a complete re-rendering, which is why it's so important to get any issues fixed quickly before they get worse.
To get an accurate quote, you can contact multiple local house renderers for quotes, using MyJobQuote. It's fast, free, and there is no obligation to go ahead.
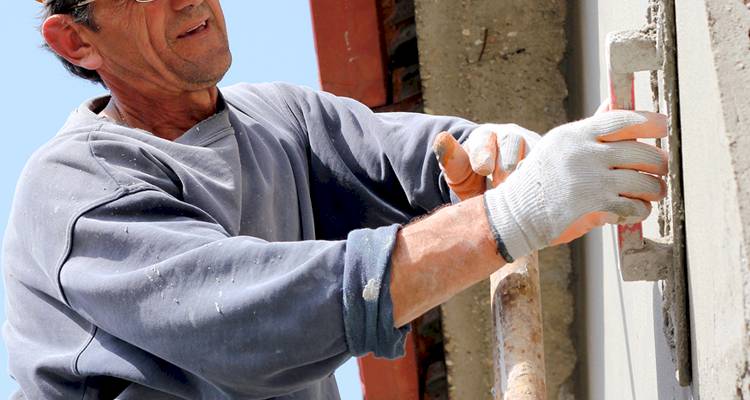
How to Repair Render
Smaller render repairs can be a straightforward job as long as you know a little bit about rendering already. Many homeowners will choose to repair their render as a DIY project, whereas others prefer to leave it to the professionals to ensure the job's done right.
Below is a simple guide on how to do a patch job to repair cracks in render:
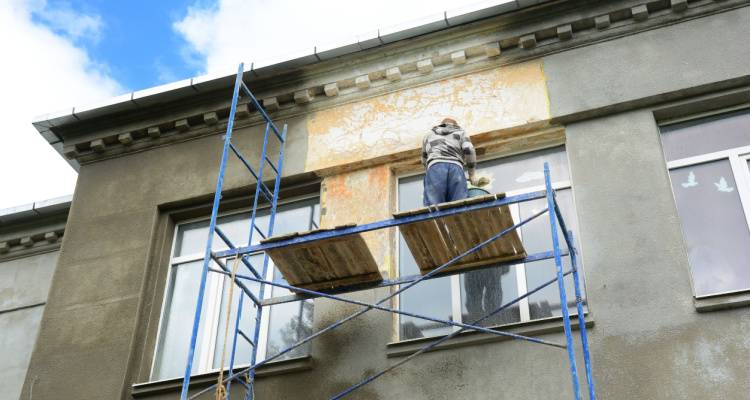
- You will need to begin by ensuring you are wearing the appropriate safety equipment. For this type of work, you will need safety goggles and work gloves. If you are working on a ladder, ensure that it is securely placed on level ground. It's helpful if you can have someone on hand to hold the ladder for you while you work.
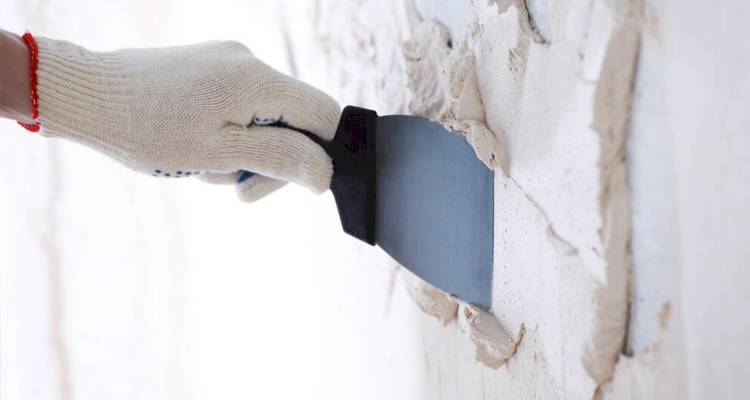
- The first step involves removing all of the old render from the affected area. Use a chisel and short-handled sledgehammer to chip away the old render.
- If the steel mesh reinforcement is damaged, you will need to repair this next. Cut a new piece of mesh and attach it to the wall using galvanised nails.
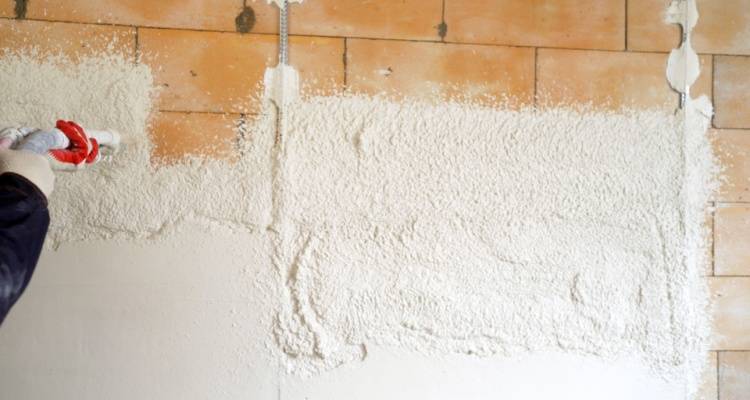
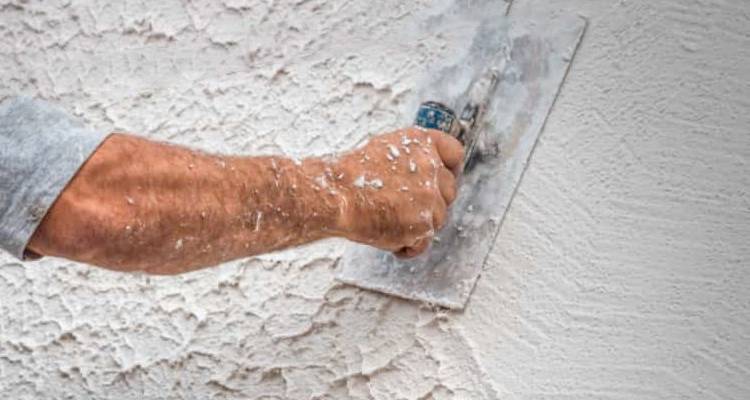
- You now need to get your ready-mixed render repair solution and apply it to the area using a trowel. Be sure to push the render into the mesh. Your patchwork should be roughly the same thickness as the original render, finished just slightly proud so it can be levelled off.
- Use the surrounding wall as a guide and smooth the patchwork's surface using a straight edge. This will allow you to create a level surface in line with the rest of the render.
- Finally, try to duplicate the texture of the existing render using a finishing tool while the patch is still wet.
- Once the render is completely dry, you can then paint over it to match the colour of the existing render.
For thin hairline cracks, you may be able to simply use some render crack repair resin or render crack repair mortar to fill in the gap.
How Long Does It Take to Repair Render?
The time it takes to repair render will depend on the extent of the damage. Most repairs can be completed within a day. However, some more extreme levels of damage could take longer to repair.
You can expect to repair small hairline cracks in around an hour or so. Whereas large holes could take an entire day or longer. It really depends on the extent of the damage and the method of repair that you are taking.
Building Regulations & Planning Permission for Render Repairs
You won't normally need to worry about planning permission, and small like-for-like repairs don't usually trigger building regulations, for an external render repair.
The main exceptions are if your home is a listed building, in a conservation area, or if you are significantly changing the appearance or materials. In these cases, you may need to apply for planning permission or get building control advice before doing any work on the exterior of the home.
To find out more about whether or not your home is one of those listed above, you will need to contact your local council. They will be able to shed some light on your situation and advise whether or not you need to apply for planning permission to repair render.
Questions to Ask When Hiring a Render Repair Specialist
You may need to consider several things when finding the right contractor to repair the rendering on your home for you. Below is a list of common questions that you should ask when looking for the right contractor for the job:
- Does the contractor have any qualifications that relate directly to repairing render?
- What equipment will the contractor be using to complete the job? Will they be using the correct type of equipment? Do you need to provide any equipment?
- Does the contractor possess any form of insurance for the work? You should look for contractors who have insurance that covers property damage, personal injuries, and a work guarantee.
- How much experience does the contractor have in repairing render? Can they provide any testimonials or evidence of previous work? Can they provide photos of previous work?
- Does the contractor offer any guarantees with their work? How long does the guarantee last? What issues are covered under the guarantee? Will the contractor fix any issues that arise?
- How long will the work take to complete?
- How many contractors will be working on the job?
- Is there anything you need to do to prepare for the repair job?
FAQs
Can You Repair Flaking Paint on Render?
Then, use a putty knife and install a thin layer of patching material to the area. Use sandpaper and a tool to create a similar texture to the rest of the render and then allow it to dry.
Once the area is completely dry, you can then go over it with paint to match the rest of the render.
Can You Repair Pebble Dash Render?
It's not usually enough to simply paint over pebble dash render to repair it as this isn't a sufficient repair. You also can't simply render over pebble dash because it's too difficult to get the exact same texture and tone as the rest of the pebble dash render.
Many professionals will patch it with new render and matching stones. It's not something that can be completed as a DIY job as it requires expert knowledge to get the right type of repair that matches up with the rest of the home.