my
myHow to Replace a Shed Roof
If your garden shed roof is leaking, sagging, or showing signs of wear and tear, it's probably time to replace the roofing felt.
This practical guide will walk you through how to replace a shed roof step by step, from the tools and materials you'll need to expert tips for achieving a watertight, long lasting finish.
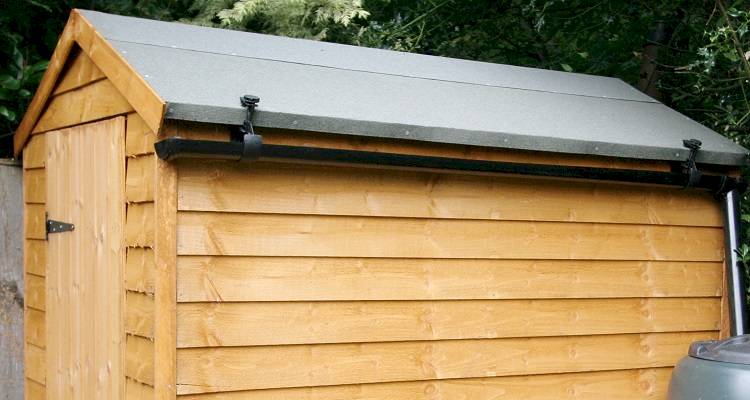
Table of Contents
Should You Repair or Replace Your Shed Roof?
In some cases, a quick repair may be enough to extend the life of your shed roof, especially if the damage is minor and localised to one area.
That said, if you see widespread damage, leaks or sagging, a full shed roof replacement is usually the best long term solution.
Shed roof repair may be suitable if:
- The damage is limited to a small area.
- There are no signs of rot or timber decay.
- The rest of the felt is still in good condition.
Shed roof replacement is recommended when:
- Multiple areas of the felt are torn or have deteriorated.
- The roof deck structure is compromised or visible.
- You want a longer lasting, upgraded finish.
What Tools Do I Need to Replace a Shed Roof?
Before you begin your shed roof replacement, make sure you have the right tools on hand. The right equipment will make the job quicker, safer and you'll achieve a better result.
Below is a list of the tools that you’ll need to replace a felt shed roof:
- Tape Measure
- Marking Pencil
- Ladder
- Straight Edge
- Builder’s Knife
- Hammer
- 40mm Wood Nails
What Safety Equipment Do I Need to Replace a Shed Roof?
While learning how to replace a shed roof is relatively straightforward, and it's a relatively low risk DIY job, it's still important to take the right safety precuations.
Working at height, handling sharp tools and lifting heavy materials can pose hazards if you're not properly prepared.
Follow these health and safety steps to ensure the job is completed as safely as possible.
- Always be aware of children when completing this type of work and never allow children to play with your building tools.
- Always use your ladders on stable ground and get someone to help steady the ladder for you if necessary.
- Wear non slip protective gloves to maintain grip and protect your hands from sharp tools, nails and abrasive felt edges.
- It might sound obvious, but wear suitable footwear. Ideally they should have good grip on the sole so you won't slip off the ladder.
- Avoid working in poor weather conditions including rain, wind or icy conditions.
- Avoid overreaching. Reposition the ladder as you move around the roof rather than stretching.
What Materials Do I Need to Replace a Shed Roof?
Below is a list of the materials that you’ll need to replace a shed roof:
- Shed Roofing Felt (the amount you need will depend on the size of your shed roof)
- Felt Nails
- Fascia Boards (cut to size of roof)
How to Prepare for Replacing a Shed Roof
To prepare for replacing your shed roof, you will firstly need to remove the old felt from your roof to make room for the new felt.
Removal of the old felt is quite straightforward and requires you to simply pull away the felt from the roof. Use a utility knife and claw hammer to lift any nails or staples holding the felt in place.
Also check the roof structure for signs of deterioration on the roof boards and support structure. Look for warped or cracked timber, mould or signs of water ingress or loose or rusty nails.
Before starting the roof replacement process, you will also need to measure your felt to the size of your roof. You should arrange your roofing felt so that there is a 50mm overhang on the eaves and a 75mm overhang on the gable ends. This is so that you can tuck in the edges so that it’s all nice and neat once finished.
To measure up the number of felt pieces you’ll need, simply place them on top of the roof allowing the appropriate overhang. Most roofs will need 3 pieces of roofing felt, however, some larger or smaller than average sheds may need different amounts.
The pieces will usually consist of one on one side, one on the other side, and then a third piece over the top of the two side pieces to cover the joints in the middle.
How to Replace a Shed Roof Yourself (Step by Step Guide)
Step 1
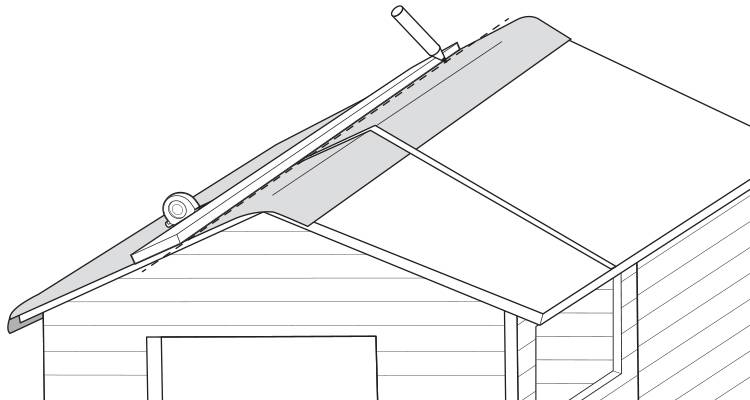
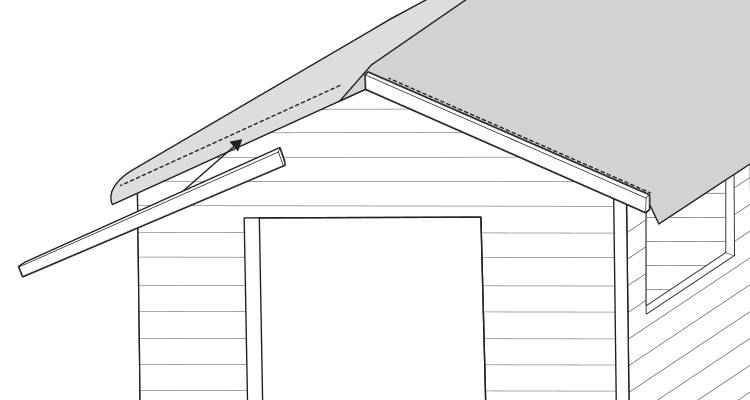
The first you need to do is to mark-up where the felt is going to start. Use a tape measure to measure where your felt pieces are going to start on the roof and then create a marking in this place on either end of the roof using a pencil.
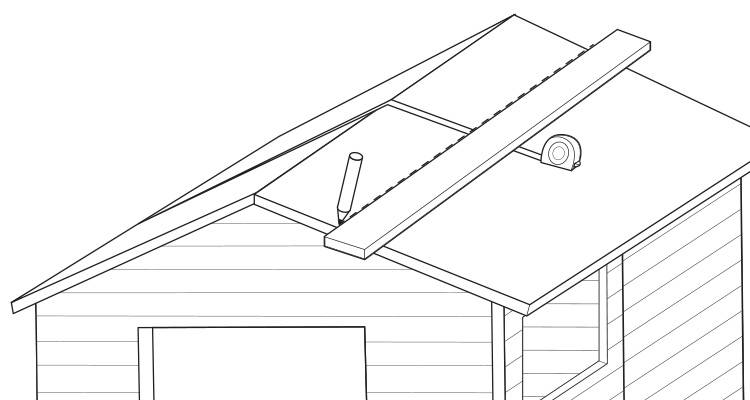
You will then need to get a straight edge piece of timber so that you can create a full line across the length of the roof. This is so that you know where your felt is going to start for the later steps.
Step 2
Using your measurements for the length of the shed (including the 75mm overhang), cut your felt pieces accordingly.
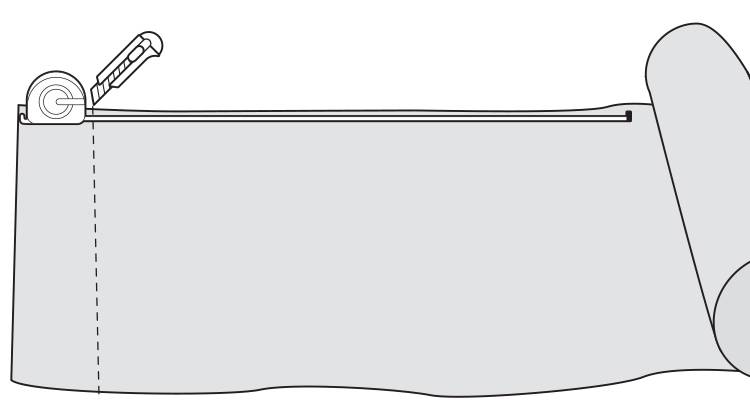
Do this using a tape measure on a flat surface to ensure you cut the felt in a straight line and to the correct measurements. The felt should easily cut using a builder’s knife.
Step 3
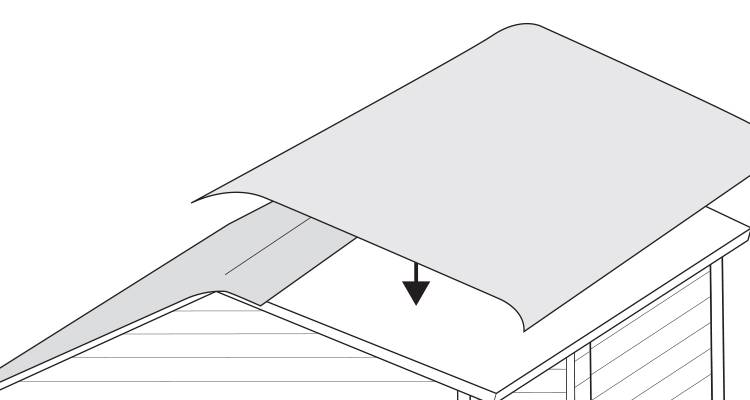
Now it’s time to put your felt up on the roof in its position. Offer up the felting piece to your shed roof and ensure that it’s in line on all sides and offers the correct level of overhang (50mm on the eaves and 75mm on the gable ends), then, nail the piece of felt onto the roof with a hammer to secure it.
Step 4
Once your first piece of felt is up, repeat the step of measuring up where your second piece of felt will line up on the roof, and create a marking once again the same as in step one.
This ensures that you know where to offer up the second piece of felt on the roof when the time comes. Repeat this step as many times as needed until you have completely covered all the surface area of the roof.
Step 5
Line up your extra pieces of cut felt to the edges, ensuring that they line up with the 75mm overhang on the gable ends. Each piece of felt should overlap slightly. Ensure that the top pieces are the ones that overlap so that when water runs down the roof, it keeps running down and runs off over the sheets rather than running underneath them.
Step 6
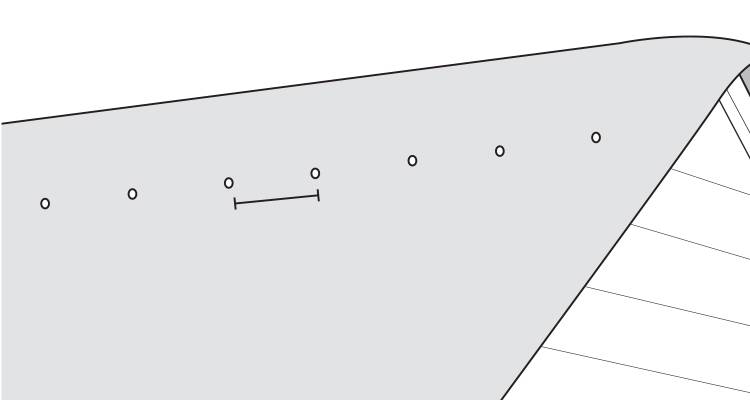
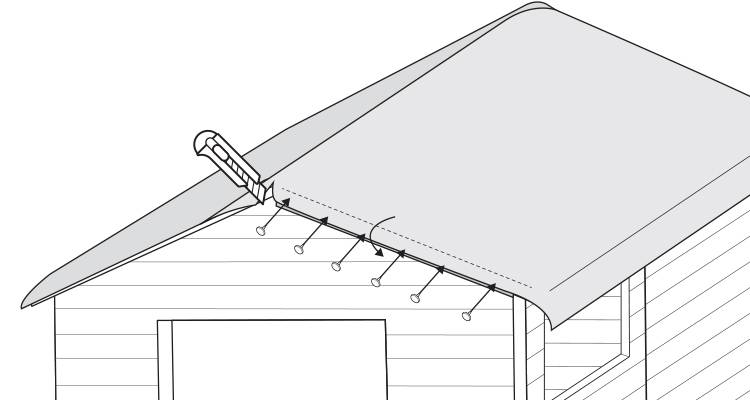
Measure along the edge of your felt at 100mm intervals and then hammer in felt nails all along the eave. This will ensure that your felt stays securely in place at all times. Do this along the top and bottom sections to ensure full security.
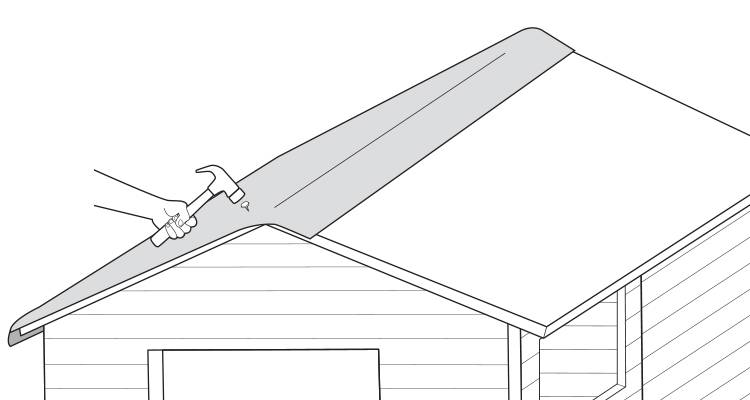
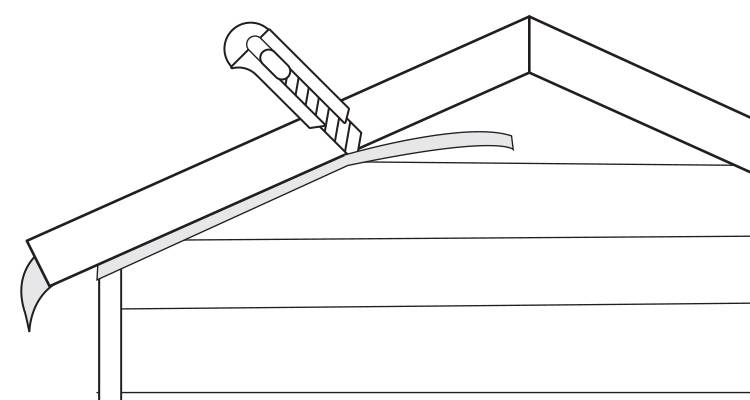
Step 7
It’s now time to sort out your overhang. Using your builder’s knife, cut the centre point of the overhang and fold it over. Once that’s done, simply nail the overhang to the side of the shed to keep it from flapping around and to secure it tightly in place. Use felt nails at 100mm intervals for the best results.
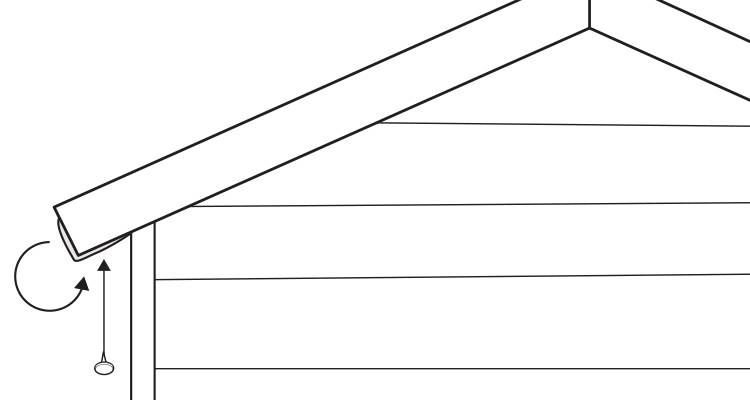
Step 8
Secure your fascia boards to the front of your shed over the overhanging felt using 40mm wood nails. A good tip would be to part nail these in once you offer up the complete fascia to the shed to make it easier to ensure that it’s lined up correctly.
Once you’re happy with the line up, you can then fully drive the nails in to secure it in place.
Step 9
To neaten up the look of your roof, use your builder’s knife to trim off any felt that may be hanging down below the level of the fascia. Simply go along the bottom of the fascia using your builder’s knife and remove all of that excess felt. This will create a neat finish.
Step 10
Where the felt hangs over the sides of the eaves, simply fold the excess felt under the overlay and then use felt nails underneath to nail it properly and securely in place.
If you shed comes with a fascia for the side, all you will need to do is repeat step nine as necessary until all fascia pieces are up.