my
myHow to Plasterboard a Ceiling
Are you looking for information on how to plasterboard a ceiling?
This guide will go over everything you need to know about the process of plasterboarding a ceiling, along with a list of all of the relevant tools and materials that you’ll need to get the job done.
Table of Contents
- What Tools Do I Need to Plasterboard a Ceiling?
- What Safety Equipment Do I Need to Apply Plasterboard to a Ceiling?
- What Materials Do I Need to Plasterboard a Ceiling?
- How to Prepare for a Ceiling Plasterboard Application
- How to Plasterboard a Ceiling Yourself
- What is Plasterboard?
- Types of Plasterboard
- Repairing Cracks in Ceiling Plasterboard
- FAQs
What Tools Do I Need to Plasterboard a Ceiling?
Below is a list of tools you’ll need for a plasterboard ceiling installation:
- Sandpaper
- Stanley knife
- Drywall hammer
- Metal straight edge
- Pencil
- Workbench
- Ladder
- Hammer
- Drill
What Safety Equipment Do I Need to Apply Plasterboard to a Ceiling?
Below is a list of the recommended safety equipment for a ceiling plasterboard job:
- Safety glasses or goggles
- An extra person to help with lifting and holding
What Materials Do I Need to Plasterboard a Ceiling?
Below is a list of the materials you’ll need to plasterboard a ceiling:
- Plasterboard sheets
- Clout nails
- 60mm drywall screws
- Plasterboard tape
- Plaster
How to Prepare for a Ceiling Plasterboard Application
Below is a list of things that you’ll need to do to prepare for a ceiling plasterboard installation:
- Remove any fixtures or fittings from the ceiling.
- Remove any furniture or obstacles that may prevent you from being able to access the ceiling easily.
- Remove any crown mouldings that may be attached to the ceiling.
- Use a handheld stud and joist detector or if you can gain access via loft space, or similar, check the ceiling from above to locate any joists.
- Cut all of your plasterboard sheets to size. Do this by using a straight metal edge and mark it off where you need to cut. Then cut along the line with a Stanley knife, using your straight edge as a guide.
- Make sure you sand the edges down, so they are smooth. Your plasterboard pieces should be cut to size according to the locations of the joists in the ceiling.
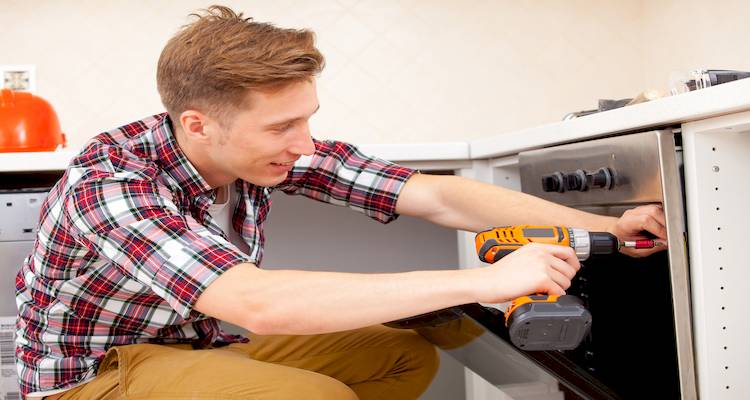
How to Plasterboard a Ceiling Yourself
The timescales needed can vary depending on the size of the area, ranging from between 6 and 12 hours for a small room to 2 or 3 days for a larger space.
Below is a step-by-step guide on how to complete a DIY ceiling plasterboard installation job:
Step 1
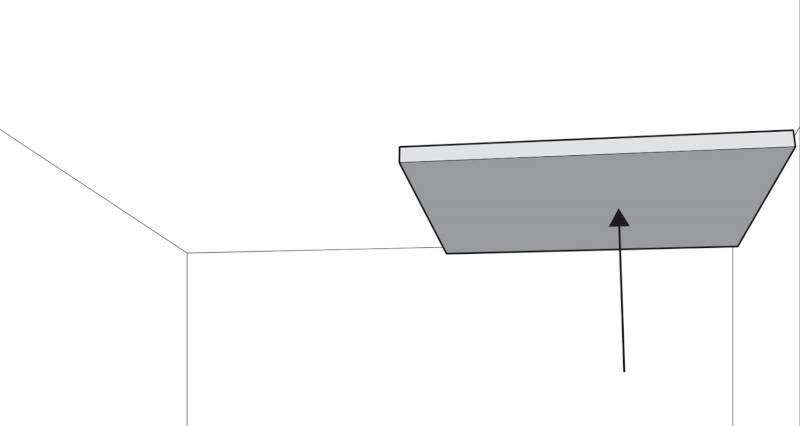
Once your plasterboard is cut to size and ready to be fitted, stand on a ladder and lift your first piece of plasterboard up into the correct position on the ceiling. You may need someone on hand to pass you the plasterboard pieces while you’re stood on the ladder.
Step 2
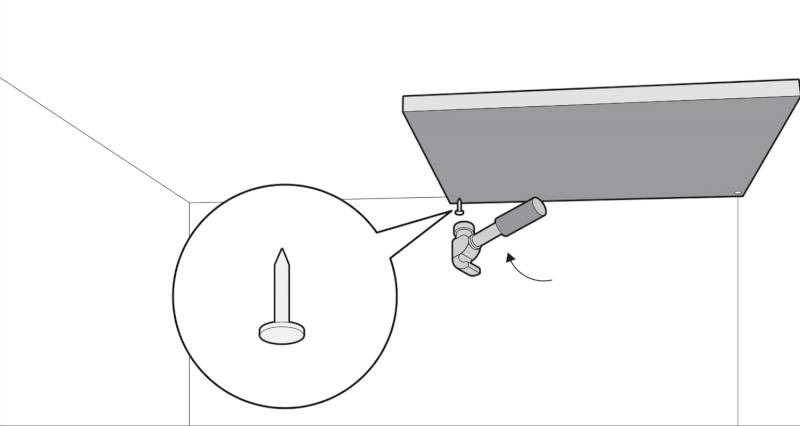
Once you’re happy with the positioning of the plasterboard, you can knock some clout nails in to keep it in place. Around six clout nails will do for an average-sized plasterboard sheet. This step can prove helpful but isn't strictly necessary.
Step 3
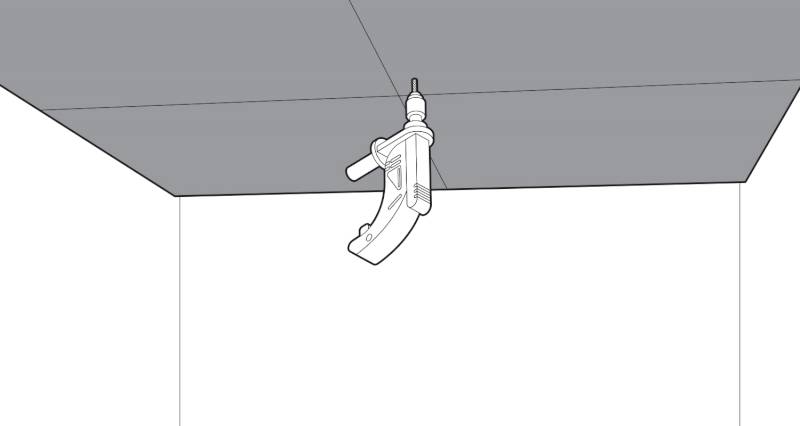
Then, secure the board completely to the ceiling by adding 60mm drywall screws. Your screws should be drilled into the plasterboard and through to the ceiling. These should be positioned by the side of the clout nails that you knocked in earlier.
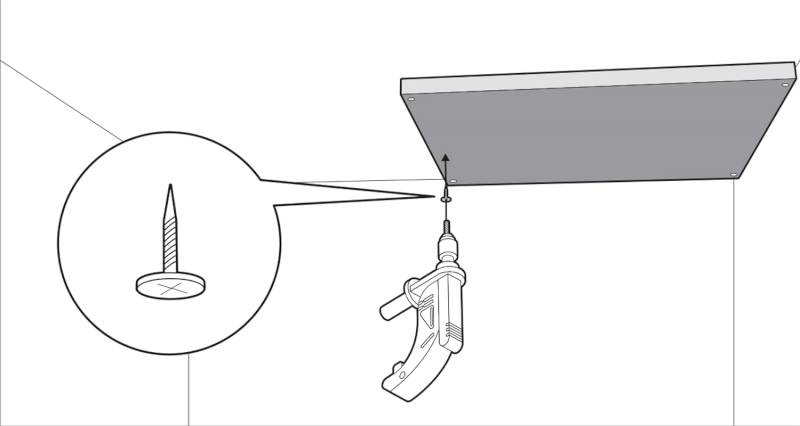
Make sure your screws are being fed through to a joist or solid piece of timber frame to keep the plasterboard securely in place.
Step 4
Repeat this step across all of the ceiling, ensuring that you have someone on hand to help lift the plasterboard and hold the pieces in place as you secure them.
Step 5
Once your plasterboard pieces are up, check along all of them and add some extra screws in if you think it’s necessary. You may need a few extra screws for larger pieces of plasterboard just to make sure it’s completely tight against the ceiling.
Step 6
Once you’re happy with the number of screws in your plasterboard pieces and the whole ceiling is covered in plasterboard, the job is now complete.
If you are planning on painting your plasterboard, you will need to apply plasterboard tape and small amounts of plaster to each of the seams to make sure the surface is completely flat.
This will allow you to have a flush surface with no visible cracks so that you can paint over it without the need for plastering over the entire surface. Once this is complete, and the plaster is dry, you can then paint over your ceiling as desired.
What is Plasterboard?
Plasterboard is a panel of material that is usually pressed between a backer and a facer. It is most commonly used when making ceilings and an alternative to wet plaster when plastering an indoor wall.
While it can technically be installed as a DIY job, lifting ceiling sheets often requires two people to carry out the work safely, or the use of a plasterboard lift.
If you haven't installed a plasterboard ceiling previously, then it's best to ask for help from someone who has done it before. Any errors can become costly and cause unwanted damage or injury.
Types of Plasterboard
There are several different types of plasterboard, which can vary in thickness, although on average around 9.5-12.5mm thick is fairly standard. Below is a list of the different types of plasterboard and their uses:
Water-Resistant Plasterboard
Water-resistant plasterboard is best for bathroom and kitchen installations or any other room that may be prone to extra moisture. This type of plasterboard contains additives that prevent the build-up of moisture and damp, making it the sensible choice to use on your walls and ceilings.
Insulated Plasterboard
This is a popular type of plasterboard for modern homes that is designed to keep the heat in. It features an additional thermal insulation board attached to the back of the main plasterboard sheet, which allows it to keep the heat in.
The two different pieces are combined to form one whole sheet. Thermal plasterboard is also a great money-saver as it can prevent the need for completely insulating your walls.
Acoustic Plasterboard
Acoustic plasterboard is designed to minimise the transmission of noise between each of the rooms in the home. This type of plasterboard tends to have a thickness of around 12.5mm, which reduces the amount of noise that can travel through the wall.
This means that this type of plasterboard can be referred to as soundproofing plasterboard. It also tends to have a higher density than most other plasterboard types, allowing it to contain high noise levels within the room.
Fire-Resistant Plasterboard
This type of plasterboard is resistant to fire. Each different type of fire-resistant plasterboard is resistant at different levels depending on the manufacturer.
Some fire-resistant boards provide up to several hours of fire protection, depending on thickness and system. Glass fibres and other types of additive are mixed into this type of plasterboard during the manufacturing stage to give it its fire-proof properties.
Impact-Resistant Plasterboard
Impact-resistant plasterboard is designed to be the most durable type of plasterboard and can protect itself from physical damage. It has a very high density, and various additives are added during the manufacturing stage to make it extremely strong and durable and increase its load-bearing capacity.
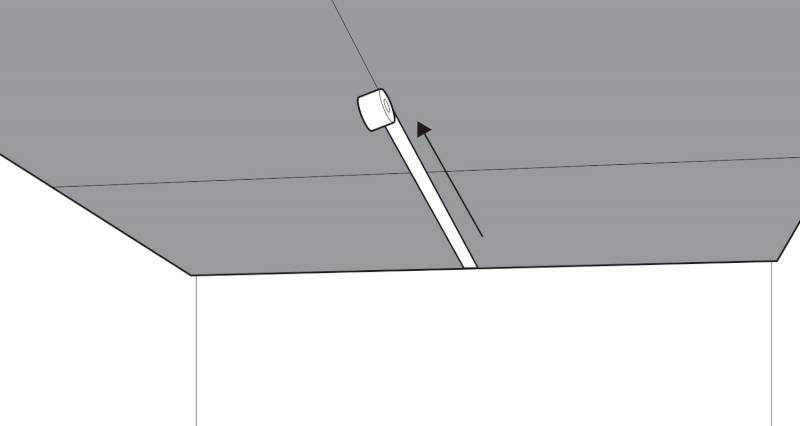
Repairing Cracks in Ceiling Plasterboard
Rather than having to plasterboard a whole ceiling, it may be easier to simply patch-up the issue, which will be cheaper and often cause less inconvenience.
Below is a step-by-step guide on how to repair cracks in a ceiling:
- Use a Stanley knife to open up the crack.
- Use a caulking gun and an appropriate filler and squeeze the filler into the crack.
- Use a damp cloth and run it over the filler, pushing it further into the crack. Leave around 1-2mm for skimming.
- Finally, skim over the crack with a filler mixture and wait for it to dry.
- Repeat the previous step and wait for it to dry.
- Run a flex knife over the crack to remove any excess filler.
- Sand the filler until it’s flush with the surface.