Builders
 Carpenters
 Electricians
 Flooring Specialists
 Gardeners
 Handymen
 Heating Engineers
 Painters & Decorators
 Plasterers & Renderers
 Plumbers
 Roofers
 Tilers
 my
Ask a Trade
Got a question that only a tradesperson can answer? We have thousands of trades ready to answer any question you may have.
Ask your question
Would you like to find out how to make a compost bin?
Then carry on reading to find out, with easy to follow instructions and step-by-step images.
So let's take a look...

A compost bin is a container used for placing organic waste that can be turned into compost over time. Some compost bins are continuous. This means that you can keep adding waste to them.
Other compost bins create batches of compost with a set mix of ingredients that you have to add all at once.
With good-quality compost you can use it on your garden or mix it into potting compost for plants. If you need to dispose of any excess or if it's not produced a good enough quality, you can usually include compost with your general garden waste removal.
Below is a list of the tools needed to build a DIY compost bin:
When working with timber for projects such as building a compost bin, there are several safety precautions to take. Although if you don't feel confident in building one yourself, you can always ask a local handyman to help.
Here is a list of the materials that you'll need when building a garden compost bin for your organic waste:
Be mindful when choosing materials that if you're using treated wood, it needs to be free of toxic chemicals so there isn't any risk of it transferring into the compost during contact. Likewise, the same applies when building with any other material, as anything that may have a negative impact on the compost can defeat the purpose.
Also think about where you're going to put your bin, as the majority of people prefer to store their compost bin somewhere in the garden where it's tucked out of the way. They can often be large and unsightly and may smell if the composting material gets too wet or too short of air.
When preparing to build your compost bin, you will need to begin by gathering the materials needed for the job. You will need four pallets of equal or almost equal size. Old pallets are widely available, but you need to check that they're safe to use by looking at the stamp on them.
The stamp should display the IPPC or EPAL logo plus the letters 'HT', which indicate the wood has been heat-treated rather than treated with chemicals. Avoid pallets with the letters 'MB' on them as this indicates that they have been treated with the toxic pesticide methyl bromide.
There are several ways in which you can make a compost bin. Below, we have created a step-by-step guide on how to build a pallet compost bin:
If your pallets aren't of equal size, begin by using a saw to cut them down to the same width so that the walls of your compost bin will be at the same height.

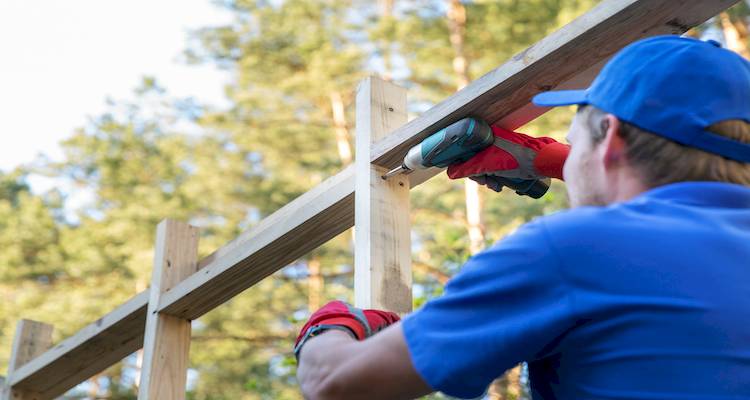
Now begin joining three of the pallets together to create the back and sides of the bin. Line them up, lean them against each other and then screw them together to hold them in place. When finished, the two side walls should be flush with the rear wall.

Next, fit the corner brackets in each of the corners. You will need to fit two brackets to each corner, one at the top and one at the bottom. These can simply be screwed into place. Use as many screws as necessary to firmly attach them in position.

The fourth pallet will be used to create doors. Using a saw, cut the pallet into two pieces about halfway up. Saw between the slats, cutting right up against the plank to create an even, tidy finish. Any offcuts can later be used to help level up the walls of the compost bin.

Now attach the doors to the walls. Screw two hinges to each door. Attach the hinges on the outside so that the doors can swing open easily. Set the bottom door slightly off the ground to stop it from catching. Similarly, leave a slight gap between the bottom and top doors.

Once the doors are in place, you can now install the hook and latches. Screw them into position towards the top of each door.

If you want to make your compost bin extra sturdy, you can screw in additional plate brackets at the rear corners.

The front of the compost bin can be further anchored into place by hammering in lengths of rebar on either side of the wall.

Although it isn't necessary, you may want to then apply a wrap of chicken wire to the outside of the bin to avoid the possibility of any stray contents falling out of the bin. Attach the wire or netting with U-shaped nails or a staple gun.

Your compost bin is now ready for use. You should start filling the bin with a mixture of dried leaves and torn cardboard alongside grass clippings and kitchen waste. Items such as coffee grounds and herbivore animal manure help produce particularly good compost. Try to create a balance of brown and green waste to help speed up the decomposition process.

Take out the contents of your compost bin when it is full or when you have stopped adding to it. You can use the composted lower layers in the garden, and the rest needs to be mixed together and put back in the bin. If the material seems dry when mixing, add water. If it's too wet, add some dry material such as torn cardboard.
If the compost is too wet or smells bad, there has been too much water and too little air getting to it. You can solve this by protecting the compost against rain and adding brown waste (woodchip, straw, or shredded paper are ideal).
Avoid putting meat, dairy, or any cooked food in your compost bin as these can attract rats and mice.

Aside from waste that doesn't decompose, other items to avoid include meat, fat, dairy, bones, plastic packaging, and garden waste that's been exposed to disease.
Yes, you can use compost as mulch for water retention and to suppress weeds. However, as it breaks down quicker than traditional mulch (such as bark or wood chips) it won't last as long. If you wish to create a longer-lasting option, compost leaves separately to other waste as leaf mulch on its own creates a great alternative for use in the garden.
If you have a tumble-style compost bin turn it every 2 to 3 days, or more regularly during the first week. This helps to ensure the compost is getting as much oxygen as possible. This will also prevent the compost from drying out around the edges.
This indicates that you don't have enough brown waste in your bin. The best way to deal with an ammonia smell is to add more brown waste. Ordinarily, it is recommended that you apply an even amount of green and brown waste. However, adding some extra brown waste can help to deter the ammonia smell.


Copyright 2026 MyJobQuote.co.uk. All rights reserved
Privacy Policy | Terms and Conditions | Sitemap
MyJobQuote.co.uk is rated 4.68 stars by reviews.co.uk based on 4172 reviews