my
myHow to Lay Carpet
Knowing how to lay carpet yourself can save you money on labour costs, so it's a worthwhile thing to learn. In this guide, we'll show you how to lay carpet step by step as well as what tools you'll need in the process.
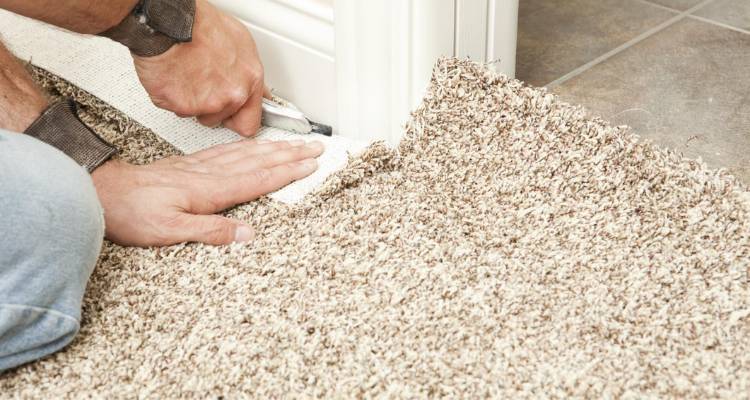
Table of Contents
What Tools Do I Need to Lay a Carpet?
Below is a list of the tools that you will need to install a new carpet:
- Tape measure
- Tack strip hammer or staple gun
- Carpet knife and blades
- Straight edge
- Knee kicker
- Carpet stretcher
- Carpet tuckers
- Hammer
- Chalk line
- Plastic broad knife
- Hand saw
What Safety Equipment Do I Need to Install a New Carpet?
Below is a list of the safety equipment that you will need when laying a carpet:
- Safety glasses
- Protective gloves
- Dust mask (optional)
- Knee pads (optional)
What Materials Do I Need to Lay a Carpet?
To save on the cost of laying a carpet, you can do so yourself with only a few additional materials, as listed below:
- Carpet
- Staples
- Carpet tape
- Tack strips
- Carpet pad
- Nails
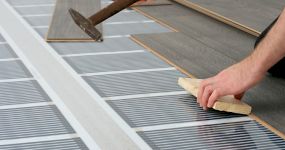
How to Prepare for Installing a New Carpet
When preparing for your carpet installation, you want to start by ensuring you have all of the relevant tools and materials needed to complete the job effectively. Don't forget to make sure you have good quality padding for the underlay.
How to Lay Carpet Yourself
Here is a step-by-step guide on how to lay carpet:
Step 1
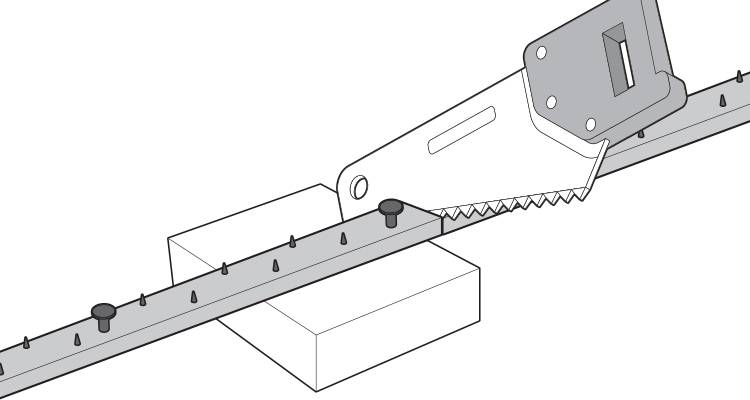
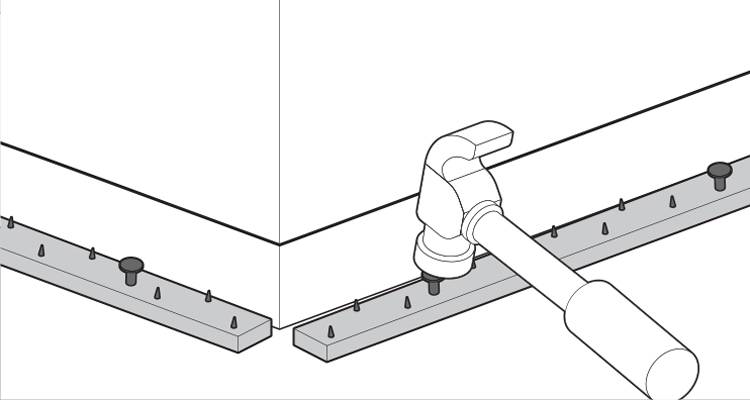
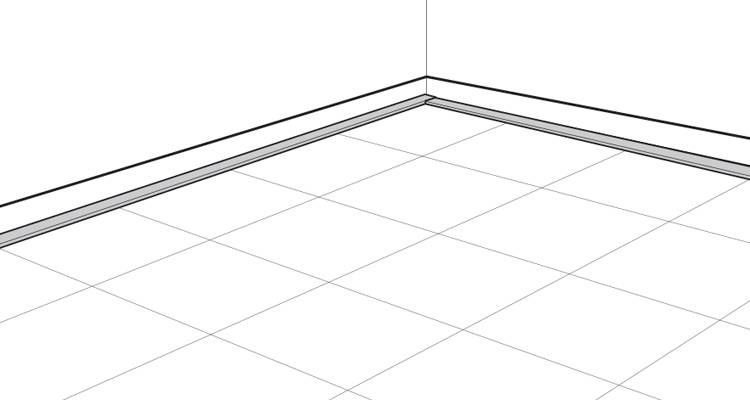
Start by cutting your tack strips to fit around the perimeter of the wall, although don't place them across openings such as in the doorway.
Step 2
Next, nail in the strips with the tacks facing the wall. Leave about 2/3 of the thickness of the carpet between the wall and the strips.
Step 3
Repeat this process across the entire perimeter of the room.
Step 4
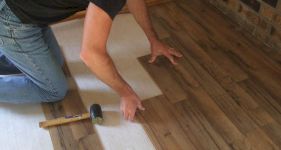
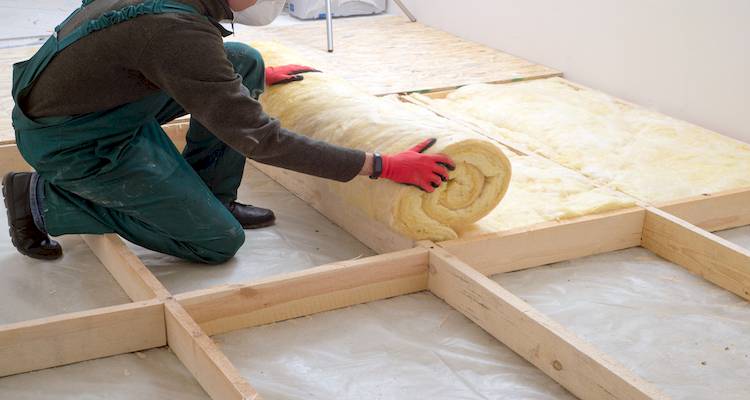
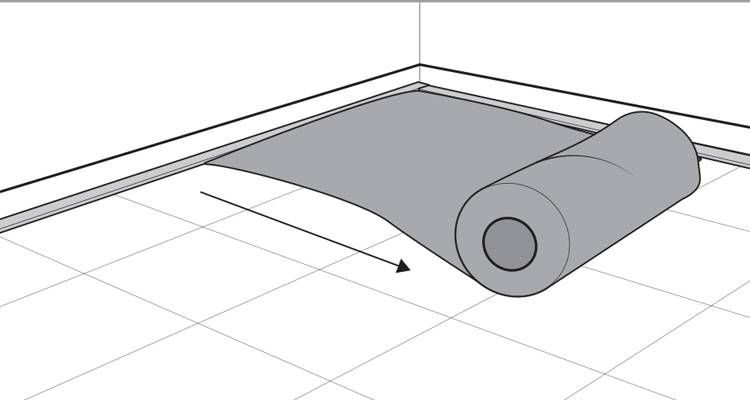
Lay the carpet pad or underlay down, making sure that any seams will be at right angles to the carpet seams.
Step 5
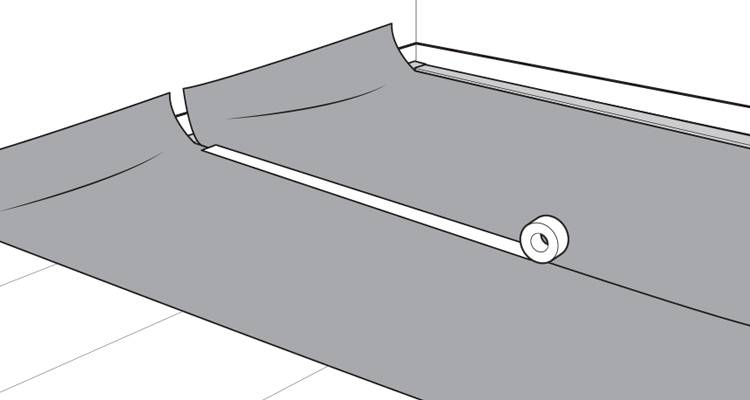
Use carpet tape to secure neighbouring pieces together and staple the edges to the edge of the tack strip to secure it in place.
Step 6
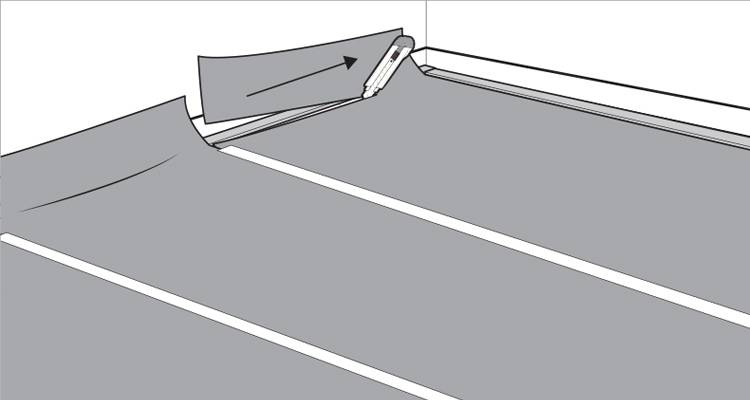
Finally, trim the pad with a carpet knife against the strip.
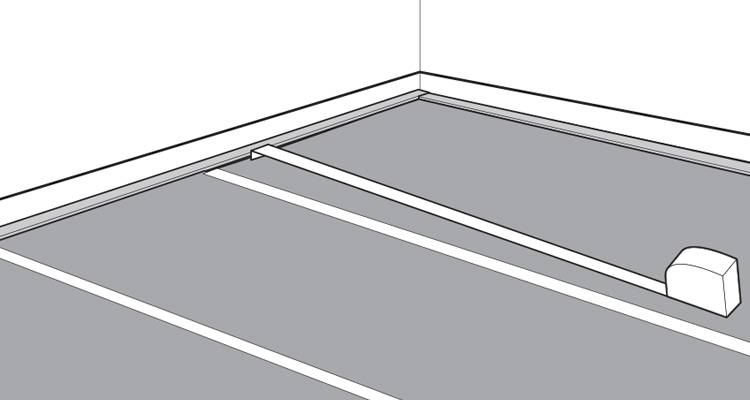
Step 7
Now you will need to measure the room. Once you have the measurements, you should allow around an additional 6 inches along the width and length to allow for trimming when cutting the carpet to shape. If you are laying more than one piece of carpet, mark chalk lines on the floor visual reference for where the pieces should align.
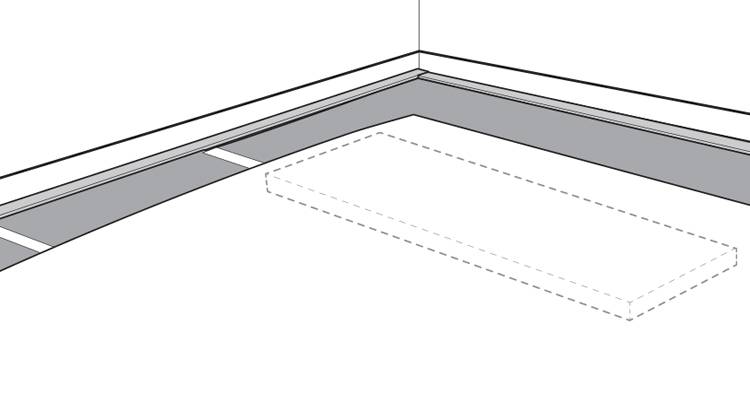
Step 8
If you need to cut the carpet, place a piece of wood or another solid object along the chalk line under the carpet to create a cutting base.
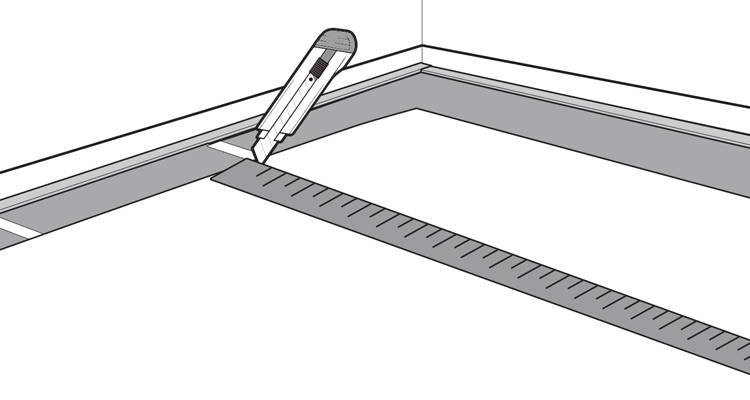
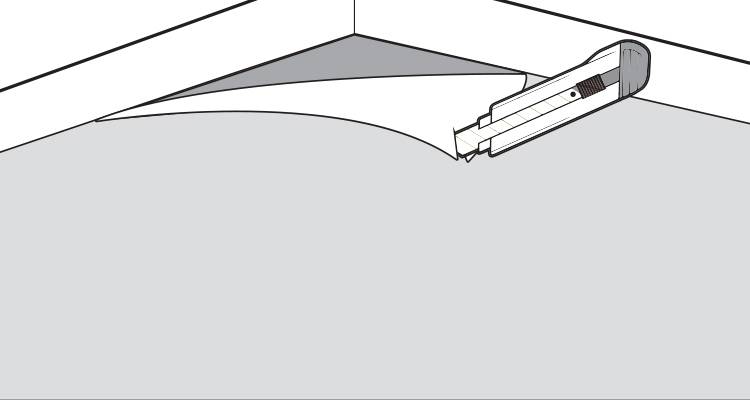
Step 9
Guide your carpet knife along each line using a straight edge as a guide.
Step 10
Flip the carpet over and centre it in the room.
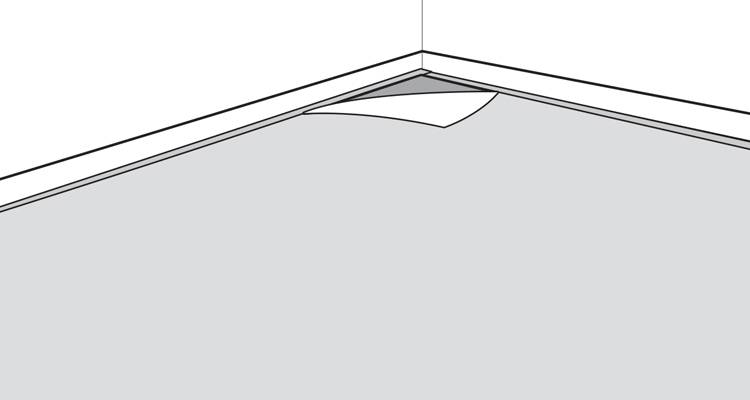
Step 11
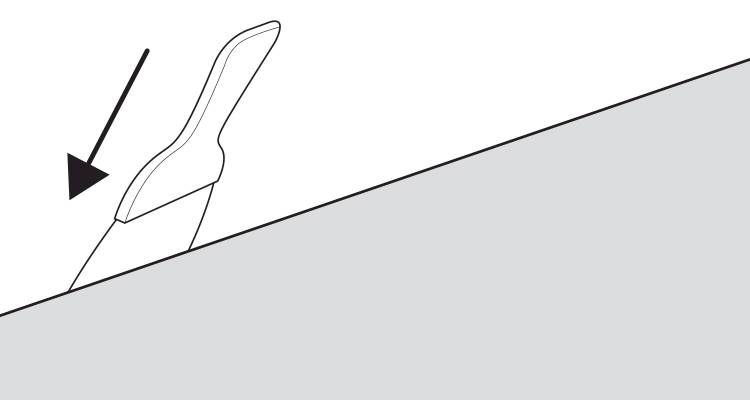
Using your carpet knife, make relief cuts in the corners to flatten it out.
Step 12
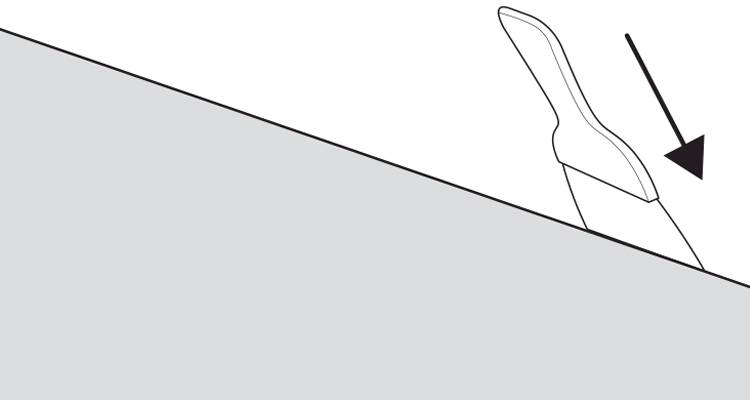
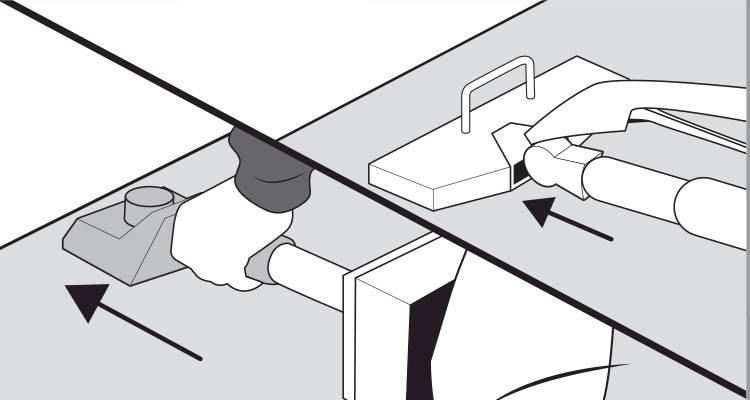
Starting in one of the room's corners, anchor the carpet to the wall by pushing the carpet into the tack strips using a knee kicker. Then, tuck the carpet right into the edges using a carpet tucker. Repeat this step along three feet of the wall.
Step 13
After you anchor the long wall, anchor, the short wall using the same previous steps.
Step 14
Trim any excess carpet using the carpet knife before tucking if needed.
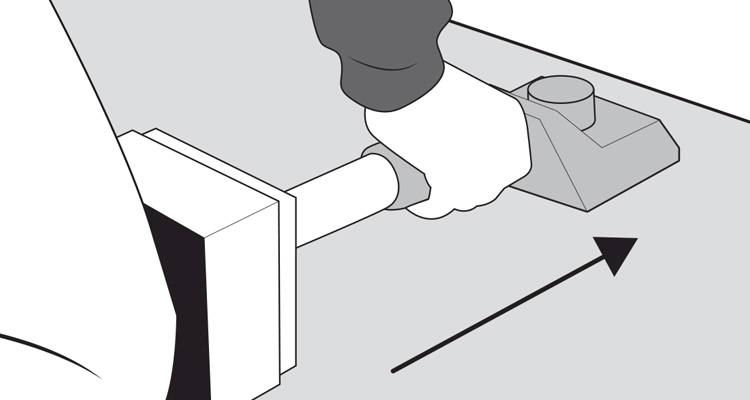
Step 15
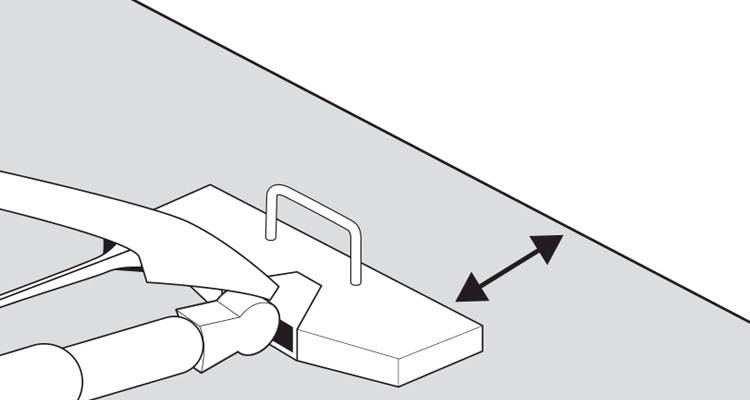
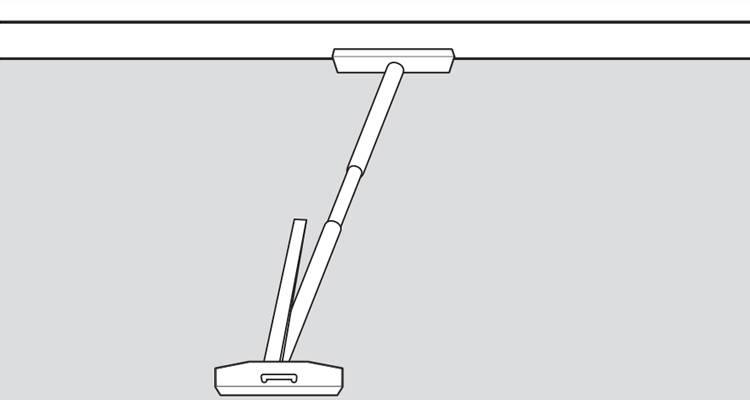
Now you're ready to power stretch the first corner. Pad the foot of the power stretcher with a piece of scrap carpet to protect the wall, and position it at a 15-degree angle against the corner.

Step 16
Run the stretcher at a 15-degree angle towards the opposite corner and set the head six inches from the wall.
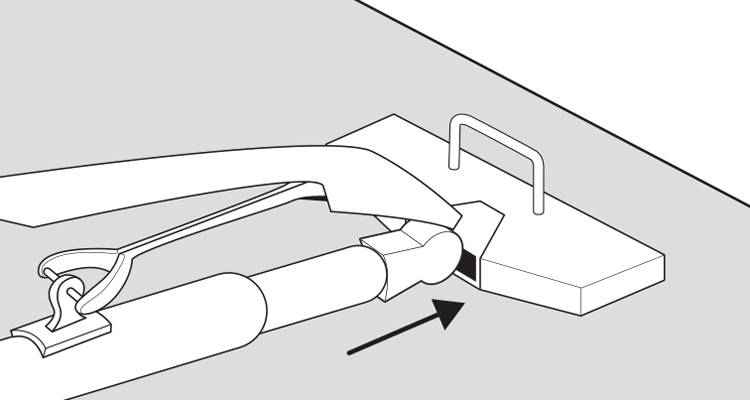
Step 17
Then, stretch the carpet by pushing on the handle.
Step 18
Anchor and tuck the carpet as before along three feet of both corners.
Step 19
After you've power stretched the first corner, use the same technique for your next corner and anchor it accordingly by following the previous steps.
Step 20
Then, power stretch the opposite long wall just like you did before by pulling, tucking, and anchoring the carpet as you go along.
Step 21
Finally, power stretch the remaining corner and use your knee kicker to work your way across the wall.
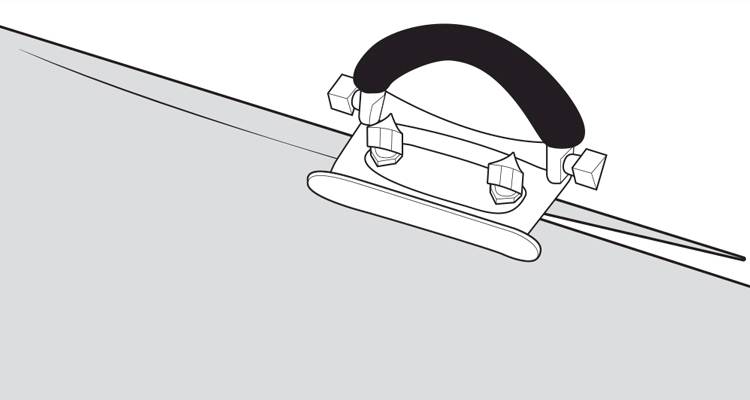
Step 22
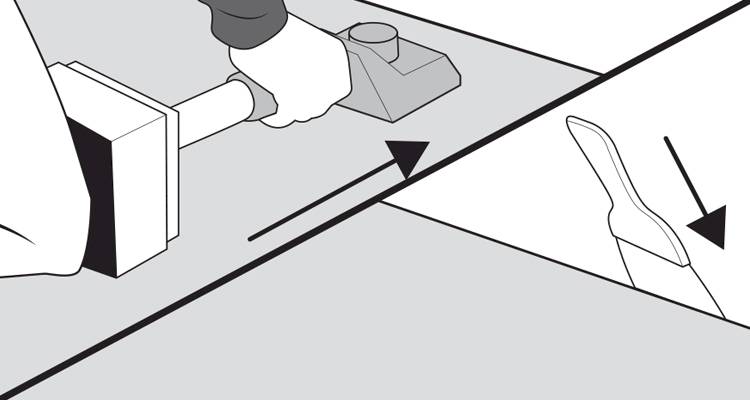
Adjust your wall trimmer to the thickness of your carpet, allowing you to trim the carpet edges adjacent to the wall.
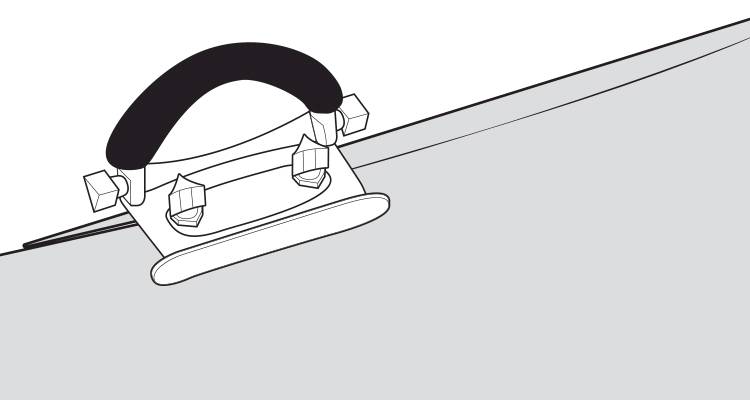
Step 23
Then, tuck the freshly cut edges between the wall and the strips.
Step 24
When the carpet comes in contact with other flooring, seal the edges - you can then install a carpet transition in the joint if you need connect multiple pieces together.

Carpet Types
Below is a list of the different types of carpet that you can get for your home along with a pros and cons list:
Plush Carpeting
Plush carpeting is a cut pile style. The carpet loops are cut to the same length to make a smooth, level surface.
Pros
- ✔ Soft
- ✔ Durable
- ✔ Comes in a wide range of colours
- ✔ Compliments most types of décor
Cons
- ✖ Tends to show indentations from furniture
- ✖ Can show prints from foot traffic
Frieze Carpeting
This is another example of a cut pile carpeting. The difference here is that the yarn is twisted rather than cut so that it looks curly.
Pros
- ✔ Soft
- ✔ Durable
- ✔ Easier to hide seams
Cons
- ✖ Spills are more likely to sink into the backing
- ✖ Can be difficult to clean
Shag Carpeting
This type of carpeting is very similar to frieze carpeting except the strands are thicker, bulkier, and have a deeper pile.
Pros
- ✔ Very comfortable
- ✔ Durable
- ✔ Easy to hide seams
Cons
- ✖ Stains and dust can sink into the fibres
- ✖ Sometimes difficult to clean
- ✖ Long strands make it difficult for people who use strollers or wheelchairs
Berber Carpeting
This is a loop pile style of carpet – the loops in Berber carpeting aren't cut, so they remain as loops. This is a durable carpet style that is popular in heavy traffic areas such as the hallway or sitting room.
Pros
- ✔ Durable
- ✔ Tend to be cheaper than other styles
- ✔ Not too thick
Cons
- ✖ Not as soft as other carpet styles
- ✖ Can become damaged by sharp objects or pet nails
Level Loop Carpeting
This carpet type is also similar to Berber. All of the lops are the same height, so the carpet keeps an even surface. This style of carpet is thin and often used in office and commercial settings.
Pros
- ✔ Very durable
- ✔ Good for high-traffic areas
Cons
- ✖ Not soft underfoot
- ✖ Not cosy in appearance
When Does Carpet Need to Be Replaced?
Although this can often just be down to personal preference and a desire to redecorate, below are a few signs that your carpet may need to be replaced based on it's appearance and condition:
- Visible stains
- Wear and tear
- Increase in allergy symptoms
- Uneven
- Wrinkling appearing
- Coming away from the walls
- Rips
How to Remove Carpet
Below is a simple step by step guide on how to remove a carpet yourself:
- Begin by trying to pull up the carpet using pliers.
- If this fails, use a utility knife to cut a small square out of the corner so that you can grab hold and pull the carpet up.
- Pull the carpet up along the entire length of the wall.
- Fold the carpet into strip sections as you go along and slice the fold using your utility knife.
- Roll up the carpet pieces and duct tape them together.
Once you've pulled out, cut, and rolled all of the carpet pieces in the room, you can then dispose of the old carpet.