my
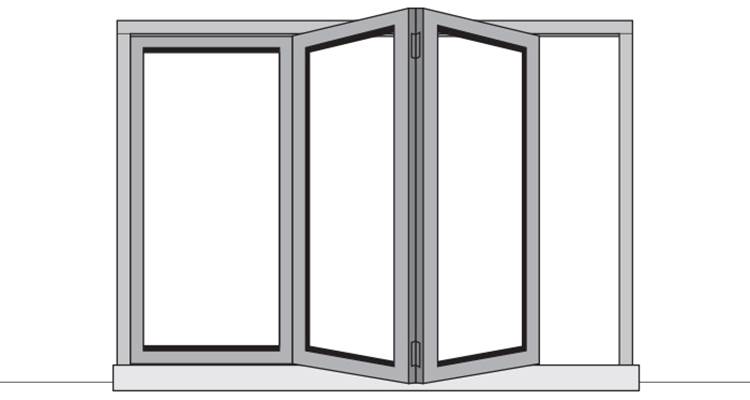
myHow to Install Bifold Doors
This article will explain how to install bifold doors. We will highlight all of the tools, materials and safety equipment needed to complete this type of job, and we will provide a step-by-step guide on how to install your own bifold doors yourself.
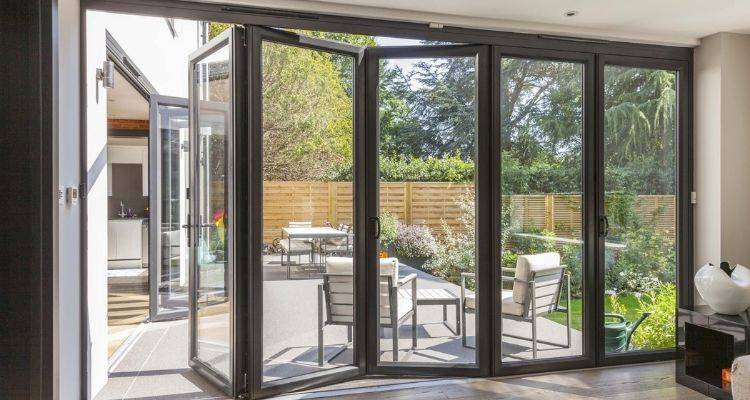
Table of Contents
What Tools Do I Need to Install Bifold Doors?
There are several tools that you will need to install bifold doors. Below is a list of the tools that you should have before attempting this job:
You will need the following tools:
- Rubber mallet
- Spirit levels
- Screwdriver
- Tape measure
- Wedges
- Saw
- Drill
- Sealant gun (optional)
What Safety Equipment Do I Need to Install Bifold Doors?
When fitting a set of bifold doors it's recommended to do so with someone else's help due to the lifting and positioning involved. There are also a number of safety precautions you should also consider for this type of job:
- Protective Gloves
- Work boots or capped shoes
- Safety goggles (optional)
What Materials Do I Need to Install Bifold Doors?
You will need several materials for this type of job. Below is a list of the materials that you will need to install your new bifold doors:
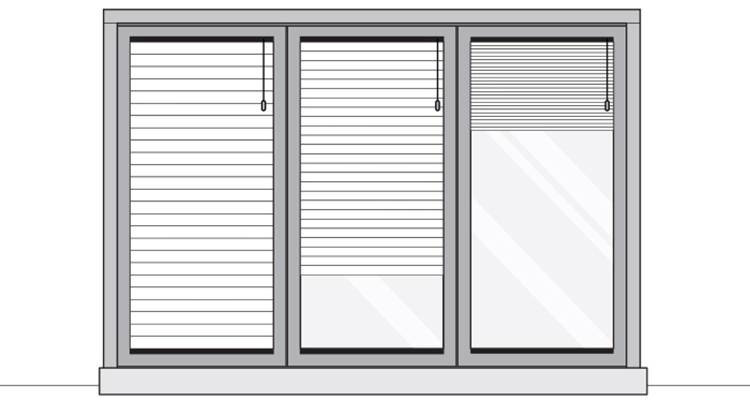
- Bifold door frame
- Bifold doors
- Glass door window panes
- Screws
- Brackets and wall guards
- Beading
- Rubber trim
- Plaster
- Silicone or sealant
When you are shopping for ideas, always ask how much is it to hang an internal bifold door - it may work out more viable than attempting the job yourself.
How to Prepare for Install Bifold Doors
Before purchasing or having bifold doors fitted, you should measure and check the dimensions of the door opening to ensure the design you're considering will be suitable for the gap.
Once you have received your new doors, always double-check the measurements before attempting to fit them. Remove any weatherboards or framework so that the gap where your new bifold doors are going is fully accessible.
How to Install Bifold Doors Yourself — Step by Step Guide
Below is a step-by-step guide on how to install bifold doors in your own home:
Step 1
Add damp proofing to any exposed blockwork surrounding the gap where your door is going to go. This may be provided with your new door but if not you should apply a suitable damp-proof membrane or damp-proof paint to prevent any build-up of moisture.
Step 2
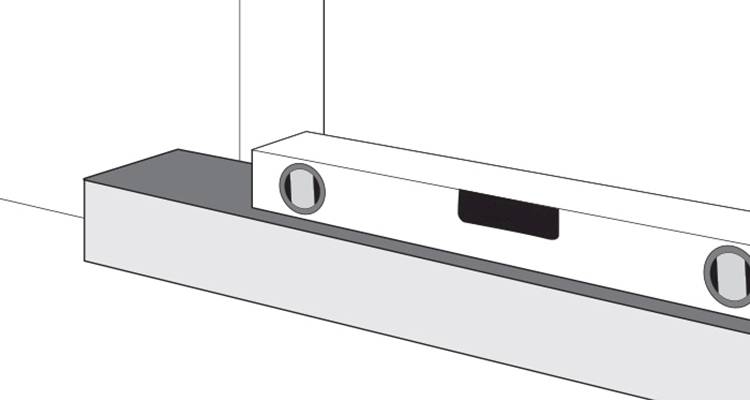
Use a spirit level to check the bottom of the aperture and add plastic wedges if it needs to be adjusted. Measure across the full width of the opening to make sure the entire base of the door is perfectly level.
Step 3
Double-check the measurements of the width of the aperture and then cut the threshold piece to size and attach the end stops. The threshold piece can then be fitted into place on top of the wedges.
Step 4
You then need to construct the outer frame. However, be sure to leave the fixtures loose so that adjustments can be made if needed later on.
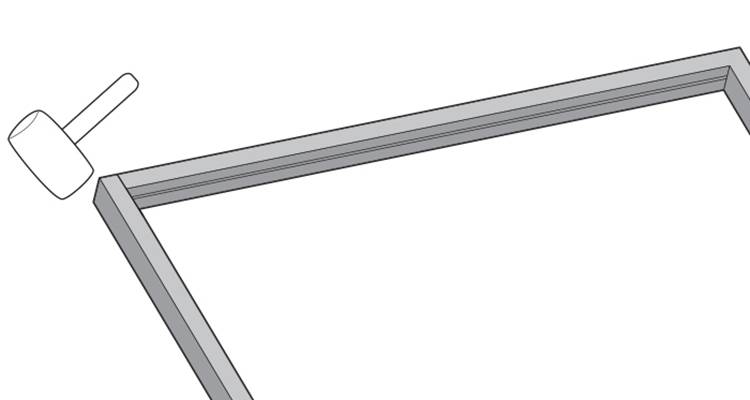
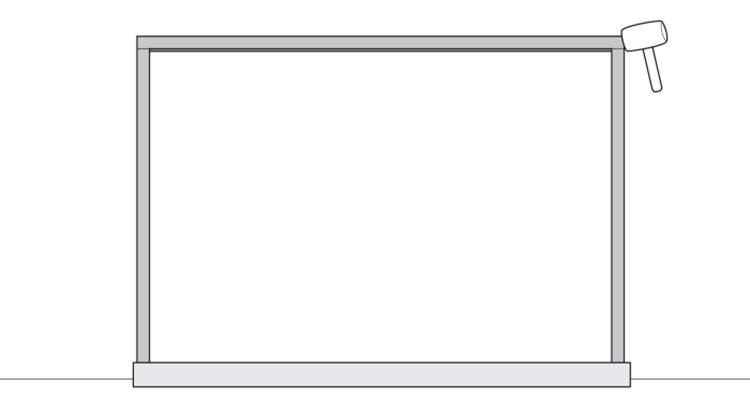
Step 5
Then, you can fit the frame into the opening. Your frame should be well-supported when being put into place to prevent it from bowing. If it’s quite a tight fit, use a rubber mallet to tap the frame into position with care. Then adjust each vertical pillar, ensuring that it is perfectly upright.
Step 6
Create pilot holes for the screws at the top of the frame with a metal guard in place to ensure the brickwork isn’t damaged unnecessarily.
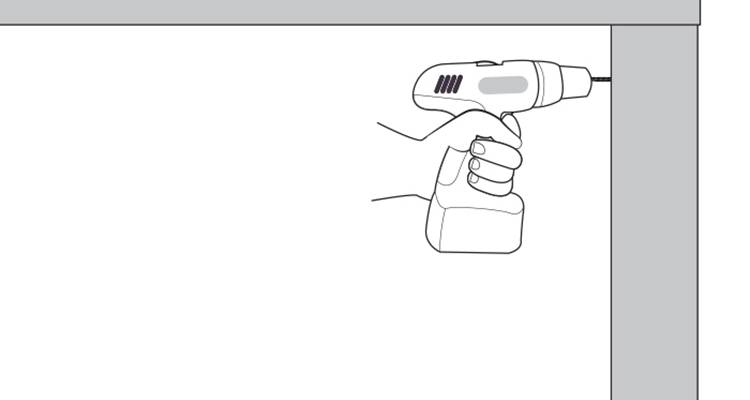
Step 7
Using the correct sized drill bit, a larger, more permanent hole needs to be created right through the door frame and into the brickwork where the door can be secured.

Step 8
Wedge any gaps to ensure the pillars remain completely vertical and in place and then insert the fixing screws. If you are installing particularly heavy bifold doors, then use suitable long frame fixings. Repeat this process on both vertical pillars.
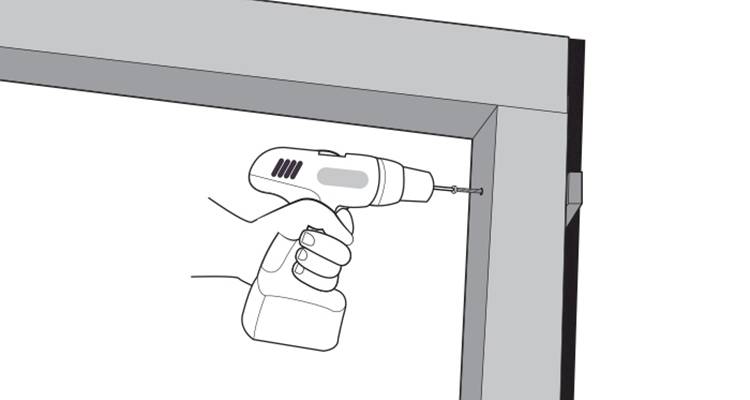
Then, secure the bottom of the pillars in the same way. Continue to check the pillars regularly to ensure that they are completely vertical using a spirit level.
Step 9
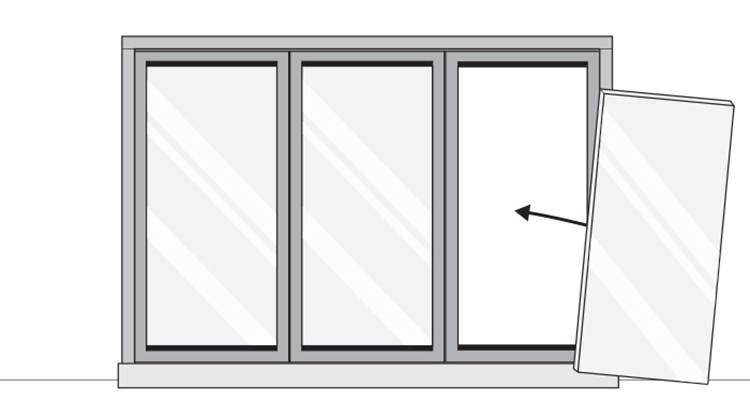
Once the frame is securely in place, you can then add the door frames. Start from the furthest end of the master opening door. Simply slide the doors onto their hinges and attach them securely. You may also need to align the doors with rollers at the top and bottom, depending on the design.
Step 10
Next, you will add the glass panes to the door frames. Mount the glass panes onto the door frames one by one and then push them into position so that they’re sitting tightly.
Step 11
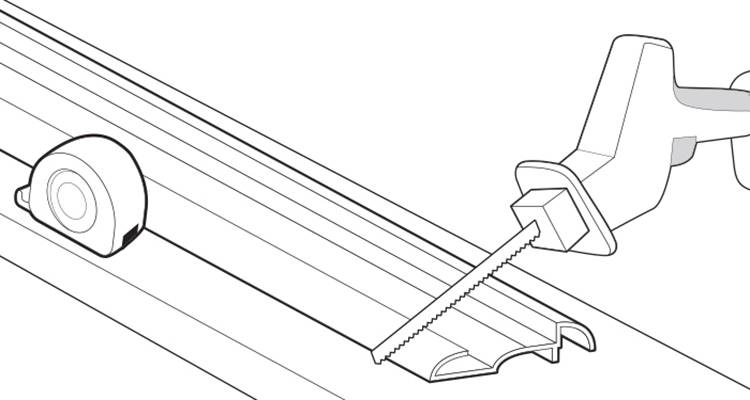
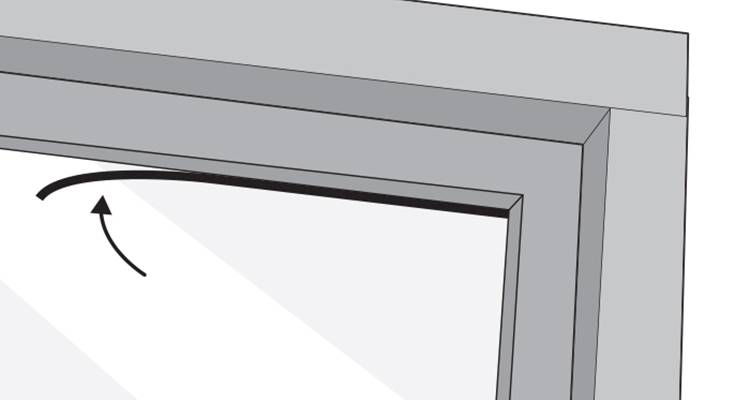
Add beading around the glass pane. These simply snap on into the place and form a tight lock keeping the glass pane securely in place. Use a rubber mallet to ensure the beading is tightly in place.
Step 12
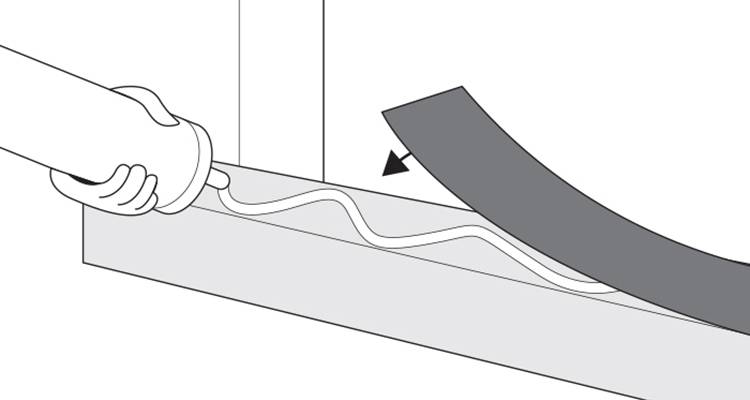
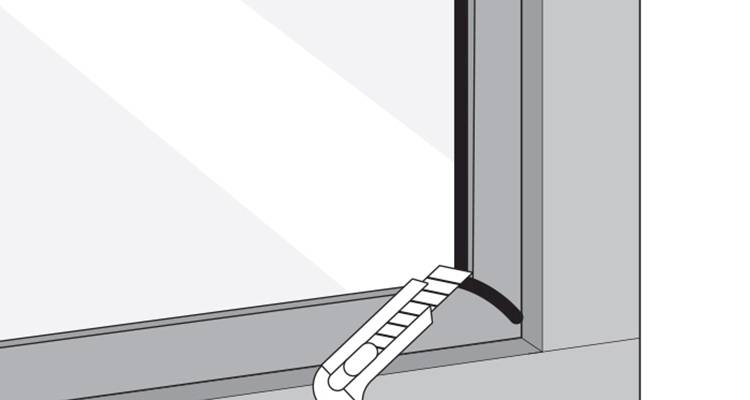
Next, insert a rubber trim into the space between the glass and the beading. This acts as a waterproof, soundproof, weatherproof seal around the glass. Push the rubber into position and then trim off any loose ends to give a neat finish.
Step 13
Now that the doors are installed, you can complete any finishing plastering work that needs to be done. Cover up any exposed brickwork and ensure that any gaps around the window frame are neatly sealed for waterproofing.