my
myHow to Install a Wooden Floor
Are you looking for information on how to fit a wooden floor? This article will go over everything you need to know about how to install wood flooring, including a step-by-step guide and a list of all of the tools and materials you’ll need to complete the job.
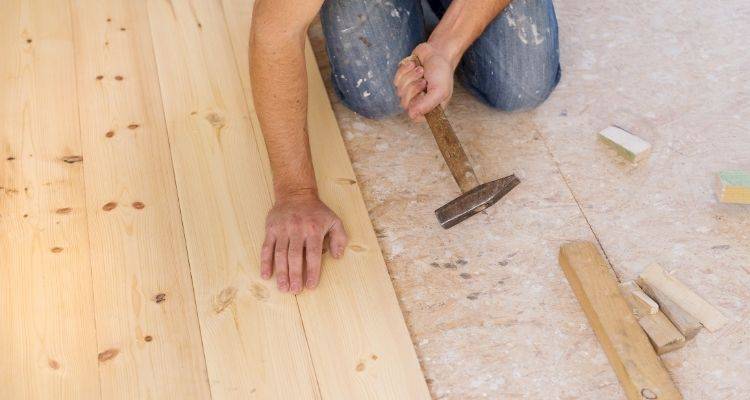
Table of Contents
What Tools Do I Need to Install a Wooden Floor?
Here is a list of the tools you’ll need to install wood flooring:
- Hoover
- Cordless finish nailer
- Chalk for marking
- Mitre saw
- Pencil
- Workbench
- Flooring mallet
- Flooring stapler
- Table saw
- Pry bar
What Safety Equipment Do I Need to Fit Wood Flooring?
Below is a list of the recommended safety equipment for installing a wood floor:
- Safety goggles
- Dust mask
- Knee pads
- Ear defenders (optional)
What Materials Do I Need to Install Wooden Floor?
Here is a list of the materials you’ll need for installing a wooden floor:
- Vapour barrier
- Wood flooring
- Nails
- Underlay (laminate only)
How to Prepare for a Wooden Floor Installation — Step by Step Guide
When preparing for installing a wooden floor, you want to begin by measuring the room so you know exactly how much wood flooring you need to purchase. Always order 10% more than what you think you need to accommodate for any mistakes or miscalculations along the way.
You will also need to empty the room, and remove any existing flooring that may already be laid. You should also hoover up any dust or debris from the surface of the subfloor before you lay your new wood flooring.
How to Install a Wooden Floor Yourself
Below highlights the steps involved when laying down solid wood flooring. However, every wood flooring type is different, so be sure to check the manufacturer’s instructions or ask a professional flooring expert for help.
Installation method may vary depending on the type of wooden floor you are installing, for example solid wood is usually nailed down, engineered wood can be glued or floated, and when it comes to laying a laminate floor they are always floated.
Step 1
The first step when it comes to installing hardwood floors is to install a vapour barrier. This is a requirement when installing solid hardwood floors as it prevents too much moisture from getting trapped in the wood.
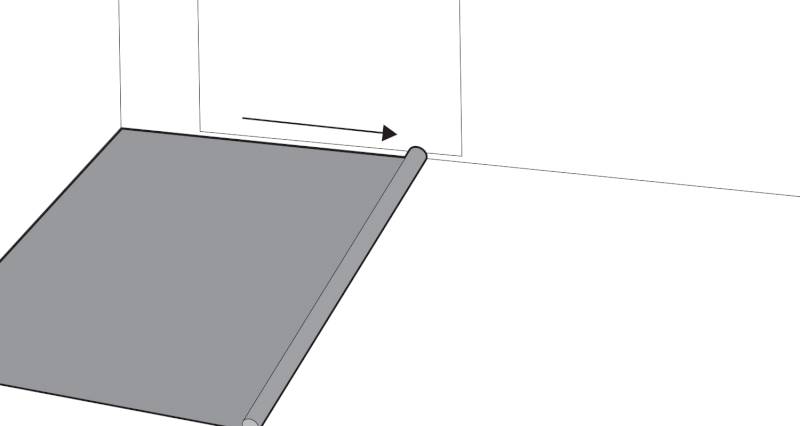
Many vapour barriers will come with adhesive already attached, so you can easily install them on the sub-floor. You should ensure that the barrier overlaps when each new sheet is introduced and make sure that the entire sub-floor is covered.
Step 2
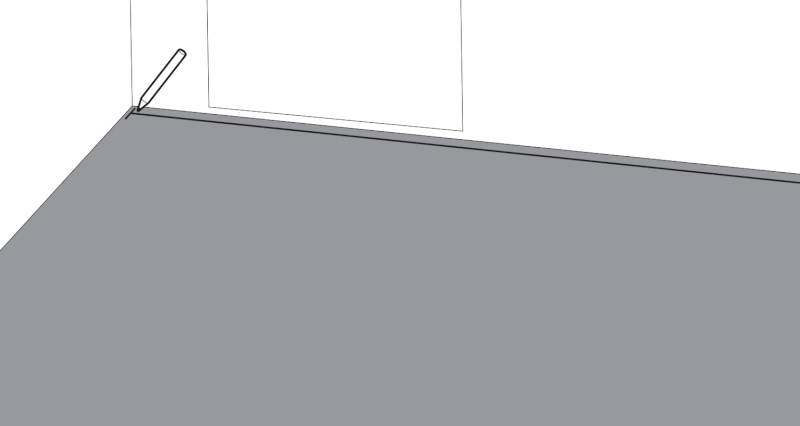
Before you begin installing the flooring, you will need to create a marking on top of the vapour barrier that is roughly half an inch from the wall. Do this along all four sides of the room as this will allow space for the wood to expand and contract with changes in temperature.
Step 3
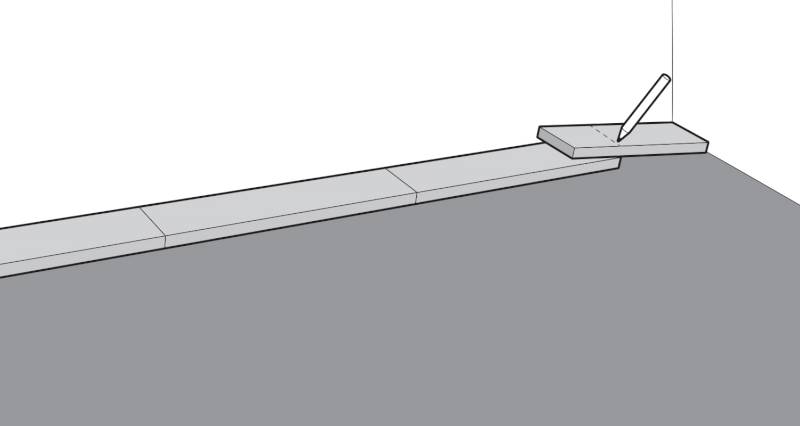
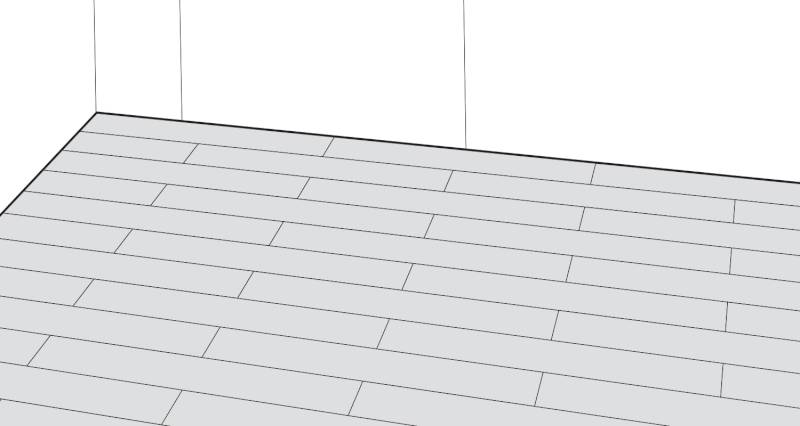
Now it’s time to lay down the first piece of flooring. Start by the door and line your first piece up with the marking you made earlier. Once you’re happy that the positioning is completely straight, you can then nail this board in place using your cordless finish nailer.
Step 4
Continue this process for the next few boards until you reach the other wall. At this point, you may need to cut a board to size so that you can fill in the gap between the previous board and the wall.
Measure the board based on the location of the previous board and the marking you made earlier. Create a small marking on the underneath face of the board so that you know where to cut.
Step 5
To make the cut, fix your flooring piece into your workbench and use a mitre saw to make the cut.

Step 6
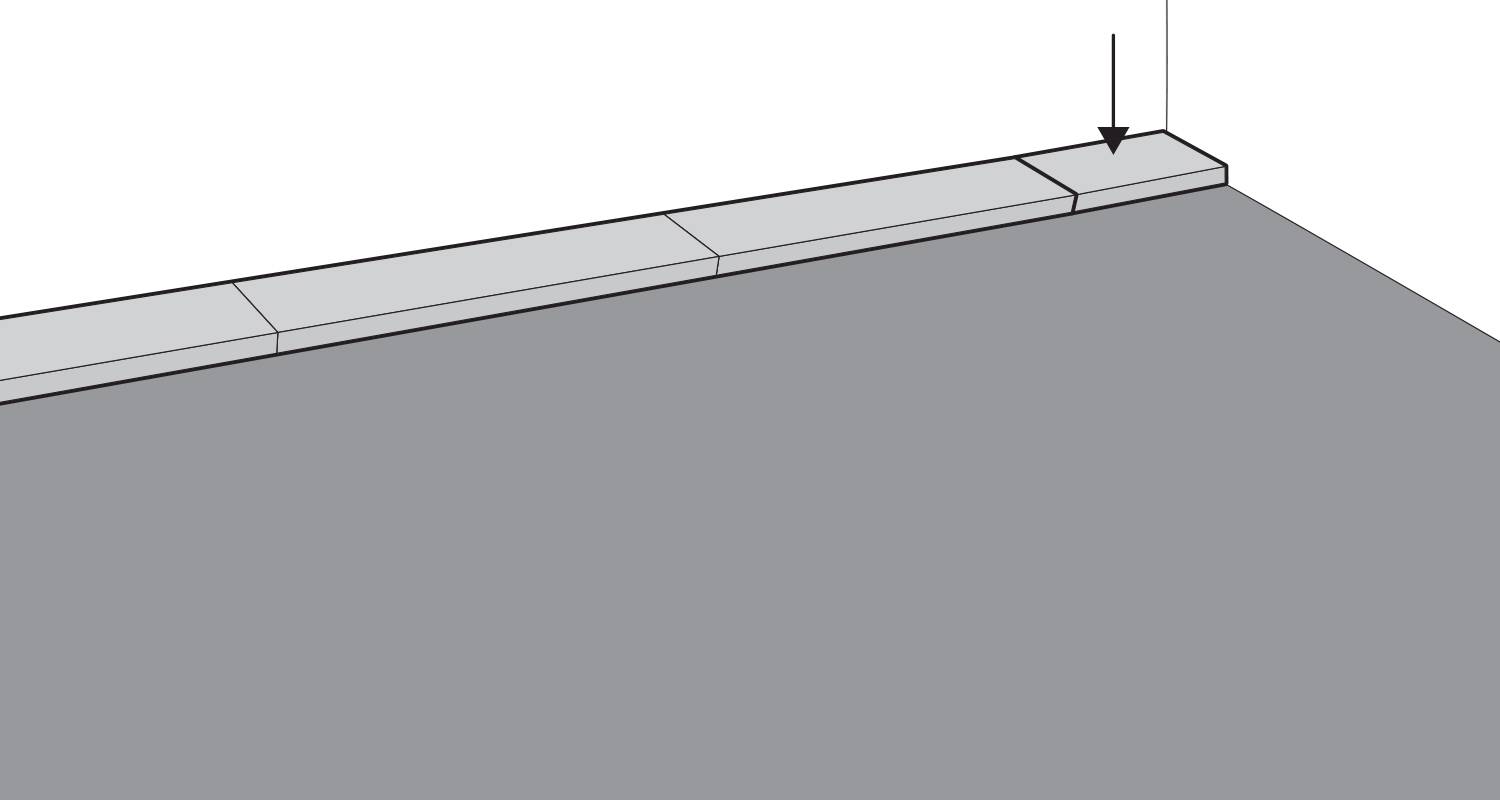
Once you’re happy with the length of the board, you can then put it in place and nail it down like the rest of the pieces. This should complete your first row of flooring.
Step 7
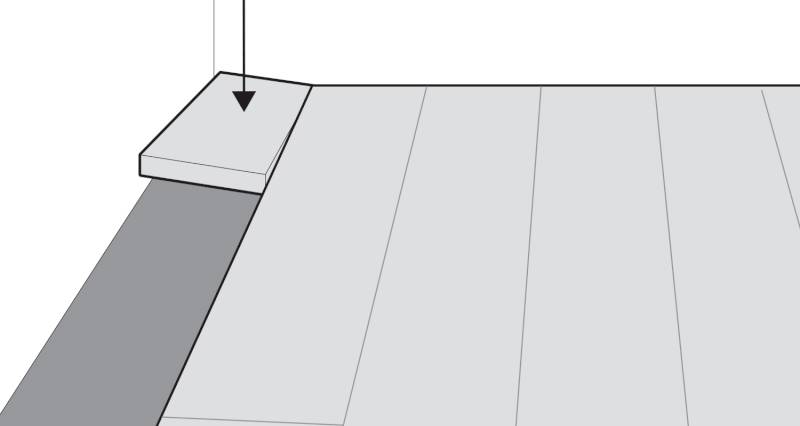
When moving on to the next row, start by using one of the shorter pieces of hardwood. This helps to then stagger the seams when it comes to laying wood floors.
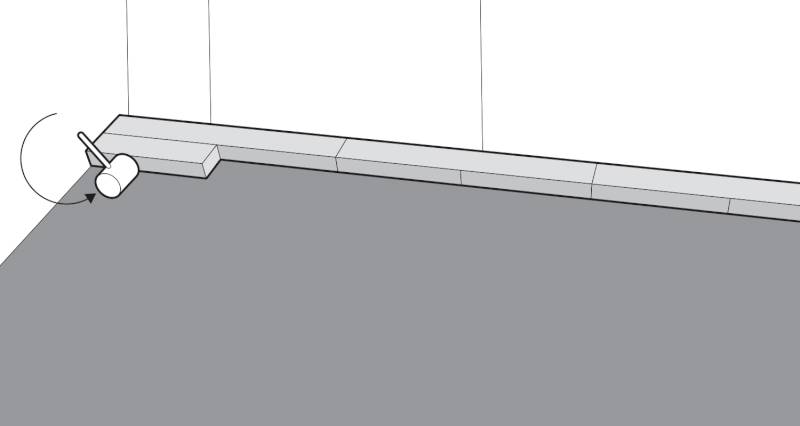
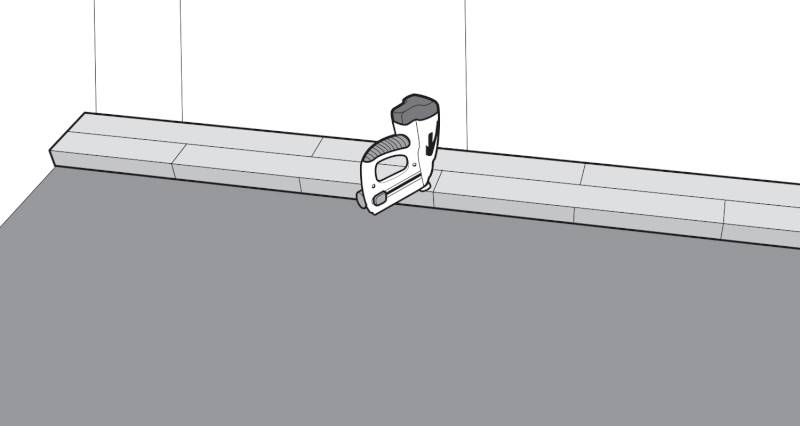
Place the wood alongside the previous row and use a flooring mallet to ensure it sits tightly against the first row. You then want to use your flooring stapler to drive 2-inch staples through the tongue of the flooring, which secures it tightly to the sub-floor.
Step 8
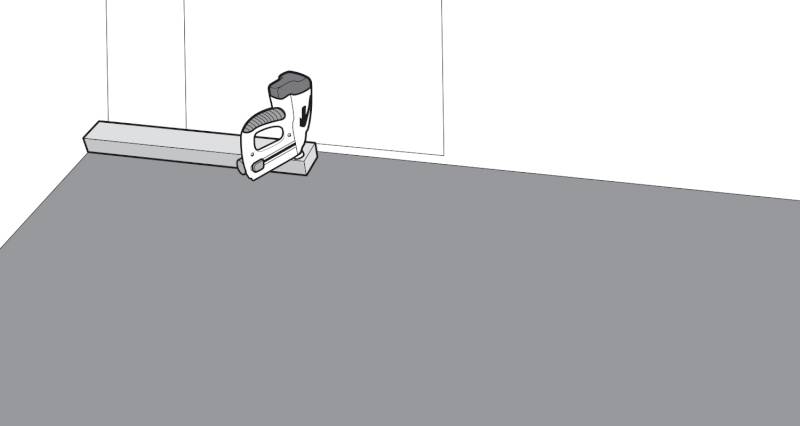
Continue adding flooring all the way along the second row, adding staples in at around 6-8 inch intervals to secure each board to the floor.
Step 9
You should then repeat the above steps for the rest of the flooring until you have covered the entire floor.
Step 10
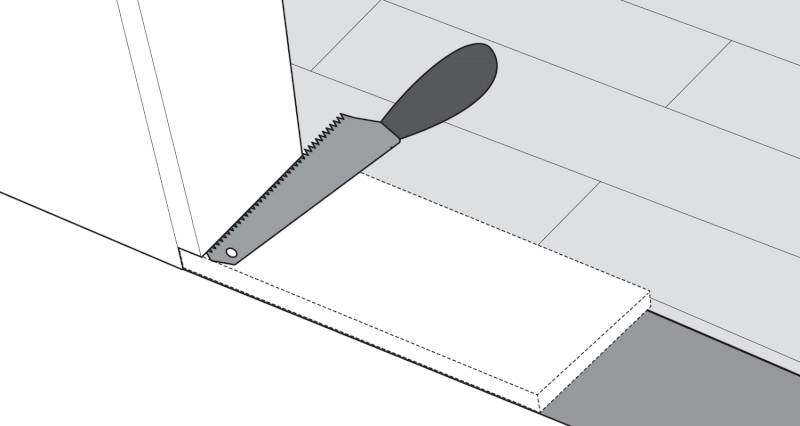
When you reach the other side of the room, you may need to cut your boards down to size, allowing for the correct expansion gap. You will need to measure and mark a cut point on each board, if you use chalk it can easily be wiped off. As for cutting, use a table saw, handsaw or jigsaw, depending on the wood and cutting tools you have available.
You may need to use a pry bar to set the last row in place before nailing it in place.
Step 11
Once you have completed the entire floor, you can then go on to install a transition at your doorway. The type of transition that you install will depend on the type of flooring that lies on the other side of the door.
You can buy ready-made transitions for certain floor types, or you can create your own based on your needs. If you do buy one that is already manufactured, be sure to follow the manufacturer’s instructions when installing it.
Step 12
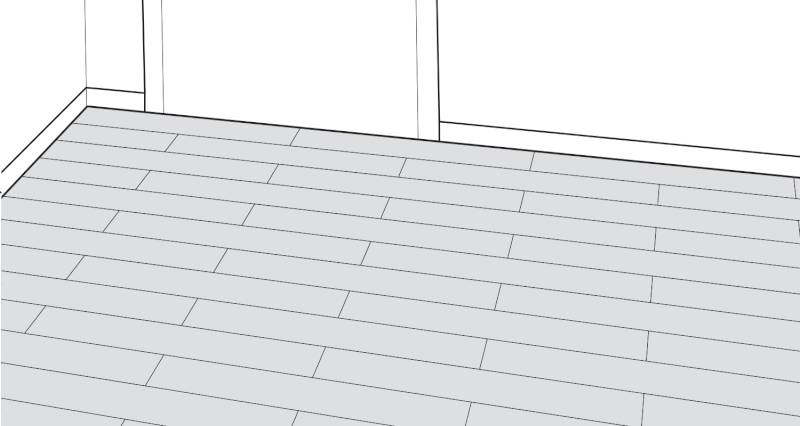
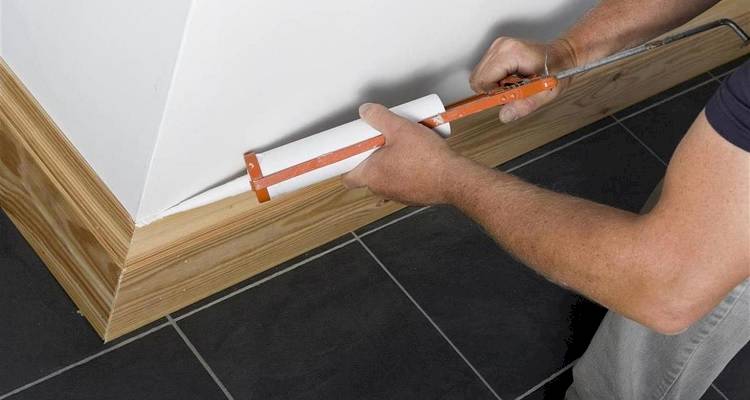
Once your flooring is complete, all you need to do is reinstall your trims or skirting boards as necessary.
Types of Wood Flooring
There are several types of wood flooring. Below is a list of the most popular types of wood flooring in the UK:
Laminate Wood Flooring
Laminate flooring is made up of a compressed fibreboard plank. This plank is covered with a photographic image of wood, giving it the appearance of real wood, and it is covered with a protective overlay.
Engineered Wood Flooring
An engineered wood floor consists of multiple layers of wood glued together to form a plank, typically around 14–15mm thick in total, with a real wood veneer on the top and a plywood or HDF backing layer on the bottom.
Solid Wood Flooring
Solid wood flooring pieces are made completely out of a solid piece of wood. These flooring planks are usually around 18-20mm in thickness. Solid wood flooring has the advantage of being able to be sanded down and restored if any damage occurs. Solid wood floors tend to be much more expensive than other wood flooring types.