Builders
 Carpenters
 Electricians
 Flooring Specialists
 Gardeners
 Handymen
 Heating Engineers
 Painters & Decorators
 Plasterers & Renderers
 Plumbers
 Roofers
 Tilers
 my
myAsk a Trade
Got a question that only a tradesperson can answer? We have thousands of trades ready to answer any question you may have.
Ask your question
This article includes a step-by-step guide on skirting board installation. If you are looking to put new skirting boards in your home, we will go over how to install skirting boards, the tools, materials, and safety equipment needed, and some frequently asked questions about fitting skirting boards.
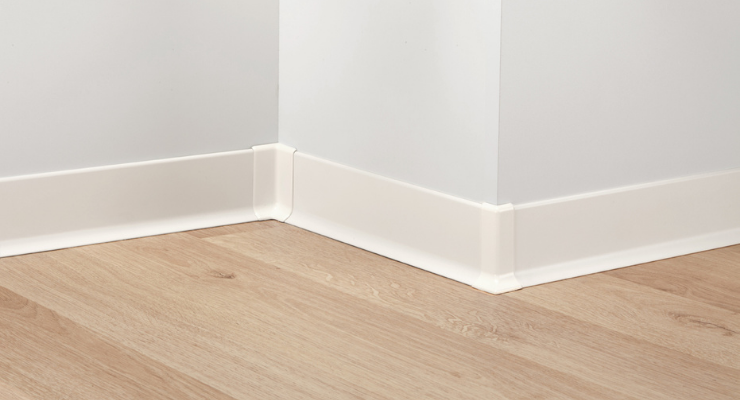
Before fitting new skirting boards, you need to make sure you have the right tools for the job. Below is a list of the tools that you will need to install new skirting boards, although some options may vary depending on the material you're working with.
To prevent any injury or hazards, it is essential that you use safety equipment to protect you and your family. Below is a list of the recommended safety equipment needed to fit skirting boards:
The following list highlights all of the materials that you will need to fit skirting boards:
There are several types of skirting board materials to choose from, such as:
If you are fitting skirting boards, you will need to cut your pieces of skirting so that the corners fit together. You should always start at the left-hand side of the door and, working anti-clockwise around the room, deal with each of the corners in turn.
When it comes to replacing skirting it is also a good idea to make scribe joints for internal corners as the majority aren't set at a perfect right angle, even in a square or rectangular room.
We will explain how to cut your skirting into 45-degree corners in the next section of this article.
Below is a step-by-step guide on how to fit skirting boards yourself, or, if you'd prefer, find professional carpenters and joiners in your area that can help.
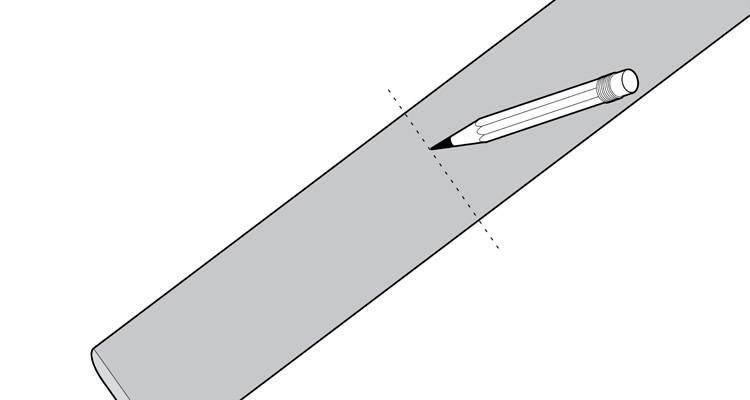
Start by measuring the distance from your first corner to the next corner and mark that measurement onto the top back edge of a piece of skirting. Then, lightly mark the intended direction of the corner cut.
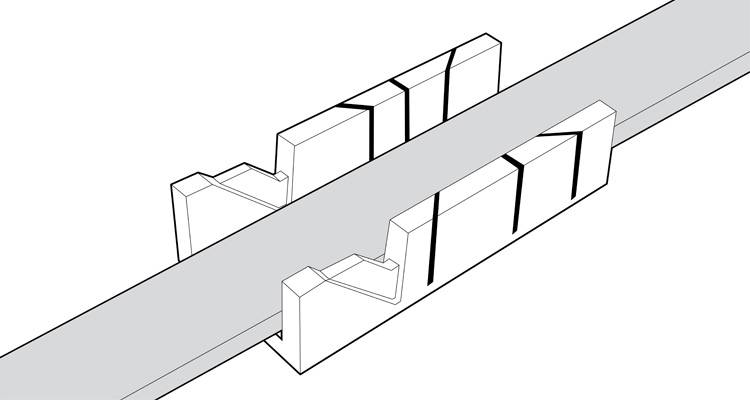
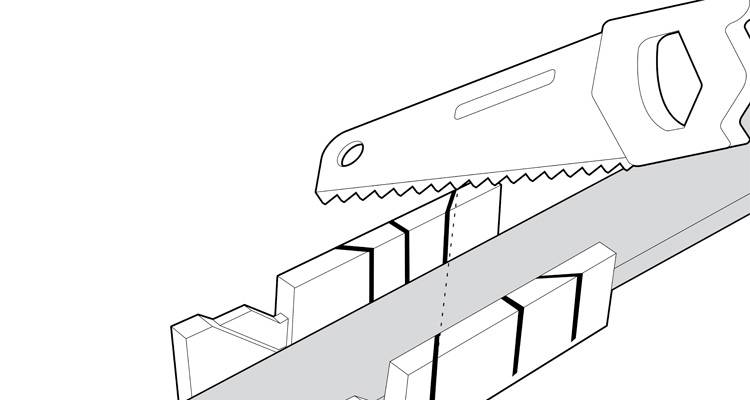
Secure the skirting into a mitre box with the side that will be facing the room facing you. This helps to prevent the skirting from being damaged while you saw.
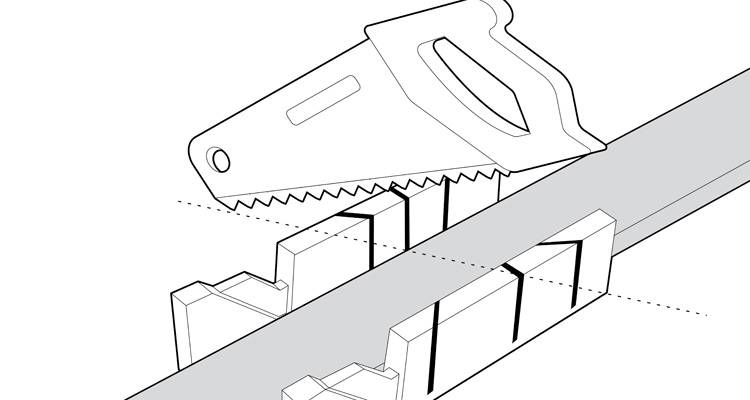
Use your saw to make an angled cut in the marked direction. This guide is on the assumption you're fitting skirting boards to a square or rectangular room, in which case the cuts should be made at a 45-degree angle so that the pieces join together correctly. However, be mindful that not all corners are perfectly shaped, so there's always an element of leeway to ensure the perfect fit.
Then, place the next piece of skirting into the mitre box and create another 45-degree angled cut in the opposite direction near the right-hand end of the piece.
Lightly sand down the cut ends until they are smooth.
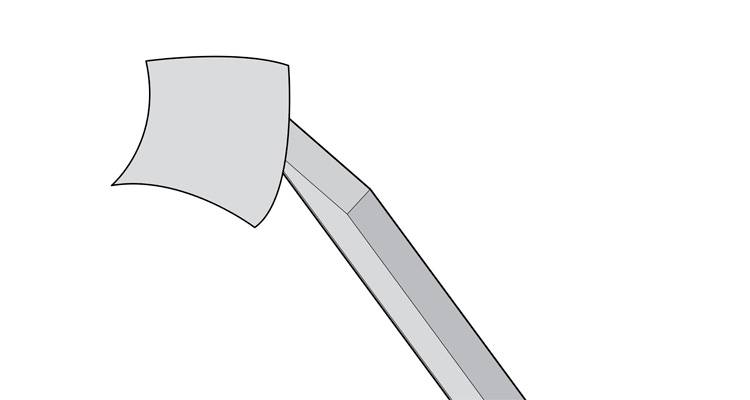
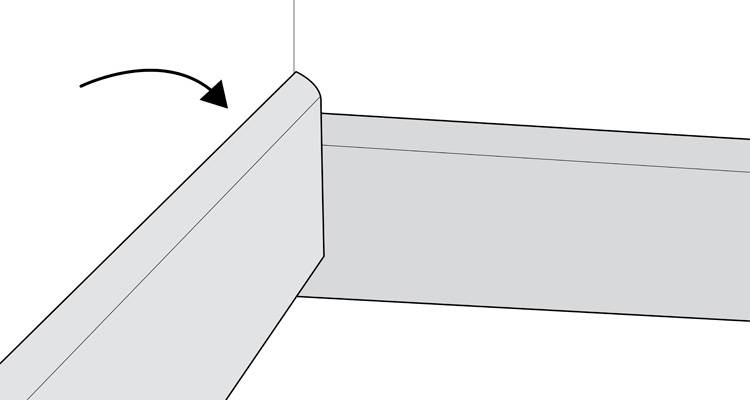
Hold the two cut sections together to ensure that they fit correctly.
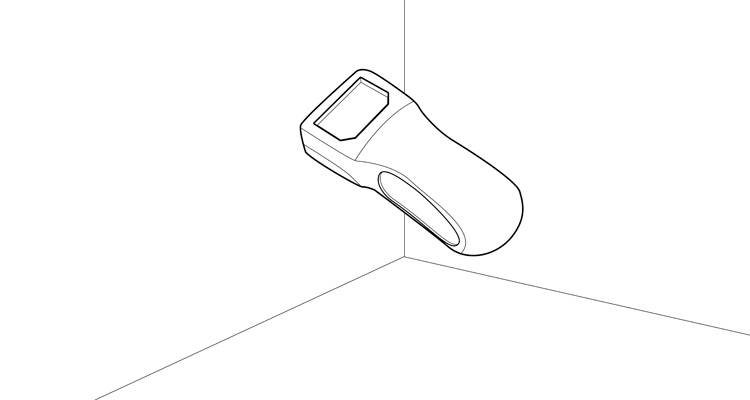
Use a pipe and cable detector along the edges of the wall to check for hidden cables or pipes where you want your fittings to go, although a detector cannot guarantee the wall is clear. Take extra care around sockets and switches and within 150mm of a corner. As an extra precaution, switch off the power at the fuseboard if you're working close to wiring.
If you are installing your skirting to a stud wall, detect the studs in the wall using the detector and mark out the centre of the studs on the wall using a pencil.
To fit your skirting board, start by applying grab adhesive to the back of the skirting. Always follow the manufacturer's instructions when doing so.
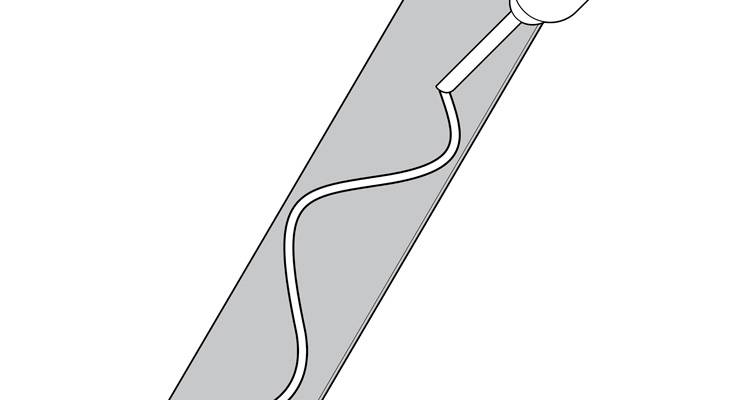
Carefully push the skirting into position against the wall. If the wall is perfectly flat, you may not need any fixings. However, most walls are not entirely flat, so you may need to add screws or nails into the skirting to keep it in place.
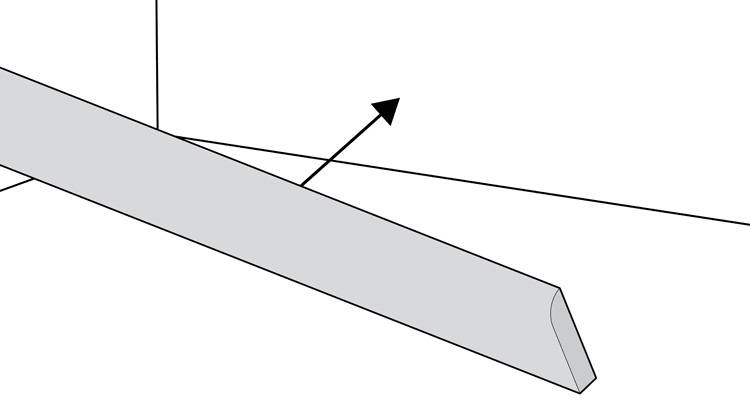
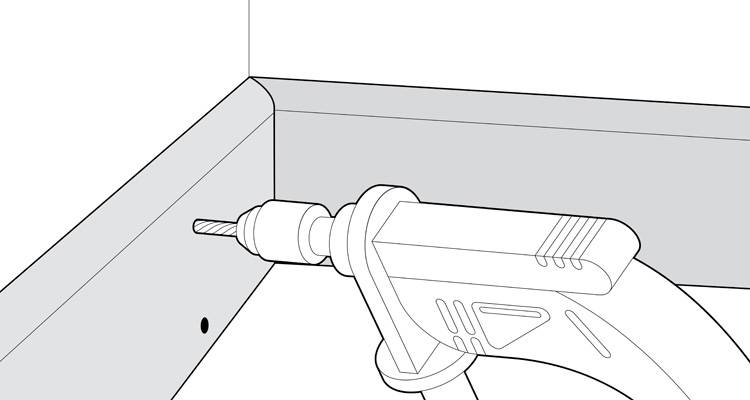
If you are fixing to a masonry wall, use a 6mm masonry drill bit to drill through the skirting and into the wall. Start the holes 50mm from the end of the wall and position them 25mm from the bottom and top of the skirting and repeat at 500mm intervals.
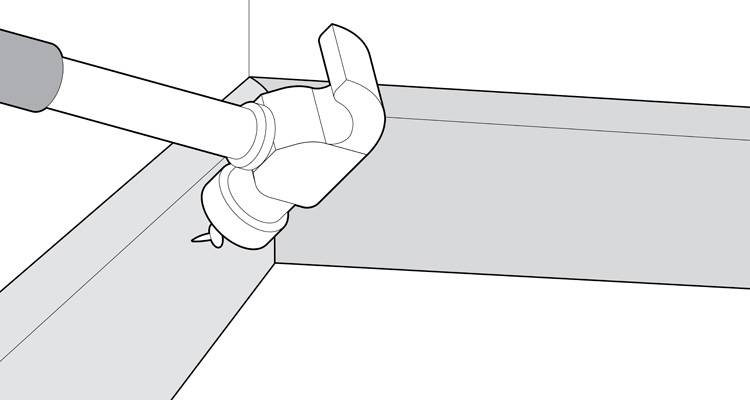
Insert a 6mm wall plug and add an 8-gauge screw and tap it into place until you feel resistance. Then simply screw it in.
If you are fixing to a stud wall, hammer two 40mm lost head nails through the skirting and into the timber stud.
When fitting a joining piece, you should also apply PVA glue to the corner cuts so that the corners stay in position.
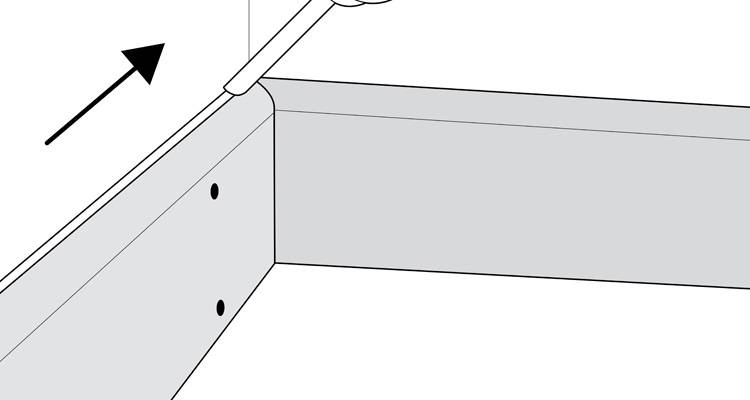
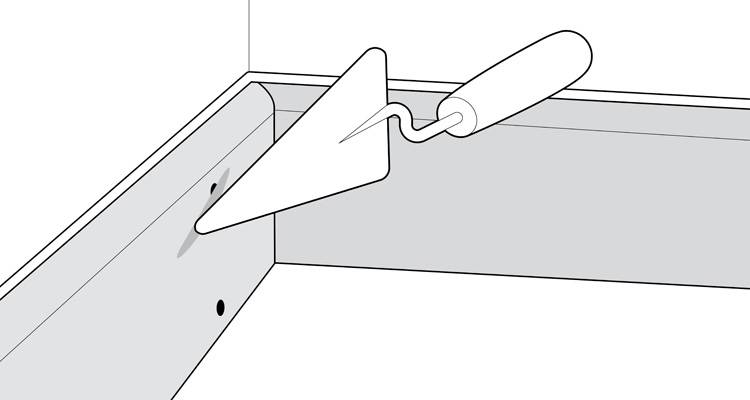
Once the skirting is in place, use flexible decorating caulk to fill any small gaps between the top of the skirting and the wall. Smooth the surface and wipe any excess caulk away with a damp cloth.

Yes, you can paint your skirting boards. When painting skirting boards, try to use a paint that is compatible with the material, for instance, a wood-friendly paint that is long-lasting and is aesthetically pleasing.
To keep skirting boards clean, regularly dust and vacuum them, then wipe them down with warm soapy water and a soft cloth or sponge.
The most common thickness of skirting boards in the UK is 18mm.
Neither is better for every home, as it depends on your room and the finish you want. MDF is less likely to warp than solid timber, although a moisture-resistant grade should be used in new builds or on walls that haven't fully dried out.




Copyright 2026 MyJobQuote.co.uk. All rights reserved
Privacy Policy | Terms and Conditions | Sitemap
MyJobQuote.co.uk is rated 4.68 stars by reviews.co.uk based on 4157 reviews