my
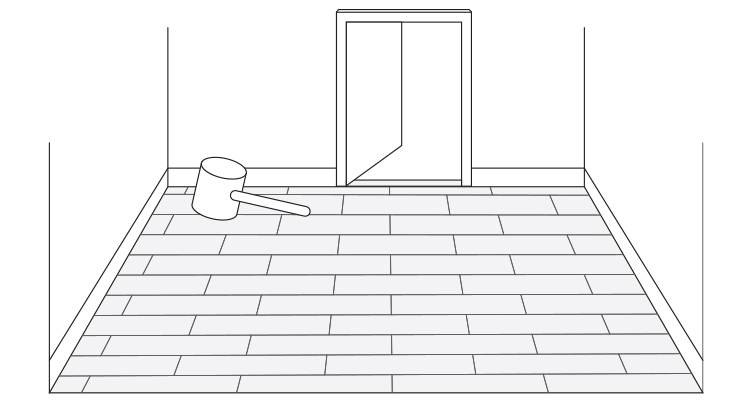
myHow to Fit Laminate Flooring
In this article we demonstrate how to fit laminate flooring. We cover everything that you might want to know regarding the materials, maintenance and answer the most frequently asked questions.
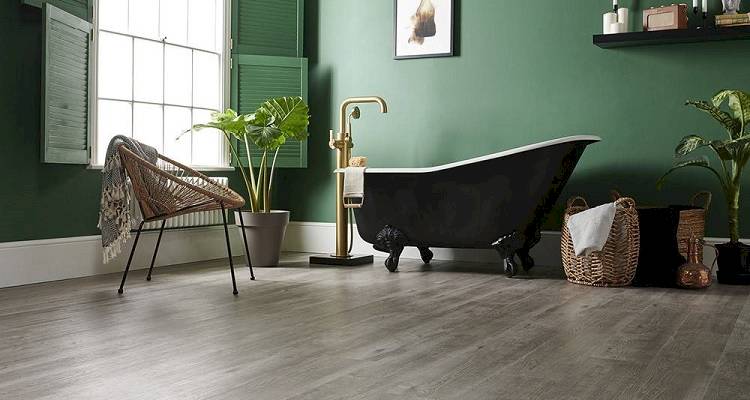
Table of Contents
- What is Laminate Flooring?
- What Tools Do I Need to Fit Laminate Flooring?
- What Safety Equipment Do I Need to Fit Laminate Flooring?
- What Materials Do I Need to Fit Laminate Flooring?
- Preparing Floors for Laminate
- How to Fit Laminate Flooring ? Step by Step Guide
- How to Choose Laminate Flooring
- Laminate Floor Maintenance
- How to Clean Laminate Flooring
- FAQs
What is Laminate Flooring?
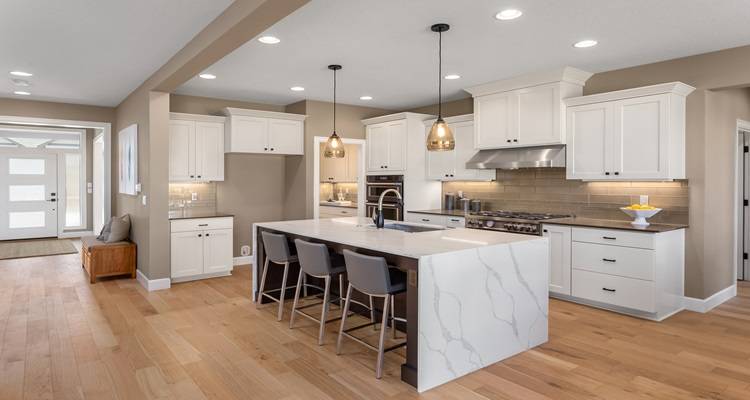
Laminate flooring is multi-layered synthetic flooring, numerous layers are fused together in the process of ‘lamination’ which creates wood-look flooring.
It has become increasingly popular in recent years, largely thanks to a straightforward installation process, low maintenance, and affordable pricing when compared to other types of flooring. There are a wide number of options available, including a variety of colours, designs and finishes.
What Tools Do I Need to Fit Laminate Flooring?
So, you’ve decided on revamping your floor? Fantastic! Before you can begin installing your laminate flooring, you’ll need to assemble the correct tools needed to carry out the job. Collecting all the tools will really ensure not only is the job properly organised, but also help you install professional looking flooring which you can be proud of.
Here is a list of recommended tools you will need for this job:
- Chisel
- Knee Pads
- Hammer
- Hand Saw
- Circular saw
- Clamps
- Tapping block
- Pulling bar
- Fine cutting blades
- Metal ruler
- Pencil
- Tape Measure
- Mitre block
- Hack Saw
- Pins
You can find these tools in your local hardware shop.
What Safety Equipment Do I Need to Fit Laminate Flooring?
Safety is paramount with any DIY job, although regardless of safety precautions, if you're not confident then hire someone who can install laminate flooring on your behalf.
As you’ll be spending the majority of time on your knees, we strongly advise you invest in some knee pads to protect your knees and we recommend wearing safety goggles and a dust mask when you’re using a saw or drilling. You will also want to keep the room as ventilated as possible when sawing, if you can, going outside for this process is highly advised.
What Materials Do I Need to Fit Laminate Flooring?
You will need the following materials to help you fit your Laminate flooring:
- Underlay
- Laminate floor panels
- Scotia Trim
- Glue (for the trims)
Please ensure you check your manufacturer's instructions before installing your laminate flooring.
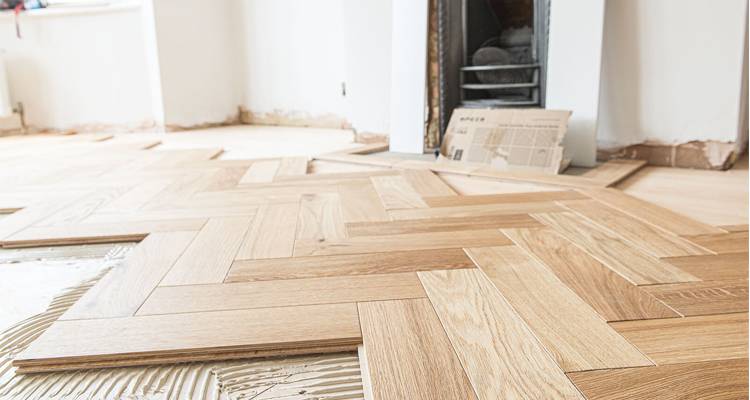
Preparing Floors for Laminate
Preparing your room before you install your panels is a really key job that you should do carefully and accurately; this will ensure you have an accurate and long-lasting finish.
You should start your preparations by clearing the intended surface, remove any existing flooring, including tiles, and double-check to make sure there are no nails or screws poking out from the surface. It’s important that your floor is smooth, clean, dry, and of course, level.
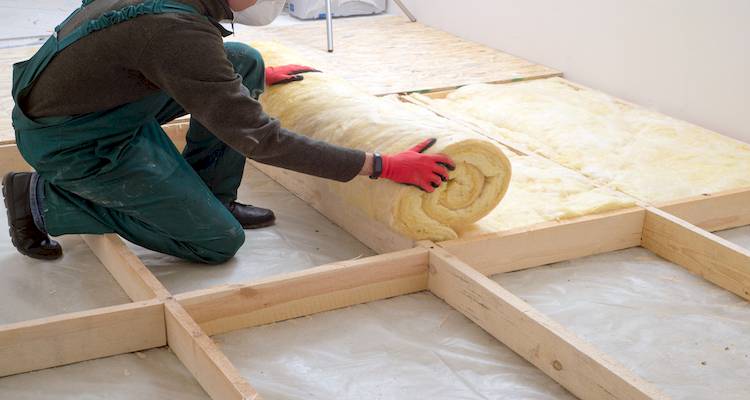
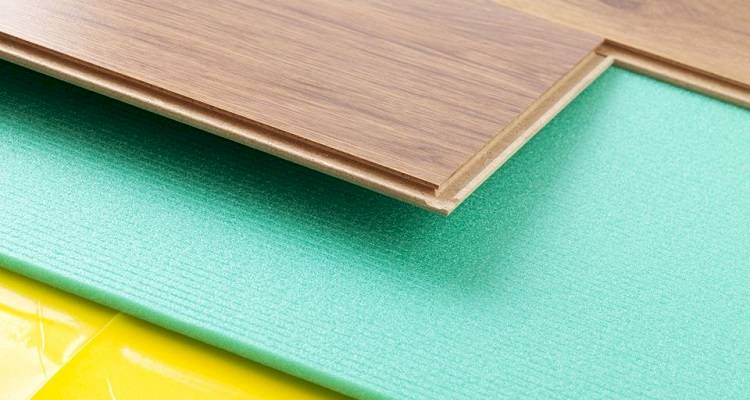
Before laying a laminate floor, install underlay to add insulation, soundproofing, and an additional layer for comfort. Choosing the correct underlay will depend on your subfloor.
If your subfloor is concrete, it’s important to install a damp-proof membrane first to prevent moisture damage. The most commonly used types of underlay are foam or fibreboard, but always refer to the manufacturer’s instructions before purchasing and installing to ensure compatibility.
You’ll need to calculate the amount of flooring and underlay required for your room. Start by measuring the room’s length and width to determine its area in square metres (length × width = m²), remembering to include spaces around doors and alcoves. Once you have the total area, check the product packaging to see how many boards or rolls you’ll need.
As with most projects, we always recommend having a 10% extra on top of your calculations to allow for any wear and tear or mishaps.
How to Fit Laminate Flooring — Step by Step Guide
Use our step-by-step how to guide, which will lead you from preparation, right the way through to completion of laying your laminate flooring.
Step 1
After gathering all your tools and materials together, you will need to leave your laminate flooring materials in the room for a minimum of 48 hours to allow them to acclimatise.
To work out how many laminate floorboards you will need, simply follow this calculation: Length of the room ÷ width of your floorboard = Number of rows required.
As part of your preparation, you might also want to decide which direction to lay your floor panels. You can do that lengthwise or width ways.
Lengthways: Allows you to follow a line of light which comes from your window.
Width ways: Can make small rooms appear bigger.
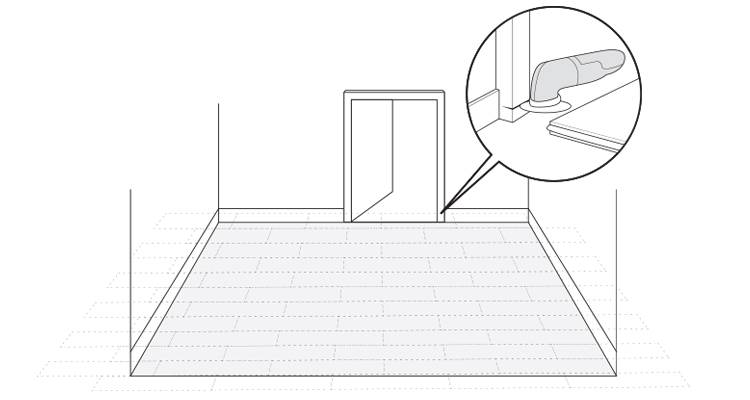
You will also need to calculate and check if the thickness of the underlay, laminate flooring will stop a door opening into the room. You will need to remove the door and trim it down to give the necessary clearance to the room. We suggest you leave the door off whilst you lay the flooring as you’ll need to cut into the architrave.
Firstly, you will need to line up an offcut of a floorboard and underlay with the architrave. Then mark this with a pencil on the door frame. Take your panel saw to trim the architrave to the correct height. Then, use your hammer and chisel to gently remove enough of the bottom of the architrave, so that you allow for the laminate to fit underneath. It’s important that you leave a 10 mm - 12 mm expansion gap.
Step 2
It’s time to prepare the floor and install the laminate floor underlay. To do this you will need to ensure that any existing underlay and flooring including tiles have been removed and that you are left with a level, smooth, clean and dry surface to lay your laminate..
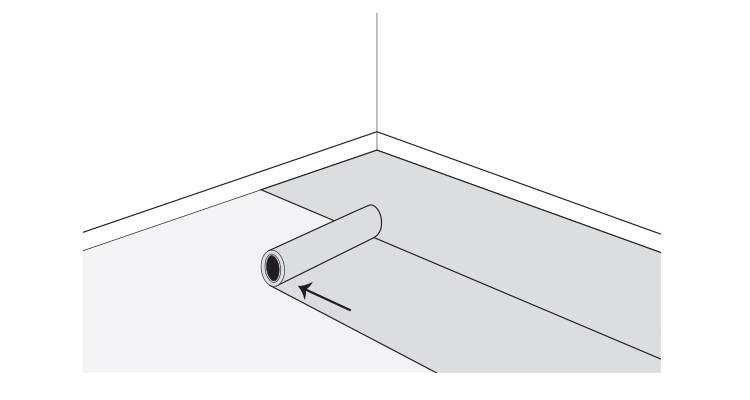
You can now install your underlay, please ensure you choose the right type of underlay, usually this is determined by the type of subfloor you are laminating on. Please check with the manufacturer's instructions and guidelines. If you have a concrete floor, you’ll need to use a damp-proof membrane as a sub-floor.
Step 3
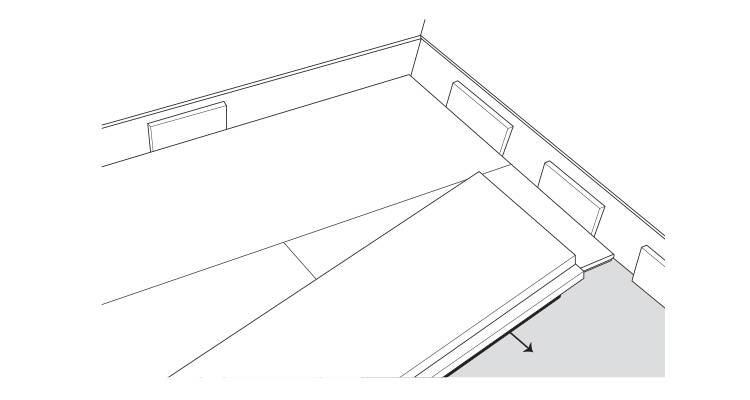
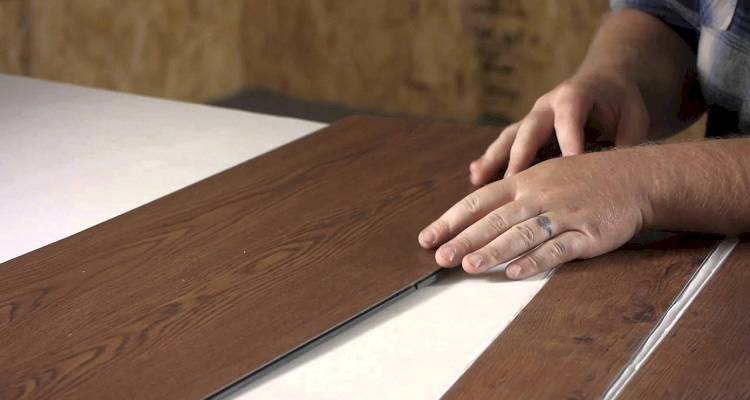
Now, your underlay is in place, you can start to install your laminate flooring. To fit your laminate flooring, take a full board, and start to lay this down from the corner of your room, make sure that its tongue edge is against the wall. Take the fitting wedges and slot these between your skirting edge and your board; this will create an expansion gap around the wall edge.
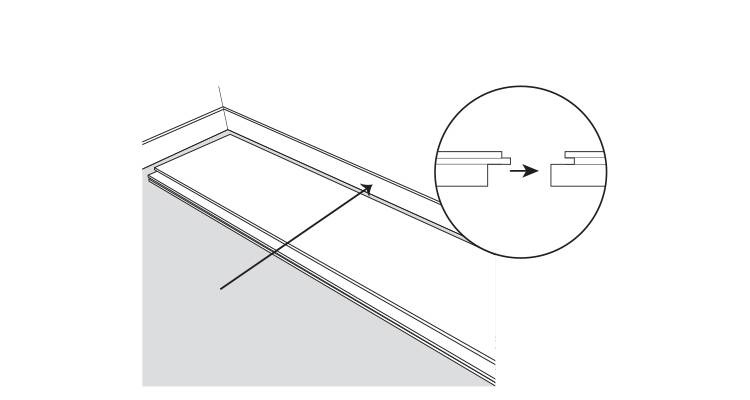
Repeat the process, lining the next board up correctly, to secure the boards together, press down to click it into position, and continue all the way down the wall.
Step 4
When it comes to laying your last board, you may find you need to cut to fit. To do this, turn your board over with the laminate surface face down to the floor. Slide the laminate board to the remaining gap till it touches the wall, ensure you still have your fitting wedges installed to the skirting board.
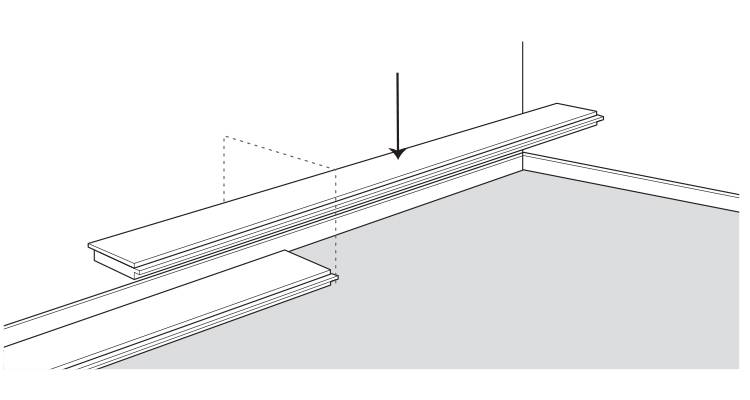
Take a try square or ruler and a pencil and carefully mark your cutting guidelines, ensuring that this line is parallel and matches with the ending of the previous board.
Step 5
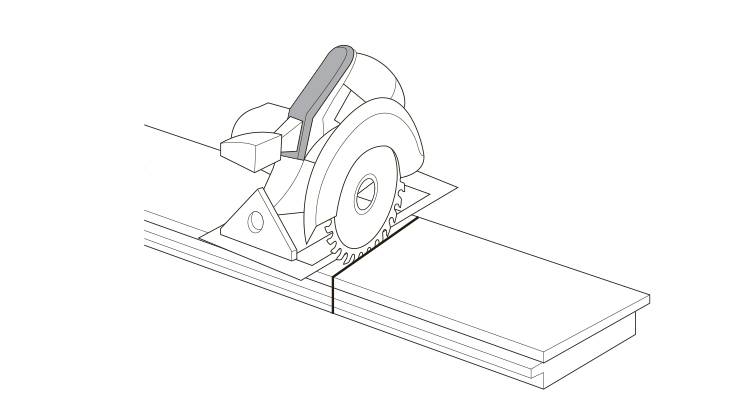
Now, we need to learn how to cut your laminate flooring. You will need to face your board laminate side down on your workmate, use the clamps to secure the laminate board in place. Then, using your circular saw, cut along your cutting guideline.
Then slot the remaining board into the space, being sure to tap on the surface to secure the laminate boards together securely.
Step 6
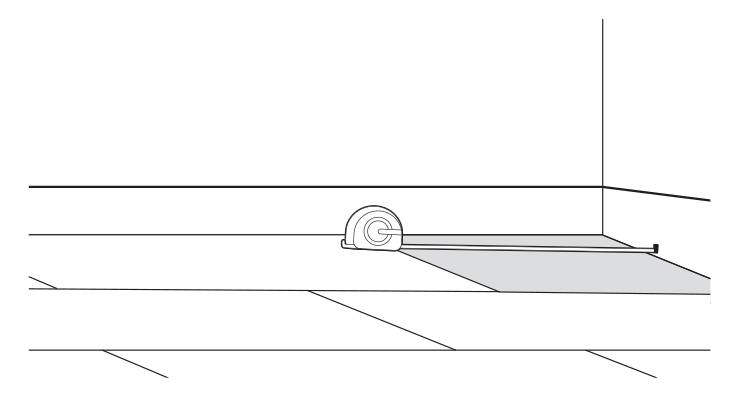
Move the laminate row you have just created away from the wall slightly. You will need to add a piece of laminate and cut to fit into your doorway. To do this, measure the distance between the outer edge of the architrave on either side and also the gap between the first row and the door. Using these measurements, correctly mark these onto a board and cut to size using a panel saw.
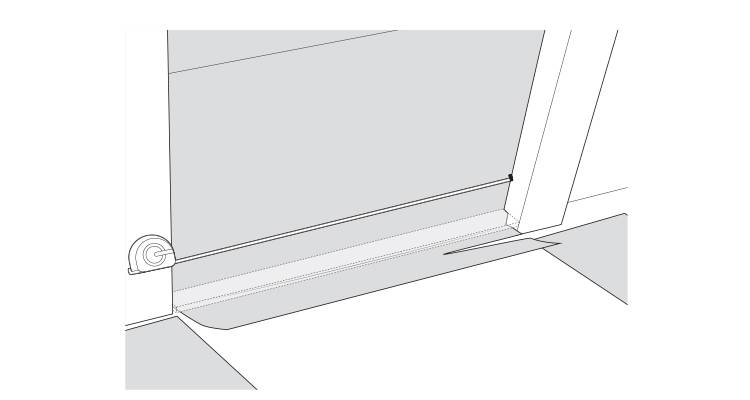
Then carefully slot your row back towards the doorway. Using a tapping block, gently tap back into place until the flooring slots neatly underneath your door frame.
Step 7
Use the offcut piece of flooring to start the next row; make sure that you start the same end as your first row. We recommend that the joint between the boards in adjoining rows is always offset by at least 200mm.
Don’t forget to use the fitting wedges around the wall edges and use the tapping block and hammer to secure the panels into place and tight to the fitting wedges. Continue this technique and lay the subsequent rows.
Step 8
You’ll need to cut the last set of boards to fill the gap. Use the circular saw, to cut to the correct size.
Don’t forget to include your fitting wedges into the calculation. Then lay the panels.
Step 9
At this point, you won’t be able to use your tapping block to secure the flooring and make it tight. Instead, take your pulling bar, and use it along the edge of your last row. Tap the pulling bar using a hammer to ensure the boards are locked, tightly, into place.
Finishing off with fitting wedges into the gaps between floor and wall.
Step 10
Now the laminate flooring has been installed; it’s time to fix your trim around the edges. For this stage you will need your: mitre block, hacksaw, scotia trim, hammer, glue and pins. First, you’ll need to measure the edges of the room to calculate how much trim you need.
Secondly, use a mitre box, this is to make 45-degree angle cuts in your trim to allow the corners to join neatly together. We recommend that you save the trim cut-offs for your doorway.
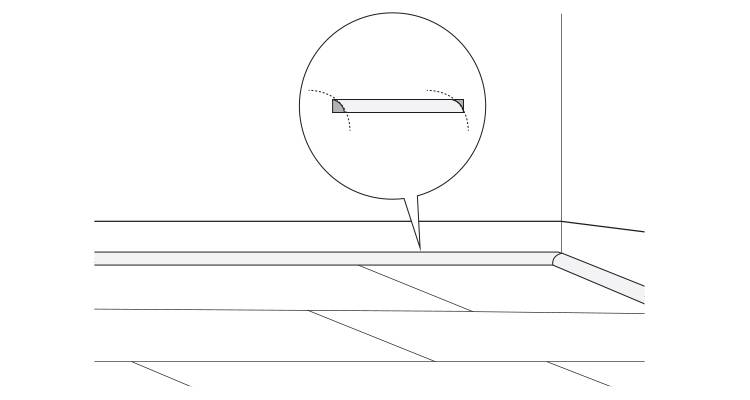
Add the glue to edges of the trim (this is the side that faces the skirting board), then stick the trim to the skirting board, NOT the laminate floor. Take your panel pins and gently hammer these in sections of your trim to hold this into place whilst you allow the glue to dry. Once dry, remove the panel pins from the trim.
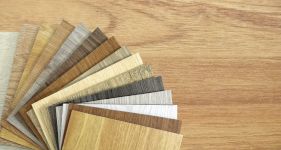
How to Choose Laminate Flooring
With so many laminate options available to you, it can be difficult to know where to start. Before deciding, think about the room it is being installed in and the look you are going for, as well as how durable the floor needs to be. Then, consider the following questions:
- Do you want the laminate to resemble a hardwood floor?
- How much will the area be used and how often?
- Does your flooring need to be durable or waterproof?
- What's your budget and how long do you expect your laminate to last?
Wood grain laminate is the most popular and budget-friendly option, offering the look of real wood for those on a much lower budget. It comes in a wide choice of colour, allowing you to pick that perfect shade to bring your home to life.
You can also choose from a range of finishes to resemble marble, stone, slate, limestone and much more. However, whichever design you decide upon, it will be far less than buying the real thing.
When comparing options, consider the thickness - the thicker and more durable the flooring, the longer-lasting it will be. Although with an increase in thickness also comes an increase in price, however, it is possible to make your flooring last 15 to 20 years if cared for properly.
Finally, be aware that laminate can come ‘glued’ or ‘pre-glued’.
Glued flooring is your traditional style laminate, and it means that flooring will require a special adhesive formula applied to the tongues and grooves (these are the edges that connect your flooring panels to each other) to set it in place.
Pre-Glued does what it says on the tin, the edges of the grooves are already on the boards, making it quicker and easier for you to install.
Laminate Floor Maintenance
To maintain and care for your laminate flooring, always check your manufacturer’s guidelines. However, to keep your floor looking fresh by regularly brushing or vacuuming, and use a damp cloth for dirt or stains. As a general rule you should avoid wax, polish, and oil unless advised to do so.
To avoid furniture from leaving marks, apply some soft felt furniture pads underneath the feet. Laminate flooring should be very durable, but should you notice any damage here are a few DIY tips on how to fix these problems.
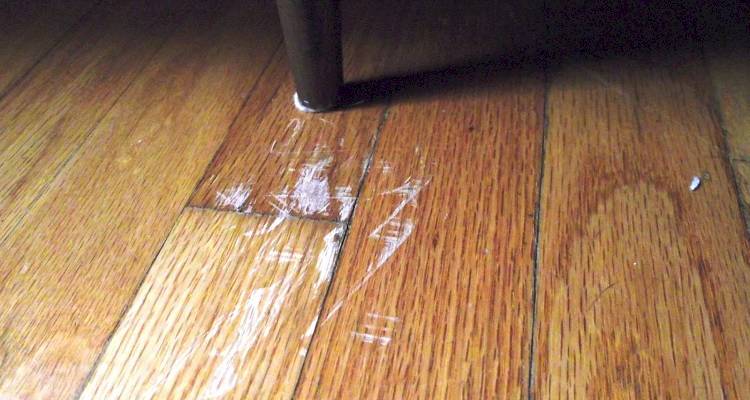
How to Remove Scratches With a Wax Pencil?
You must firstly match the colour with your flooring. You can then start to colour in the scratch. Rub the waxing on the damaged area using a range of motion to fill the wax in the groove. Once finished, buff the area with a dry cloth.
How to Remove Scratches With Repair Putty?
Try using a wax pencil first but should the scratch be a little deeper, consider using repair putty.
You’ll need to match the colour of the putty to the laminate. Then take a putty knife and spread the putty into the damaged area. Gentle pat down on the area, making sure you have used multiple directions to fill in the scratch completely. Level this, then allow it to dry for 24 hours minimum.
Dealing With Damaged Laminate Boards
If it's the boards that are damaged, you might want to consider replacing the laminate board. As there is no glue involved, this process can be fairly simple but perhaps a little time-consuming.
- Firstly, start by removing the skirting edges, remove the flooring panels one by one, until you reach the damaged panel.
- Take the damaged board out and replace with a new one.
- From there continue filling the flooring back in with your panels, using the technique. (Refer to our step by step guide for instructions).
- You will need to replace the skirting and glue this back in place.
How to Clean Laminate Flooring
Cleaning your laminate flooring should be a breeze, so long as you remember that wood and water don’t really mix together, so avoid moisture where possible.
Do not use steam cleaners and wet mops; these will cause the laminate to lift and damage your flooring beyond repair. Should you get stains or tough marks on your flooring, then wipe the selected area with a damp cloth.
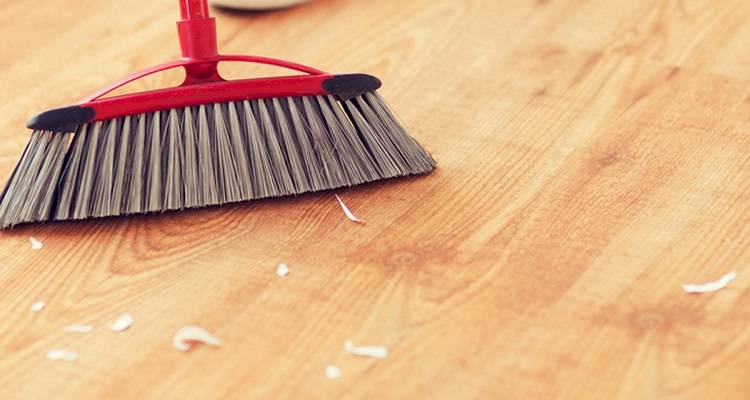
As with any flooring, please make sure you keep on top of vacuuming and sweeping to get rid of dust and dirt.
You can use cleaning products on your flooring but do ensure that you buy cleaning products specifically for laminate flooring only. Always check with your manufacturer before using any products.