my
myHow to Fit a Cat Flap
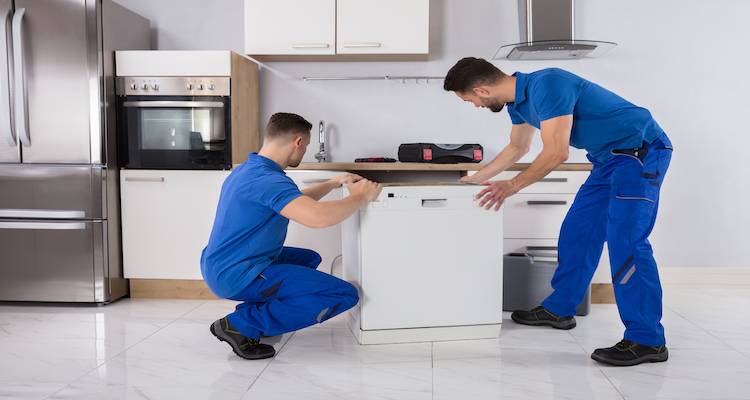
If you'd like to learn how to fit a cat flap, read our easy-to-follow guide below. It includes step-by-step instructions and images, as well as a tool list of everything you'll need.
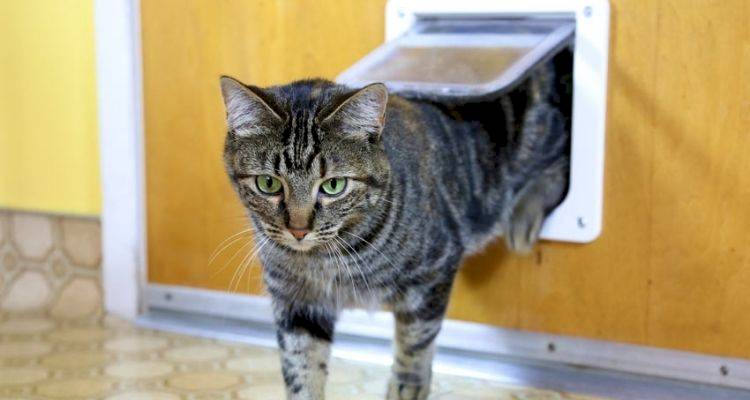
Table of Contents
What is a Cat Flap?
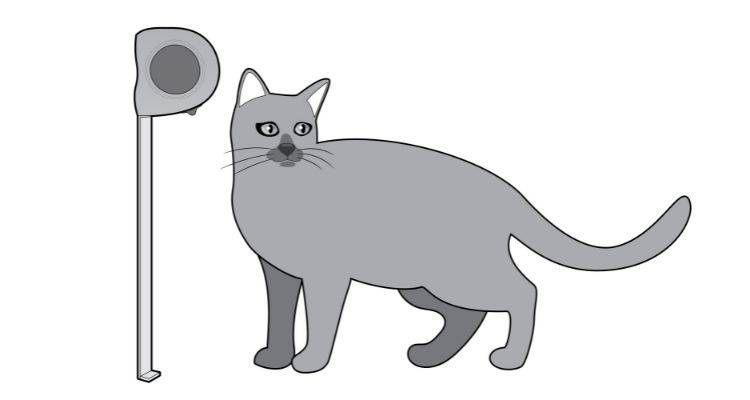
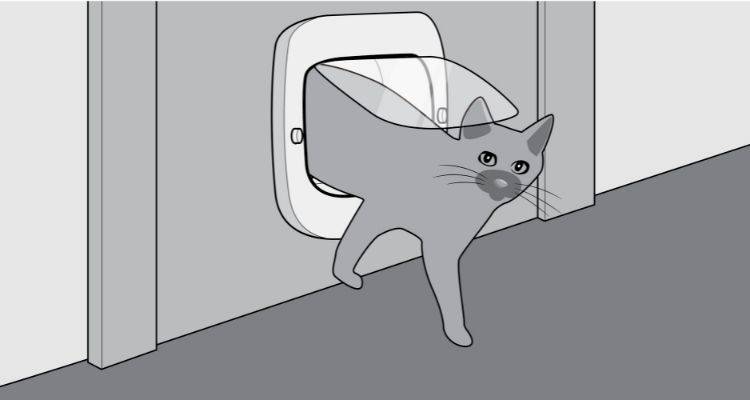
A cat flap is a small hinged flap that is fitted into the lower part of an external door. It provides a small opening where a cat can stroll freely in and out of the home as it pleases.
Cat flaps are great because they eliminate the need to have to let your cat in and out and provide them with the freedom to come and go as they please.
What Tools Do I Need to Fit a Cat Flap?
Below is a list of the tools you’ll need for a cat flap installation:
- Drill
- Drill bits
- Screwdriver
- Tape measure
- Spirit level
- Jigsaw
- Pencil
What Safety Equipment Do I Need to Install a Cat Flap?
You won’t need any particular safety equipment when installing a cat flap. However, you may want to wear protective goggles when drilling and cutting through the door to avoid allowing any dust or debris to enter your eyes.
What Materials Do I Need to Fit a Cat Flap?
Below is a list of materials you’ll need for a cat flap installation:
- Cat flap
- External door
- Screws
- Cat
- Screw caps
Preparing to Install a Cat Flap
When preparing to install a cat flap, you will need to start by measuring your cat to ensure you buy the right size. Allow for a couple of inches on either side and also measure the height of your cat's belly to determine the height at which the flap needs to be installed.
How to Fit a Cat Flap Yourself — Step-by-Step Guide
The following step-by-step guide are based on how to install a standard cat flap on a wooden or composite door. It is possible, for example, to also install a cat flap on a uPVC door, however the process will be different. Always refer back to your manufacturer’s instructions before carrying out the job:
Step 1
Firstly, determine the height that the cat flat needs to be placed based on your cat’s belly measurement. Use this as a guide for the next step.
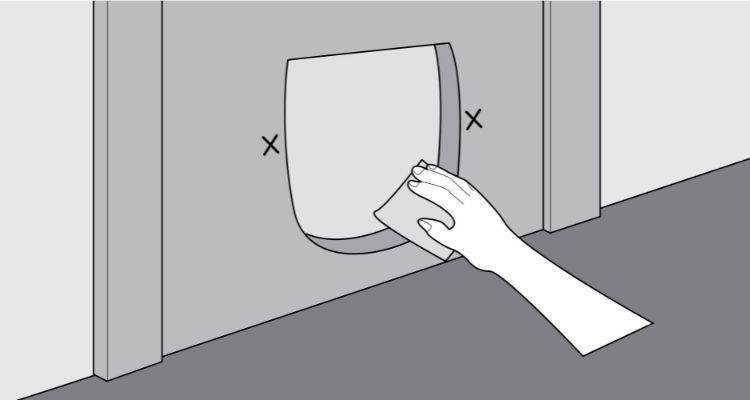
Step 2
Measure the distance across the length of the door and put a marking in the centre of the door. Use this marking as a guide and mark out an outline of the shape of the cat flap so that you know exactly where you need to cut.

Step 3
Use your jigsaw to cut out the shape of the cat flap into the door in the correct position.
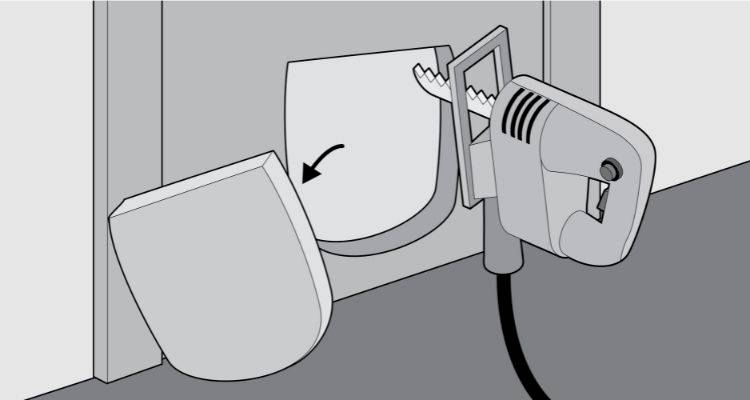
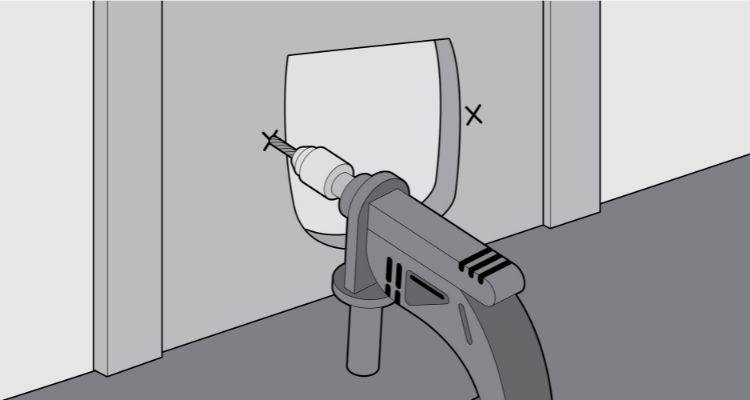
Step 4
Put the cat flap in situ to ensure it’s a perfect fit. Place pencil markings through each of the holes in the pet flap so that you know where you need to drill.
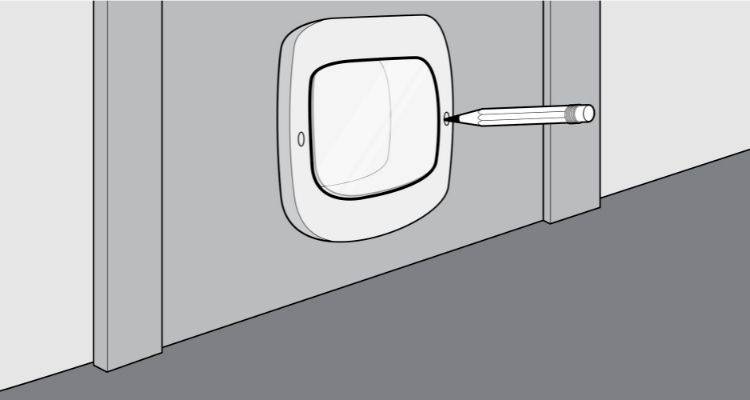
Step 5
Once you’re happy with the fit and the pencil marks are complete, remove the pet flap and sand around the cuts in the door to create smooth edges.
Step 6
Drill through the pencil marks to create holes ready for screwing the cat flap into place.
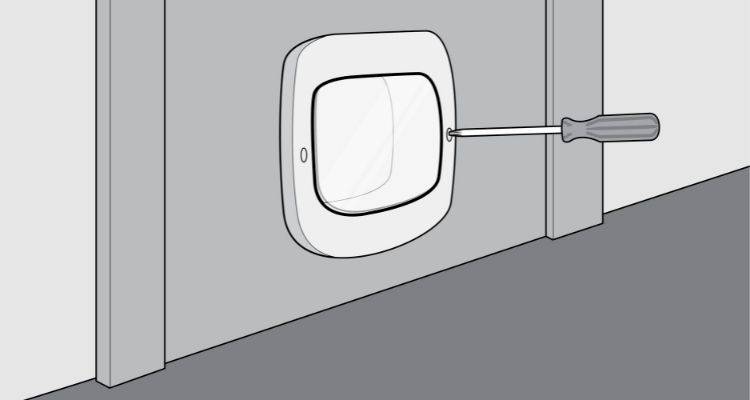
Step 7
Replace the cat flap and install screws as needed into the holes that you’ve created. Be sure to follow the manufacturer’s instructions as you do this to ensure you screw it in correctly.
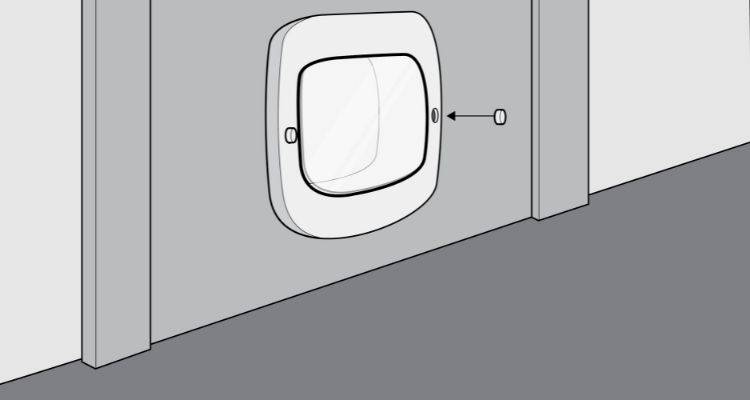
Step 8
If your cat flap features screw caps, install them now.
Step 9
Check that the cat flap door opens and closes correctly.
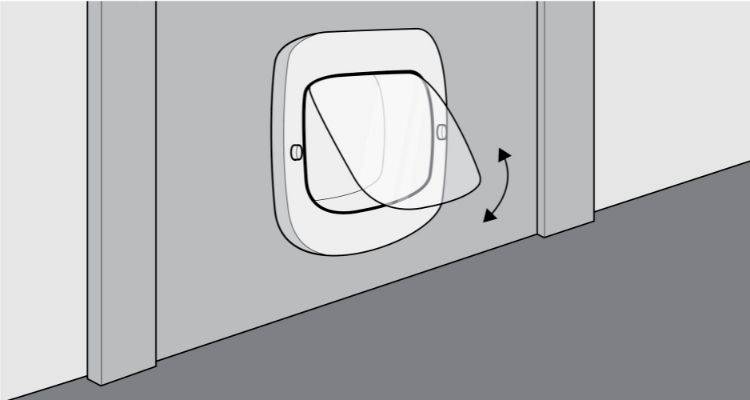
Step 10
Your door with a cat flap is now complete and ready for use.
Types of Cat Flap
There are several different types of cat flap, each with different locking mechanisms. Below is a list of the different types and the pros and cons of each:
Classic Pet Flap
A classic pet flap is a two-way device that allows your cat to come and go as they please. This is the most basic type of cat flap and is usually very cheap and budget-friendly, however, they don't lock and aren't tailored specifically to your pet.
Pros
- ✔ Low cost
- ✔ Budget-friendly
- ✔ Simple option
Cons
- ✖ Provides no security
Lockable Pet Flap
A lockable flap provides greater control on when your cat has the freedom to venture outside, without having to keep opening and closing the door manually. By locking the flap, you can keep them indoors and also prevent other animals from entering your home.
Pros
- ✔ Easy to install
- ✔ Budget-friendly
- ✔ Lockable
Cons
- ✖ No security when unlocked
Magnetic Pet Flap
A magnetic pet flap allows your pet to enter with a special tag or collar. The only problem with this type of pet flap is that it may take a moment or two to recognise your pet.
This means that your pet may not be able to enter your home instantly. These pet flaps tend to be a little cheaper than infrared cat flaps but offer more security than a basic flap.
Pros
- ✔ Good security
- ✔ Cheaper than an infrared or microchip model
Cons
- ✖ Can take a moment to recognise your pet
- ✖ Magnetic device may be the same as a neighbour
Infrared Pet Flap
By using an infrared key matching one on your pet’s collar, an infrared pet flap unlocks the door when your cat approaches. It therefore offers a lot more control, that's specifically related to your properties as it is rare for other cat flaps in the area to operate on the same frequency.
Pros
- ✔ Good security
- ✔ Option to buy multiple keys for multiple pets
Cons
- ✖ More expensive than regular options
Microchip Pet Flap
Installing a microchip pet flap is often the most expensive option, however, it is also the most secure option. This type of cat flap is an electronic device that works by reading the microchip on your pet.
It is specifically coded to only read the microchip that is embedded in your pet, so this prevents any other animals from being able to walk into your home. You can also program this type of pet flap to work with multiple pets in your home.
Pros
- ✔ Adds a level of security
- ✔ Personalised to your cat
Cons
- ✖ Higher cost than others