my
myHow to Concrete in Fence Posts
Concreting in fence posts is pretty simple when you know how. Check out our handy how-to guide to find out everything you need to know, including what tools and materials you need.
Table of Contents
What Tools Do I Need to Concrete in Fence Posts?
Below is a list of tools needed to successfully concrete in your fence posts.
- Post hole digger
- Spirit level
- Tape measure
- Shovel
- Wheelbarrow
What Safety Equipment Do I Need to Concrete in Fence Posts?
When pouring the dry concrete mix, it's recommended that you use goggles and a face covering mask to prevent inhaling any dust particles or getting it into your eyes.
If your fence posts are made from wood, it may also be a good idea to wear gloves when handling them to prevent the possibility of getting splinters, along with sturdy boots to protect your feet.
What Materials Do I Need to Concrete in Fence Posts?
You will need the materials in the list below to concrete in a fence post:
- String
- Boards
- Spray paint (to mark out the post locations)
- Posts
- Dry quick set concrete for fence posts
- Water
- Gravel
- Soil
How to Prepare for Fence Installation
If you're replacing garden fences then you will need to have these removed before preparing for your new fence installation.
When hiring a local fencing company removing the old fence may well be included within the quote.
However, if you're doing the work yourself, ensure you have all of the tools and materials necessary to complete the work. You should also make sure you have the appropriate safety equipment on hand so that you can carry out the job safely.
When you begin a fence post installation job, you should begin by squaring out your layout so that you know exactly what is going where and so that you can be sure the fence posts are in the correct position before digging the holes.
How to Concrete in Fence Posts Yourself — Step-by-Step Guide
Below is a list of the steps that need to be taken in order to successfully concrete in your fence posts:
Step 1
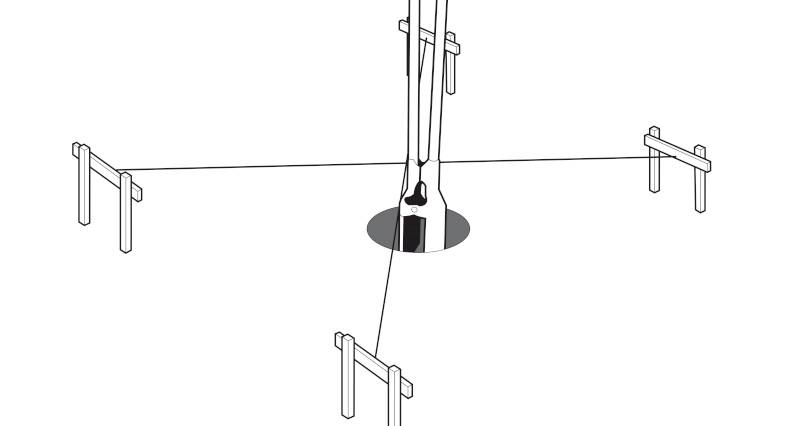
Begin by squaring up your layout using string and boards and mark out the locations where the posts will be. This allows you to see exactly where everything needs to be, and you can get a good idea of what the finished layout will look like.

Step 2
Next, use a post hole digger to dig the holes for your posts. As a general rule, the depth should be around one-third of the post length, and the hole diameter should be roughly three times its width.
Step 3
Pour around 6 inches of gravel into the hole and tap it firmly down using the post. Then reset your strings and use a post level to ensure the gravel base allows the post to stand straight.
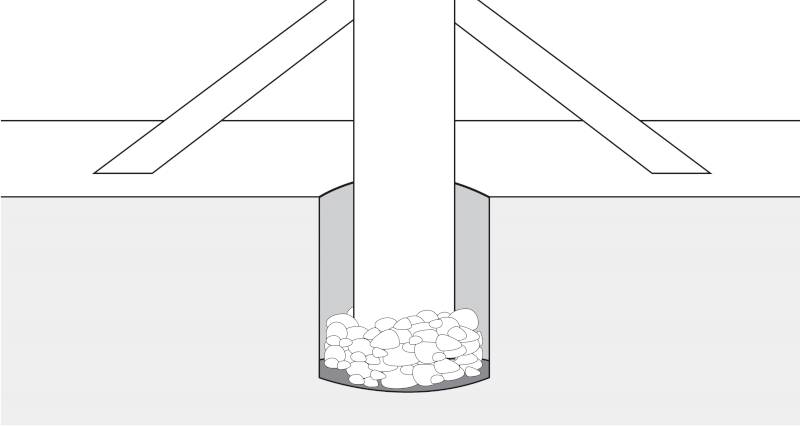
It is essential that your posts all stand fully straight; otherwise, you will struggle when it comes to adding in your fence panels.
Step 4
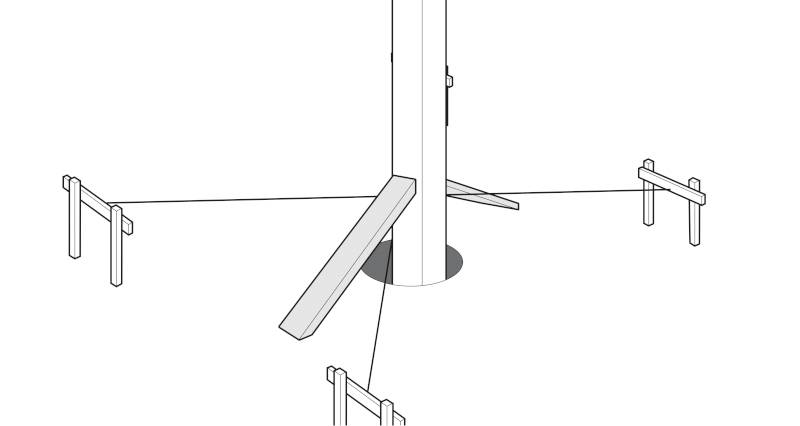
Once you’re confident that the post is entirely straight, you can either attach brackets to the post to hold it firmly in place or use temporary wooden supports. You want to ensure that the post won’t move at all as you add the concrete as you want it to stay completely straight.
Step 5
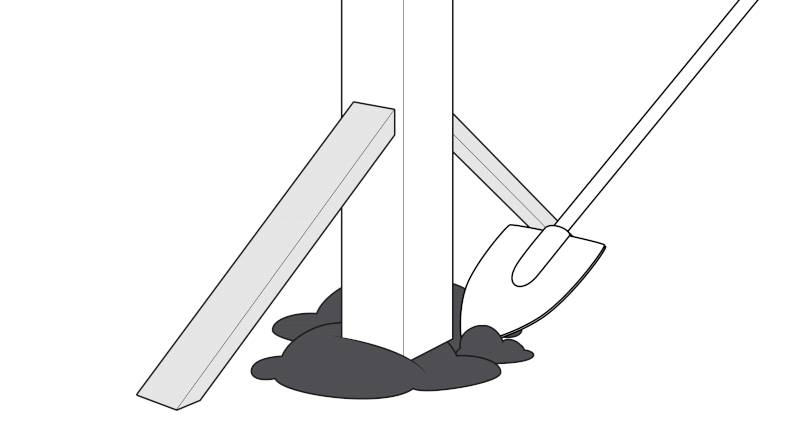
Once your post is secure, add the fast-setting dry concrete mix into the hole with a shovel until it’s around 3-4 inches from the top of the ground, work carefully but beware that quick-set concrete usually sets within 20-40 minutes.
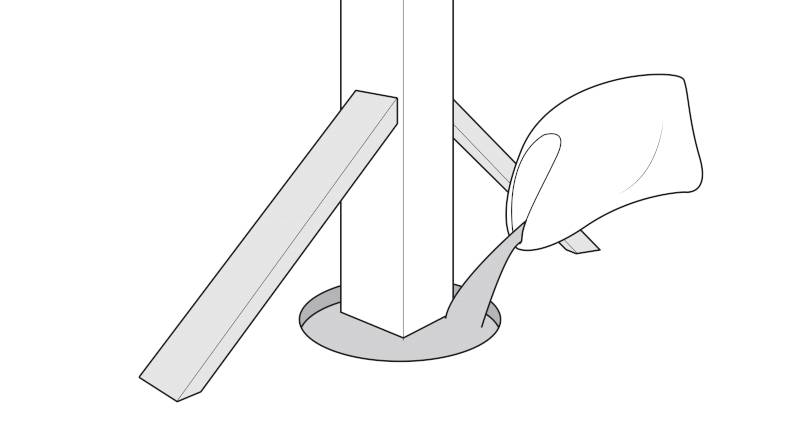
Make sure you are wearing eye protection and a face covering for this part of the job as the airborn dust and debris from the dry concrete mix can be dangerous if inhaled or if gets into your eyes.
Step 6
Check to make sure the post is still completely level, then add water to the dry concrete according to the manufacturer’s instructions. Some manufacturers will require you to mix the solution slightly with an old stick or piece of timber to ensure it is thoroughly mixed and ready to set.

Step 7
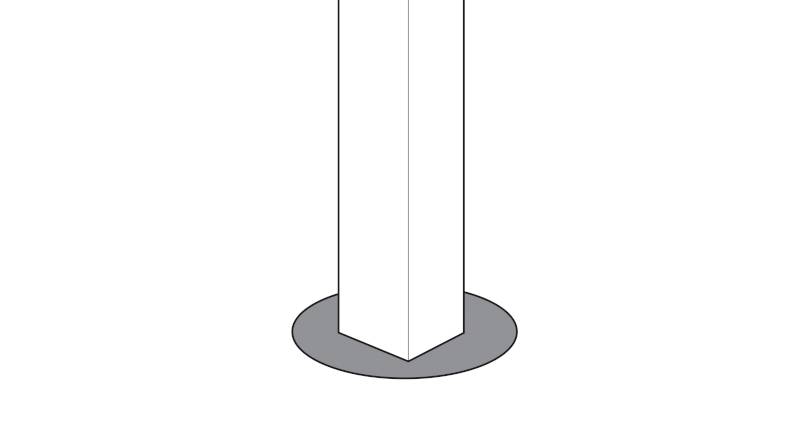
After around 30-40 minutes, the concrete should be completely set. At this point, if you wish you can fill in the rest of the hole with soil to match the surrounding ground. Add this to the level of the rest of the ground and pat it down to ensure it is firm.
Step 8
Once completed, you can remove all of the brackets and string and continue with the rest of your project.