my
myReviving Your Paving or Patio
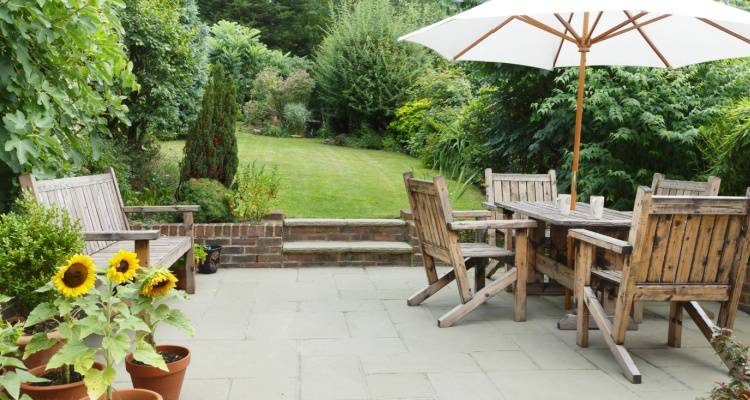
Whether you have a paving or patio and no matter how fresh and durable they look when first installed, wear and tear is inevitable (it’s essentially written into the laws of the universe!).
Therefore, maintaining your paving or patio over time is essential to preserving its structure and aesthetic over time. That said, while prevention is better than the cure, when your paving/patio needs to be repaired, it’s important to know what is required.
Let’s begin!
How to Revive Your Paving/Patio
Note: Whether you’re using a chemical product (e.g. weed killer) or dealing with sharp or heavy tools/equipment or any other work that comes with hazards for that matter, always err on the side of caution and ensure you know what’s involved and what is needed to stay safe!
Starting with reviving a paving, though as would also be the case for a patio, some replacement work will be DIY-friendly (once you have the right skills and knowledge) while other examples are best left to a professional, if not require the work of a professional.
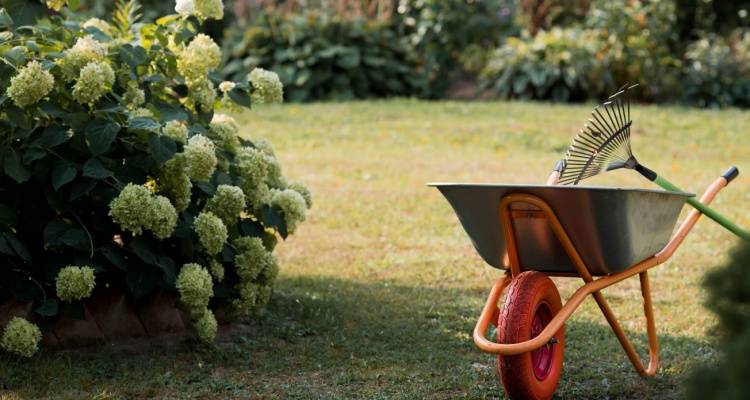
Regular Maintenance
Before discussing long-term steps to revive your paving/patio (i.e. fixing damage, from the superficial to the fundamental and structural), it’s worth mentioning the best ways of maintaining your paving/patio and how often to do so.
These steps can help maintain your paving/patio over time:
- Brushing the Surface - Once every six months
- Clean with Warm Soapy Water - Once every year
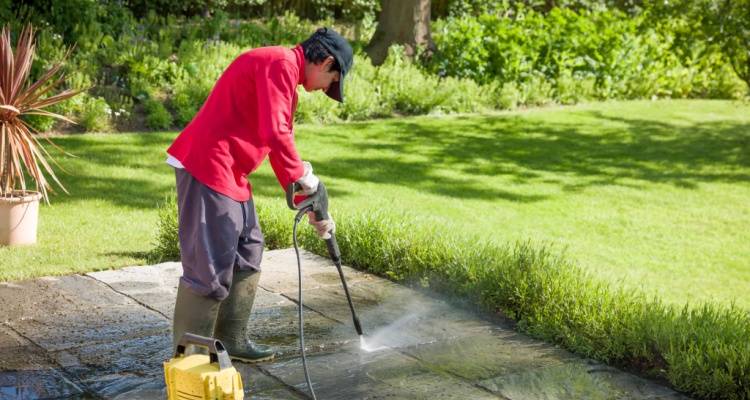
- Power Wash on The Right Settings - Again, once every year *
- Adding a Suitable Sealant - Every 3-5 years on average
- Weed Removal - Once a year or sooner if suitable and needed**
*It is particularly important to use the correct settings if you want to power wash your patio. Otherwise, you risk causing substantial damage that will cause a headache and cost money to fix.
**You’ll want to avoid removing weeds too often. If unsure, consult with a reliable manufacturer of a weed removal product or chat with a professional gardener.
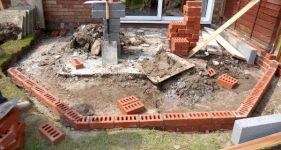
Replace Damaged or Loose Paving
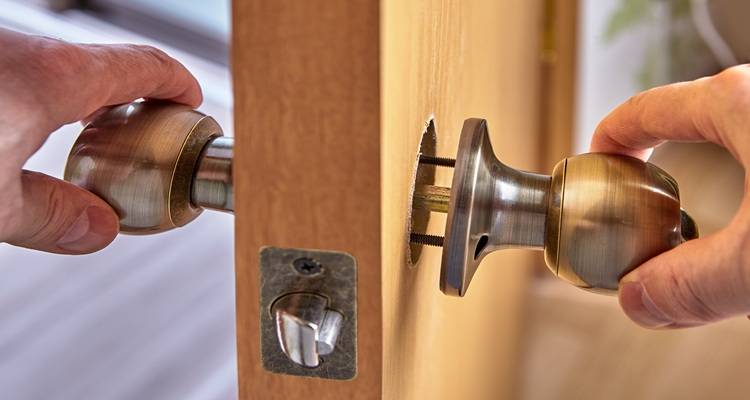
First and foremost, it’s important to replace damaged or loose paving slabs and to do so in a careful, effective manner. It’s important to wear safety equipment too, such as eye protection and protective gloves.
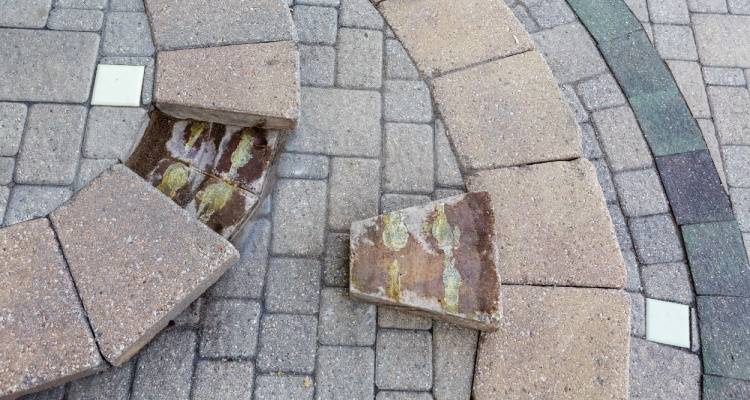
To replace loose or damaged paving slabs, you should carefully lift the paving slab up (and utilise tools if needed safely and correctly per the manufacturer’s instructions). You’ll also want to remove loose mortar or/and sand.
Before installing a new slab, you’ll want to verify that the sub-base is in a good condition. If not, you’ll need to add more before, either way, installing mortar and adding the new slab. It will take about one full day for the mortar to solidify so don’t walk over the space until this happens.
Addressing Superficial Issues
Even if your paving is structurally sound without broken or loose slabs/structure, you’ll still want to address visual blemishes and issues that arise over time.
Here are some common issues and their solutions:
- Algae Stains - Solved by applying a suitable algae removal product and following the manufacturer’s instructions to a T, including taking safety steps like wearing eye protection.
- Weeds Between Slabs - Weeds can grow between paving slabs, creating an eye sore. This is solved by removing them by hand, using a weed killer product or/and adding jointing sand designed to prevent the growth of weeds in the first place. Whatever the case, follow the manufacturer’s guidance and take any safety steps needed.
- General Superficial Decline - Solved by having your paving replaced (or at least much of it replaced) or taking an alternative approach, if suitable and safe, such as using outdoor paint to go over the paving and hide superficial damage. *
*If you decide to paint over your paving with outdoor paint, just make sure that you still check on your paving from time to time, by visually inspecting and walking over each segment to get a sense of its structural stability. After all, you do not want to miss loose paving slabs that could even pose a hazard (e.g. someone might trip over it). So just be sure to keep this in mind!
DIY Vs Professional Work
Whether or not reviving a patio/paving can be done DIY or if a professional is needed (or at least the best option) will depend on the type of work involved and your own skills and knowledge. The same applies to work in general linked to your property’s outdoor space, ranging from the installation of water features to having a decking area installed.

To perform work related to reviving a patio/paving by yourself it’s essential that you know exactly what’s involved and wear any appropriate safety equipment while taking any other important safety steps. If in any doubt about any aspect, always hire a professional.
Beyond that, certain patio work may need a professional for an optimal outcome (e.g. replacing an entire paving surface). More complex work may also necessitate the work of a professional. Ground preparation and other types of paving work may also need a professional.
Last updated by MyJobQuote on 2nd April 2024.