my
myCreate a Herb Garden
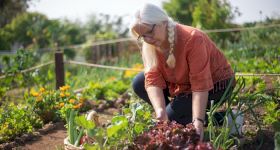
Whether you want to make the most of the medicinal value of herbs for body and mind and use some for cooking, simply want to explore a new gardening hobby or both, you've come to the right place.
Creating a herb garden is an easy way to always have herbs ready for cooking, and it can be done in pots in a small garden while being generally easier to grow than vegetables.
So, how do you go about making one?
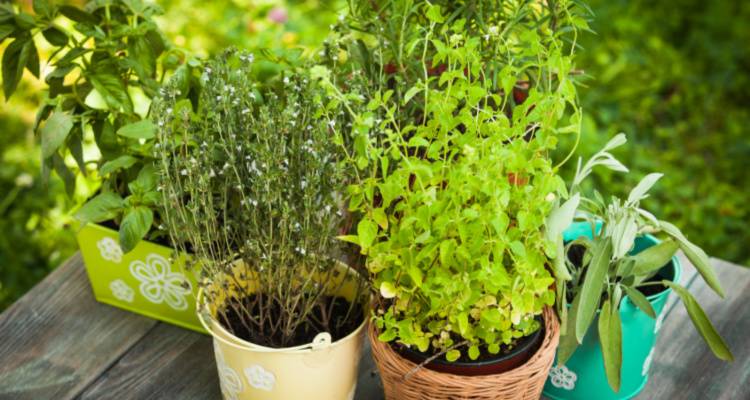
Select the Right Herbs for You
Before all else, you’ll need to consider what herbs you want to grow. Please note that some herbs will have certain growing and harvesting requirements that will differ from others, so you should always follow the instructions before proceeding.
Here are some popular herbs that take a year to mature (i.e. annuals):
- Basil
- Coriander
- Dill
- German Chamomile
Commonplace biennials are:
- Caraway
- Parsley
- Sage
- Stevia
Prominent perennial herbs include:
- Borage
- Chives
- Oregano
- Tarragon
- Thyme
How to Create a Herb Garden
The following steps are a broad guide to creating a herb garden. Therefore, you should always follow the herb product instructions for the specific planting, growing and harvesting methods for the herbs of your choice.
Planting and Growing Your Herbs
Harvesting Time
Preparing for Use
For starters, you’ll need to sow seeds per the instructions into the soil, usually in the first half of the year. Then the cuttings of certain herbs (e.g., bay, mint, rosemary and sage) will take place later in the year, usually around late summer to early autumn.
Also, if you’re growing hardy herbs like oregano, mint, thyme, etc., you’ll have to divide them either in the springtime or once they’ve flowered during the summer months.
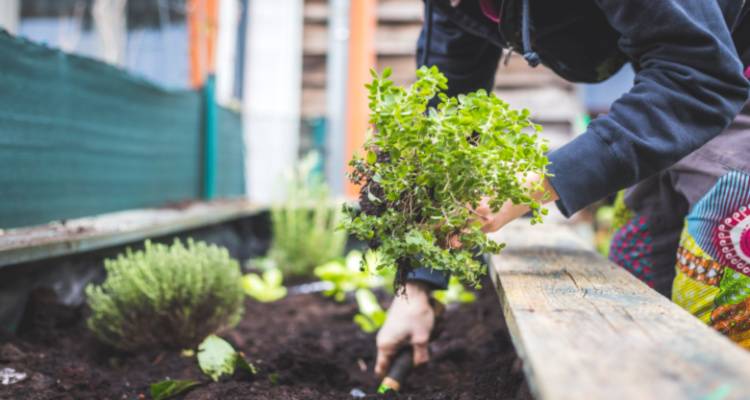
The next phase is known as plating out. At this stage, you’ll need to plant out young plants once they’ve hardened off. At this point, it’s essential that the soil/compost is moist.
You’ll now need to rake the soil to make it level while ridding it of stones and large lumps of Earth. Cautiously loosen the plants from the trays you’ve placed them. You can do this by pushing them up from their base. You can get them out of their posts with a sudden tap to the bottom of the pot.
It’s important to deal with the plants by handling their root balls or leaves, as you don’t want to risk causing harm to the stems. Now, it’s time to plant the herb plants in such a way that the height of the rootball sits a little beneath the surface of your garden soil. Be sure to place them in firmly but carefully.
Now, it’s time to add water using a watering can. However, it’s important not to use a water can rose with the water can as this can negatively impact your attempts to water the herb plants. It’s important to add water to these plants on a regular basis to keep them strong and healthy!
When the time comes to harvest your plants, you can either cut them before flowering (this will encourage bushy plant growth) or pinch them out. Again, be sure to follow the herb product’s instructions to get everything right.
Once you’ve harvested your herbs, you’ll need to dry them out, as this will protect them against bacteria. The easiest way to do this is to leave them exposed to warm, dry air.
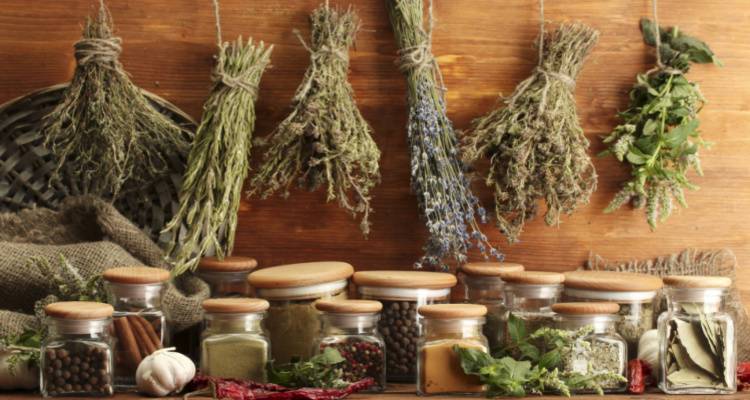
Placing them in a well-ventilated area will allow them to naturally lose moisture. However, it’s best not to expose them to the sun as this can cause a loss of colour and flavour.
Of course, you will want to get them wet again if you’re going to cook them. Always wet herbs before using them to create a meal. You’ll need to rinse thoroughly before adding them to your pot or pan.
If you'd like to discover what else you need to do in your garden all year round, check out this guide.