my
myHow to Screed a Floor
Would you like to find out how to screed a floor correctly?
This guide uses easy-to-follow instructions and images that you can follow along with.
So, let's take a look...
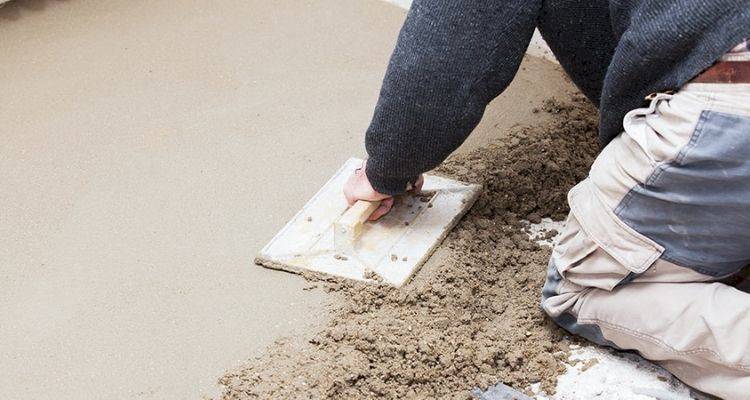
Table of Contents
- What is Floor Screed?
- What Tools Do I Need to Screed a Floor?
- What Safety Equipment Do I Need to Screed a Floor?
- What Materials Do I Need to Screed a Floor?
- Preparing to Screed a Floor
- How to Screed a Floor Yourself ? Step by Step Guide
- Types of Floor Screeding
- Getting the Right Floor Screed Mix
- FAQs
What is Floor Screed?
Screed is a thin layer (usually made from sand, cement and water) that is typically poured over a floor base to help form a smooth coating on the floor. This helps to provide a strong foundation for the flooring, and while quite similar to concrete, it's not the same end product.
Floor screeding is smoother than concrete as it uses fewer aggregates than concrete to create the mix. It is usually added on top of concrete as a finishing layer.
What Tools Do I Need to Screed a Floor?
Below is a list of the tools you’ll need to screed a floor:
- Brush
- Bucket
- Mixing tool
- Straight edge
- Trowel
What Safety Equipment Do I Need to Screed a Floor?
Here is a list of the recommended safety equipment you’ll need to screed a floor:
- Safety goggles
- Gloves
- Overalls
- Dust mask
What Materials Do I Need to Screed a Floor?
Below is a list of the materials that you’ll need to screed a floor:
- Water
- Bonding agent
- Cement
- Sand
Preparing to Screed a Floor
Below is a list of things that you’ll need to do to prepare for screeding a floor:
- Remove everything from the floor
- Sweep away any dirt and debris
- Slightly dampen the floor to reduce suction
How to Screed a Floor Yourself — Step by Step Guide
Here is a step-by-step guide on how to screed a floor, although for a professional finish you should always hire a floor floor screeding expert.
Step 1
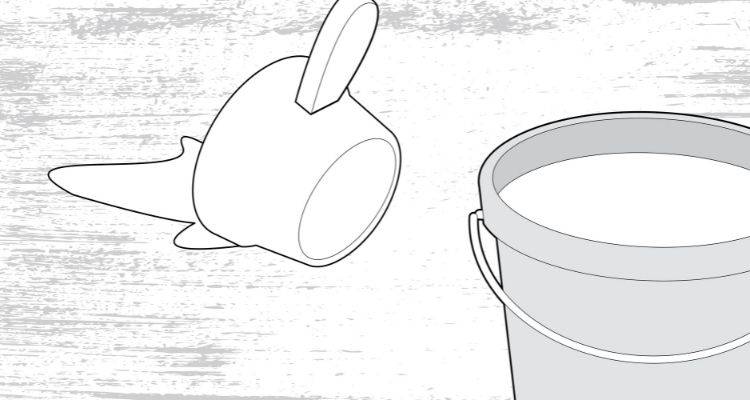
First of all, you will need to add water to the floor to dampen it. This will help to reduce suction.
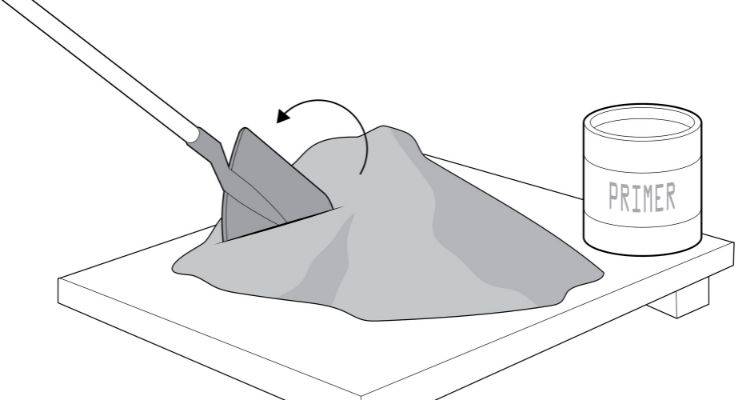
Step 2
Next, mix bonding agent and cement according to the manufacturer's instructions as the exact measurements can vary. This will then act as your primer, although this process is only required for bonded screeds.
Step 3
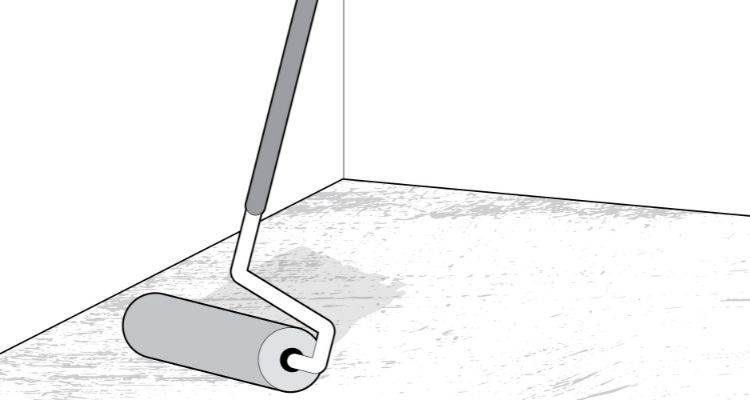
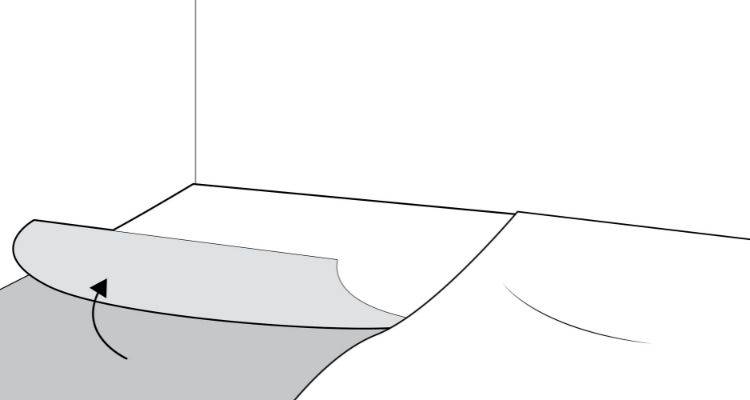
Next, apply the primer to the floor in a thin layer using a brush.
Step 4
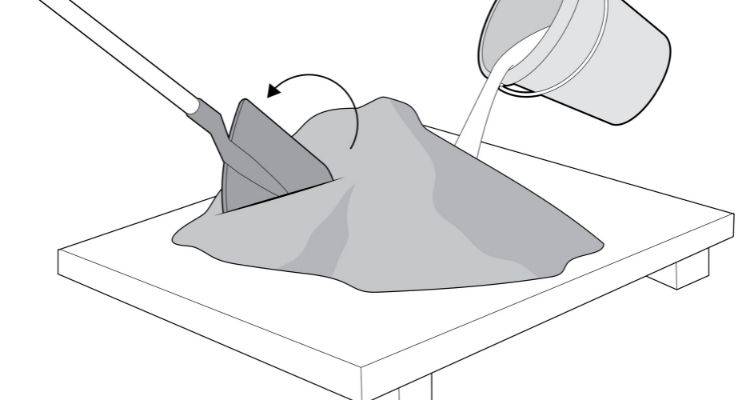
Once your primer is down. Mix together the ingredients to create your screed. The mix you create will depend on the thickness of the screed you are laying and the size of the area. The floor screed mix will consist of a combination of cement, water, and sand.
Step 5
Begin to lay the screed using a trowel and level it off with a straight edge.
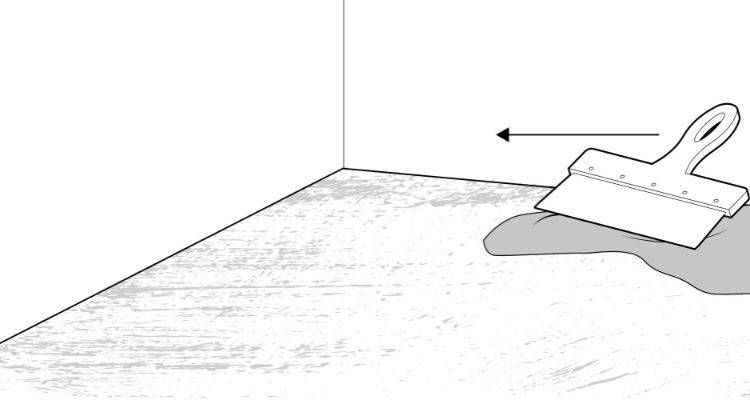
Step 6
For the floor screed to be successful, you will have to work in bits so that it’s level. Complete a small area at a time by laying down the mixture and using a batten to create a level surface. Use a trowel to spread the mixture before levelling it with the batten.
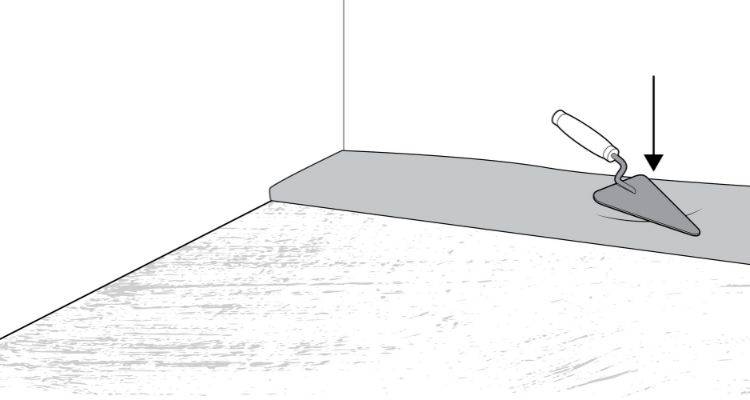
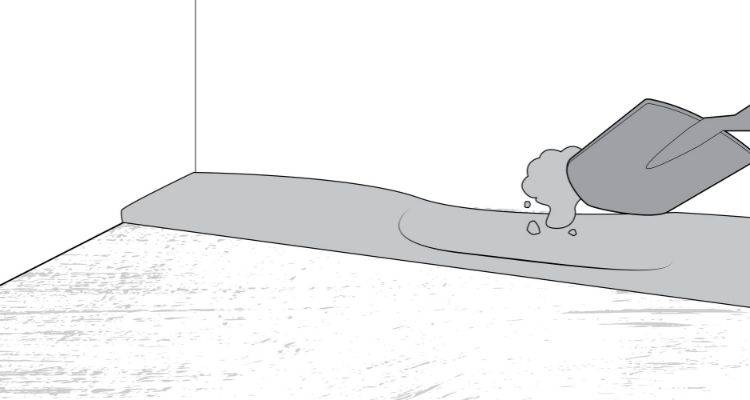
Step 7
If you notice any dips on the surface, simply add some more mixture and continue to level it out using your trowel and batten.
Step 8
Once you have covered the entire floor and you’re happy that it’s level, you will need to cure it. Cover the floor with a polythene sheet and leave it to cure over several days.

Step 9
After a few days, you can then take the polythene sheet away and allow the drying process to start. You will need to leave the floor until the surface is completely dried out, which can potentially take weeks rather than days, depending on the thickness.
Step 10
Once your surface is completely dry, the job is then complete.
Types of Floor Screeding
Below is a list of the different types of floor screed:
Bonded Screed
A bonded screed will be bonded to the substrate with a binding agent or a primer. This type of screed is ideal for thinner flooring sections that are designed for holding up heavier options.
Pros
- ✔ Durable
- ✔ Can hold up heavy objects
Cons
- ✖ Requires primer
Partially Bonded Screed
A partially bonded screed is more affordable than the former but isn’t as durable. This type of screed needs to be at least 50mm to ensure that it can’t easily break with use. It also needs to be laid on a rough slab for the best results.
Pros
- ✔ Cheaper option
Cons
- ✖ Not as durable as other types of screed
- ✖ Requires certain measurements to ensure it doesn’t break
- ✖ It needs to be applied to a rough slab for best results
- ✖ Not recommended in areas expected to support heavy loads
Unbonded Screed
This type of floor screed is not directly bonded to the sub-floor but is instead separated by a membrane. Unbonded screeds level out on their own and are made up of sand, cement, and sometimes calcium sulphate.
Pros
- ✔ Not bonded directly to the floor
- ✔ Levels out on its own
Cons
- ✖ Not as durable as some other types
Floating Screed
A floating screed is applied above the insulation. This screed insulates itself well and will require the right kind of insulation or edging foam to prevent cracking due to shrinkage. However, it is great for keeping the underfloor warm in the home.
Pros
- ✔ Provides good insulation
- ✔ It can be used with underfloor heating
Cons
- ✖ Requires the right kind of insulation
- ✖ Could be prone to cracking with shrinkage
Some professional companies will use liquid floor screed or latex floor screed, as although separate products, both can create a smooth finish by simply pouring the mixture onto the surface without the need for a straight edge for levelling.
However, these types of floor screed tend to be difficult to apply if you don’t have the right tools or skills to do so, so these screeds should be left to the professionals.
Getting the Right Floor Screed Mix
A traditional and common screed is generally made up of a mix of one-part cement to four-parts sand. The consistency tends to be a relatively dry yet firm consistency, that can hold together under pressure.
It is usually mixed in a cement mixer on-site so that the mixture is prepared and ready to apply right away as soon as it’s needed.
This type of screed requires minimal preparation and can easily be applied to the room using a trowel and straight edge (as we’ve explained in our step-by-step guide).