my
myHow to Fit a Roller Blind
Do you want to know how to put up roller blinds? Well, we've created this easy-to-follow guide, which includes simple instructions and images, as well as lists of tools and safety equipment you'll need. So, check it out below!
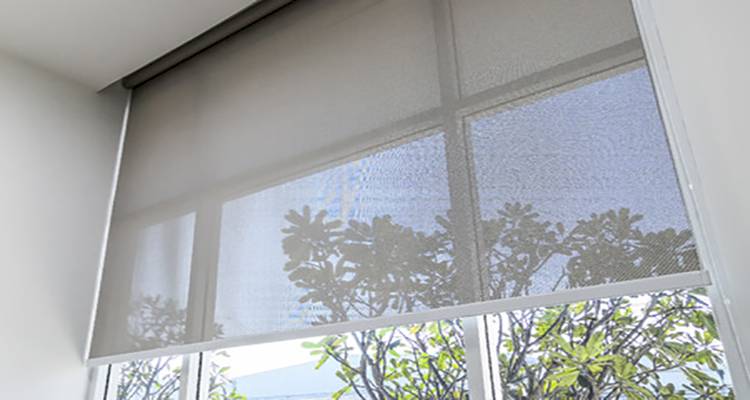
Table of Contents
What Tools Do I Need to Fit a Roller Blind?
Below is a list of the tools that you will need for installing blinds:
- Step ladder
- Tape measure
- Pencil
- Straight edge
- Wallpaper scissors
- Hacksaw
- Drill
- Bradawl
- Pipe and wire detector
- Screwdriver
What Safety Equipment Do I Need to Fit a Roller Blind?
Below is a list of the safety equipment that you will need for a roller blind fitting:
- Dust mask
- Safety goggles
What Materials Do I Need to Install a Roller Blind?
Below is a list of materials that you will need when fitting a new roller blind:
- Roller blind
- Brackets
- Screws
- Rawl plugs
How to Prepare for a Roller Blind Installation
When preparing for blind installation, the first step is purchasing a suitable roller blind for the size of the window. If the blind is too large, you may need to cut it down to size, and likewise one that's too small won't fully do the job and will result in letting sunlight into the room.
If you're hiring someone to do the job for you, then ensure they have enough room to work - if you're taking down old blinds or curtains, it may be a good time to also clean the windows.
How to Fit a Roller Blind Yourself
Below is a step by step guide on how to fit a roller blind to the inside of the recess of your window:
Step 1
Measure the inside of the recess so that you know how much you will need to cut off your blind. Don't forget to leave a little bit of room on each side so that the blind can move up and down freely without touching any of the sides of the recess.
Step 2
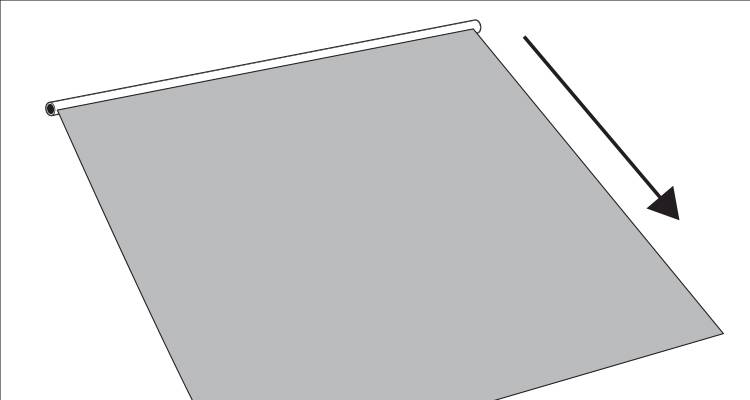
Take the end bead off the bottom of the blind and then roll the blind out onto a flat, clean surface with the back of the blind facing up.
Step 3
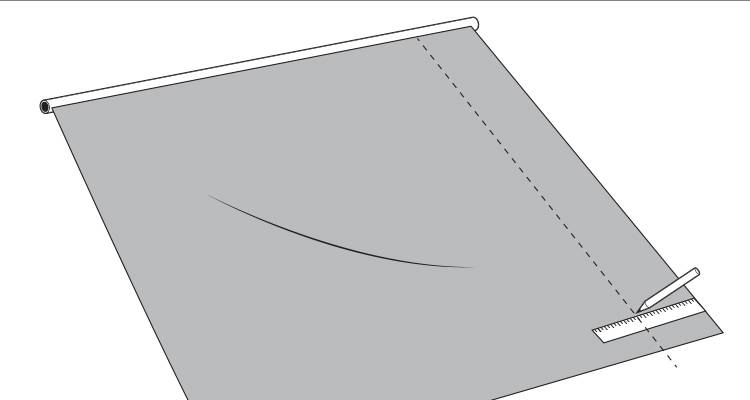
Put a mark on the back of the blind using a pencil at the point where it needs to be cut. Put intermittent marks all the way up the blind so that you know exactly where it needs to be cut all the way along.
Place a final mark on the roller itself. Now, use a straight edge to join up your pencil marks and create a straight line where you need to cut.
Step 4
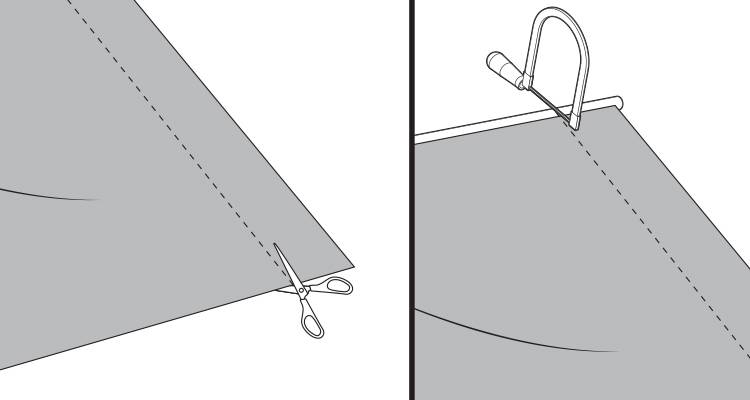
Use scissors to carefully cut along the pencil line on the roller blind fabric. Once you have cut the fabric, you will then need to cut the roller using a hacksaw. Then, cut the same amount off the bottom bead using your hacksaw.
Step 5
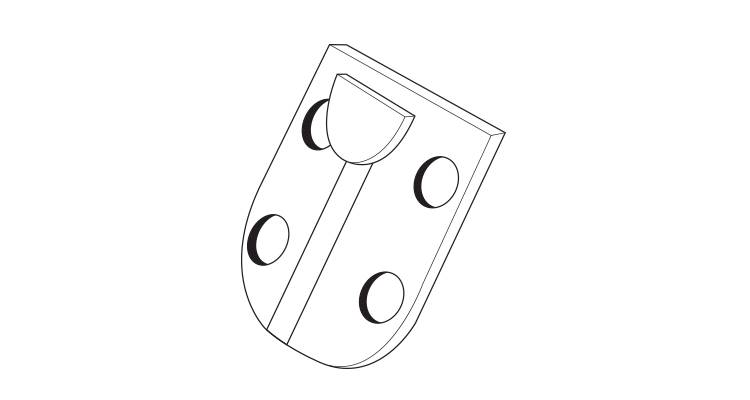
You now need to decide from which side you would like to control your blind. Locate the pull cord and the bracket that fits to it. The bracket that fits into the pull cord is the one that should be fitted to the side where you would like your blind control to be.
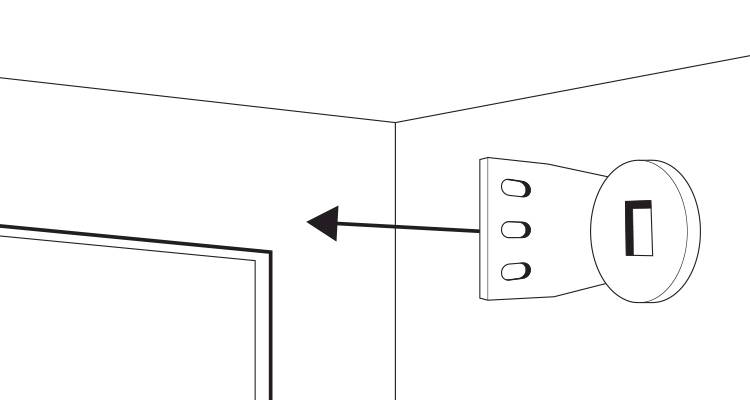
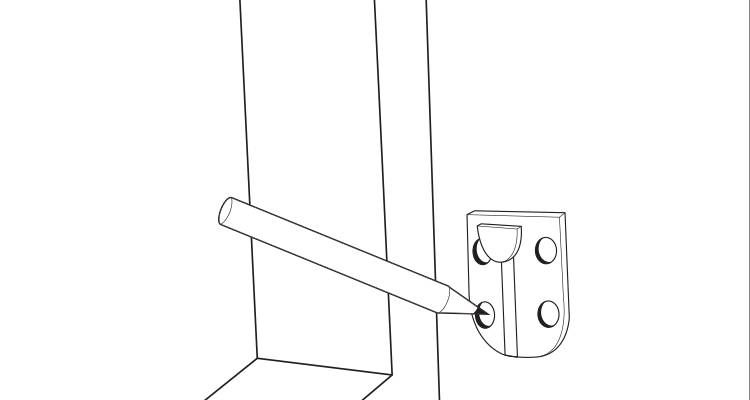
Step 6
Mark the positions for your brackets on the wall or window frame. Make sure to leave enough space above so the blind can be fully rolled up. Once you're happy with the placement, mark points at both the top and bottom where you'll need to drill holes. This will help ensure your brackets are positioned accurately before moving on to the next step.
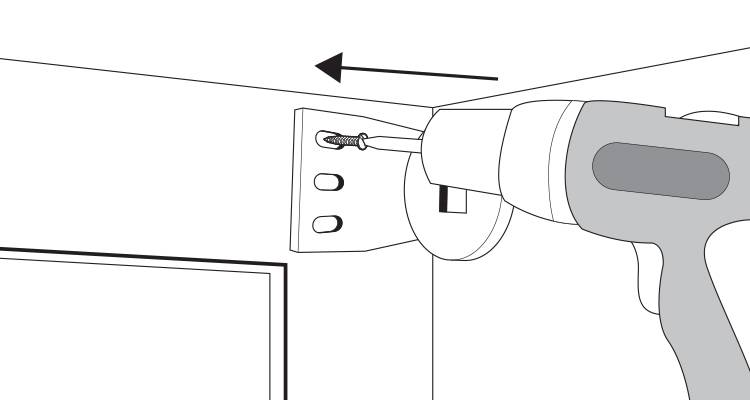
Step 7
Use a drill to attach the bracket to the wall with screws, aligning it with the markings you made in the previous step. Then, repeat the process for the bracket on the other side of the window.
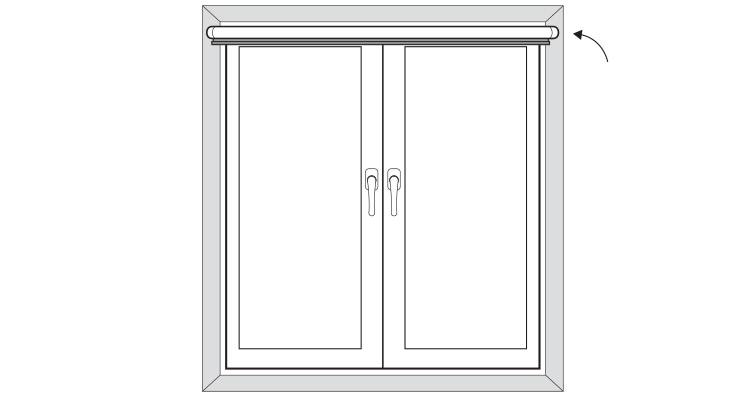
Step 8
Next, fit the end caps onto the blind, then lift it into position by resting each end on the brackets until they slot into place. Depending on the design, you may need to secure the blind further, as per the manufacturer’s guidelines. Once it’s secure, your blind is now fully in place.
Step 9
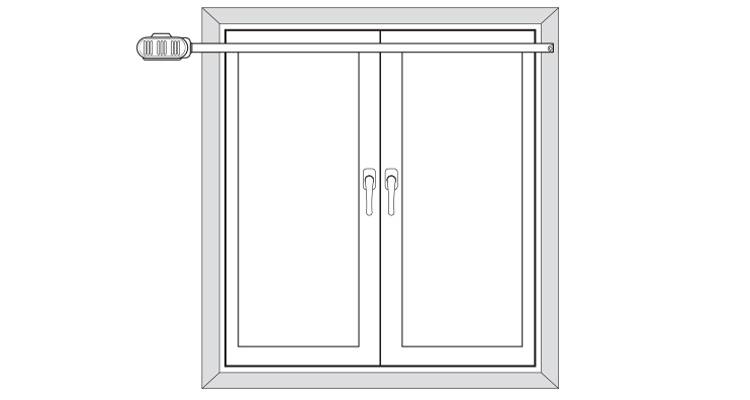
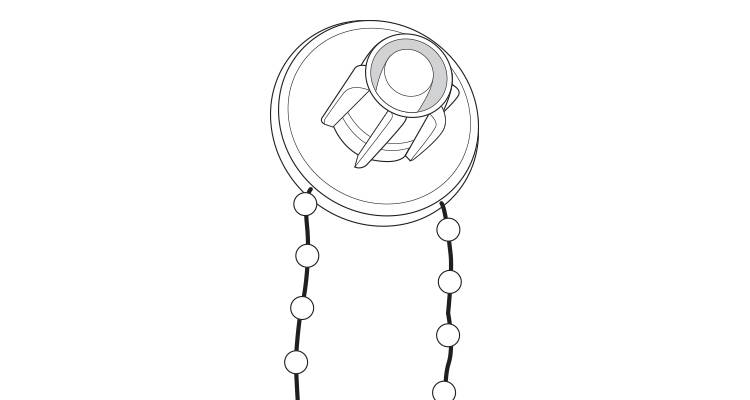
By UK law, all newly fitted blinds with cords must have a safety device securely installed to prevent strangulation hazards, especially in homes with young children. Before finishing, attach the pull cord to the wall using the safety fitting provided with your blind.
Step 10
Hold your safety bracket in place on the wall and mark the screw holes. Before you screw into the wall, check for wires and pipes using a pipe and cable detector.
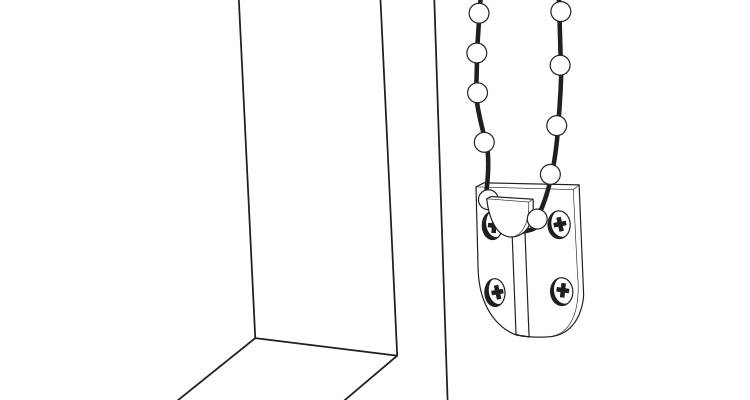
Step 11
Finally, drill the holes for your safety bracket fitting. Then, push the wall plugs into the holes. You can then screw in the bracket and feed your roller blind chain through it.
How to Remove a Roller Blind
Below is a simple step by step guide on how to remove a roller blind:
- Roll the blind all the way up and then remove the screw from the lower chain safety clip.
- Locate the safety clamp on one side of the roller and open up the clamp.
- Lift the roller out of both brackets.
- Use a screwdriver to take out the screws that hold the brackets in place and then remove the brackets.