 my
myLearning a New Skill – DIY Tutorials
Spring is here and it's time to start renovations on your home. You've decluttered and cleaned your entire house; you've also prepared your garden for spring and now you're waiting for warmer weather to be able to enjoy relaxing in your garden while it all grows. All that is left to do is grab your book and relax. Alternately, you could spend some time learning a new skill to keep your home ship shape. We've found some online tutorials that will help you tackle some of the simpler jobs round the home.
Declutter Your Home
Prepare Your Garden For Spring
Disclaimer: We are not responsible for the content of these videos and always advise seeking professional help and advice before starting any job around the home.
Make Something at Home
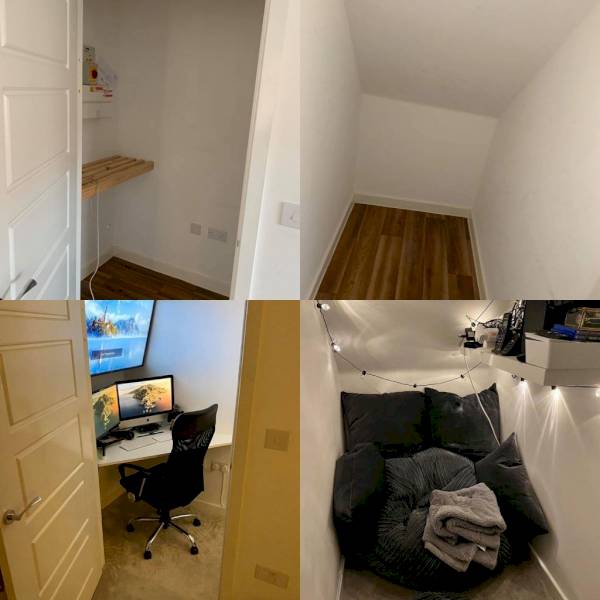
Grab your tools and find something to make at home. Is there a project you have always wanted to do, but not sure where to start? Now is the time to have a go at that project you have been meaning to do at home.
If it's something out of wood you are looking to create, have a look at DIY Creators and their wood working tips videos
From shelving units, chairs and even a bed we think you'll be inspired by this channel.
How to fix a leaking tap?
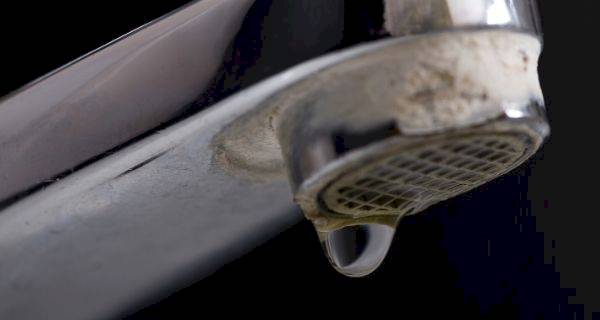
Fix that leaking tap easily. If you have a tap that is always dripping, the chances are that this is a simple fix that you can do yourself with a few basic tools. Not only will this quick fix stop that annoying noise, but you will also save on your water bill longer term.
Locate and turn off your water to the taps. This is either an isolation ball valve located in the pipe under the sink. The ball valve will either be a handle or a screw head that you will need to rotate 90 degrees. Alternatively, you can locate your stopcock tap that shuts off your water to your home. Before you start to unscrew the tap to locate the cause of that annoying drip, make sure the water is turned off by opening up the tap to the maximum and draining off any water left in the pipes.
Once you have turned the tap on and drained any remaining water, remove the tap head and undo the head gear nut with an adjustable spanner or pipe grips. A little water will dribble out here and then allow you to remove the headgear assembly, this will allow you to locate and replace the washer that is the likely cause of the drip.
Reassemble the tap in the same way you took it apart, being careful to make sure it if firm, but not over tightened. Turn on the stopcock or the isolation ball valve and test the tap to make sure there are no more leaks.
Video: Fix a Leaking Tap
Remember if you are not confident or need further help, we have local trades you can contact and help keep your home in good order.
Adjust Your Cupboard Doors
If your cupboard doors in the kitchen are not shutting as they should, a simple adjustment with a screwdriver is all they need in order for them to line up and be able to shut easily.
Your cupboard doors should line up with the outside edge of the frame, so when you have located the corner that is not lined up, open the cupboard door and you will see two screws that allow for adjustment. The screw on the inside will allow for the door to be adjusted away from the frame, this is normally for when the door bounces open and doesn't quite shut. The other screw will help you straighten up the cupboard door so it aligns correctly.
Make sure you never over tighten a cupboard door and if you are not able to align them, contact a local DIY handyman to come and asses them.
Video: Adjust Your Cupboard Doors
Decorate Your Home

Are you sat working from home in a dull office setup? It's time you spent some time having a clear out and making an office space you enjoy. But before you grab that paintbrush and roller, here are 5 tips that will make decorating your home office easier.
Clear the Room
Before you grab that roller or paint brush, you'll find it much easier if you can clear the room. Once you have taken all the furniture out of the room, prepare each surface that you intend to pain.
Preparation for Decorating
Clean, sand and fill, sand and then clean all the walls, ceiling and window areas. This can seem like over kill, but sanding and using a degreasing cleaner is best, as this will help new paint or wallpaper to stick. Giving you a better finish that will last for longer. Preparation is key to improving the finish and can often take longer than the decorating itself.
Choosing Your Decoration
Choosing the right decoration and colours will help give the right feel to the space you want to create. Have a look at some of this year's colour of the year post for some ideas if this is a colour you want to include. Type of paint will also give you a different finish, if you are unsure, as an assistant for help choosing.
Order of Decoration
Painting the ceiling is where you will start when decorating a room. The reason for this is that it will be less of an issue if you drip paint on other areas if you have already decorated them. Make sure you have a good set of ladders and ask for help steadying them if needed, but don't overstretch, as this is when ladders can easily fall. You should only use a ladder for the edges and cutting in. For the remainder of the ceiling, use an extension pole, as you will get a much better coverage. Beware of the spray from a roller and protect your eyes and wear old clothes.
You'll then paint the walls, windows, skirting and then finally the door, using this process will mean you are less likely to touch any wet paint, as you are working your way out of the room.
Video: Decorating Tips
Fix Sticking or Broken Drawers
We have all done it. Put something inside a draw and it breaks or pops the front off. It's surprising how fragile drawer cabinets can be. But fixing them is a simple task and will leave you feeling less frustrated. Once you fix it, you're also less likely to cause further damage to the drawer.
Empty and clear the broken drawer of its contents. You're going to need to lift the drawer out of the runners. This is typically done by lifting up the front of the drawer when it is full out. Once out, you will be able to see where the repair needs to take place. For example, if it is the front that has come off, you will need to reattach. If the holes used are no longer of any use, you can fix this by either filling them or attach a new bracket.
Of your runners are sticking, give them a spray with some WD40, being careful that you don't spray on to the items in the draw below. Still unsure how to fix the drawer, you can contact a local handyman to be able to help you. They might not even have to come out, as they can offer a fix over the phone via a video call.
Last updated by MyJobQuote on 4th April 2023.