my
myHow to Paint Your Kitchen Cupboards
Is your kitchen looking a bit dated and in need of freshening up? Have you thought about upgrading your kitchen but don't have the budget?
How about giving it a fresh new look without the hassle of taking out a kitchen to installing a new one. You can do this by taking the time to paint your kitchen cupboards, which is a much friendlier budget option.
Painting your kitchen cupboard doors is something you can do over a few days and doesn't have to cause too much disruption in the home, and changing the colour of your kitchen cupboards can bring about a whole new life to the way it looks and will feel like a whole new kitchen.
Follow these steps, and you will have a great looking kitchen, but at a fraction of the cost of a new one.
Should I Paint My Kitchen Cabinets?
Choosing to paint your kitchen cabinets is going to be a more budget-friendly option that will give your kitchen a new look. You'll not have to be without your kitchen for a week or more, and you can still use your kitchen while you are painting the cabinets.
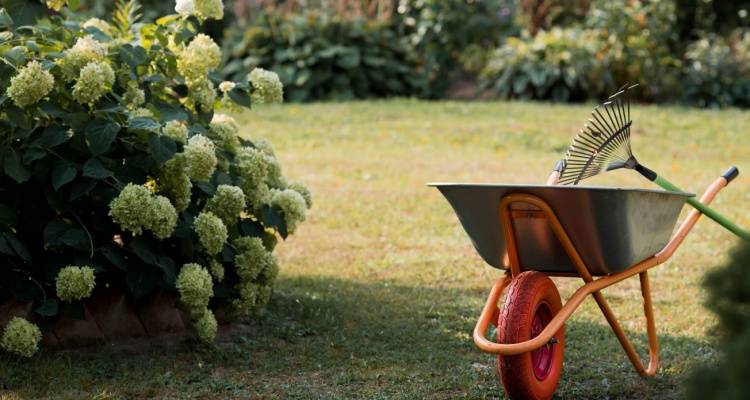
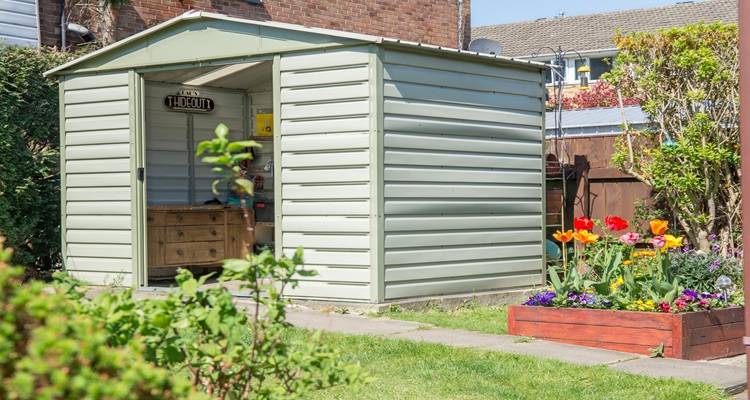
You can use the money you save on a new kitchen to create a garden summer house that you can use all year round. This will give you extra space at home and add value too.
Choosing Your Kitchen Colour
Depending on the amount of light or the feeling you want to create will help you decide on what colour you want to paint the kitchen cupboards. This year's colour of the year is a good starting point, as it offers a bold colour into your room, but in a dark kitchen, this might not be the right choice for you.
Choosing a colour like a light grey or earthy like Dulux Tranquil Dawn can introduce colour, while also remaining light and fresh. Maybe a lemon colour will help zest up your kitchen time and help you feel creative in the kitchen.
Where to Start Painting Kitchen Cabinets
You're not going to paint your kitchen cupboards and doors while they are in place. The steps to take when painting the cabinets is:
- Remove the doors
- Remove the fittings (handles and hinges)
- Clean the doors with a degreasing cleaner
- Lightly sand the doors
- Apply a base coat
- Paint with chosen colour twice
- Attach fittings
- Hang the doors back on
Removing Kitchen Cabinet Doors
Wait… before you get too excited and remove all the doors and drawers. Carefully mark each of the doors in pencil, so you can remember where you put them back. The last issue you want is to have painted all the doors and then struggle to put them back because you didn't do this step.
Once you have marked them, you can carefully remove the doors you want to work on. You don't have to do them all in one go, and you can even choose to do them one door at a time. This will keep some normality to your kitchen, but removing the doors is needed.
If you need to adjust your doors when putting them back, you can find more in our post on Learning a New Skill.
Remove the Fittings (handles and hinges)
Once you have removed the door from the cupboard, you will need to remove the hinges and handles. This will make it easier to prep the door for painting and help give the doors a better finish, as you will not be masking around them and creating lines or accidentally splashing them with paint that you then have to try and remove.
*Tip – When removing the fittings, tape the bits together so you don't get them mixed up. Please note the door they came from, as this will help when you are re-attaching them later. You can also take a photograph of how they looked, so you can figure out how to re-attach them at the end.
Clean Your Kitchen Cupboards and Doors
When you have removed the doors fittings, you will need to clean down the doors. It's also good to clean the fittings, but cleaning hinges can be done later while waiting for the paint to dry. For your paint to stay on the doors, you will need to make sure they are properly cleaned with a degreasing agent.
It's very normal for kitchen doors to attract grease, as it is part of cooking all kitchens. Even the smallest amount can ruin your paint job later, so take time to clean and degrease. You'll be glad you did, as the largest part of painting your kitchen cupboards is the preparation of the wood.
Sand the Doors
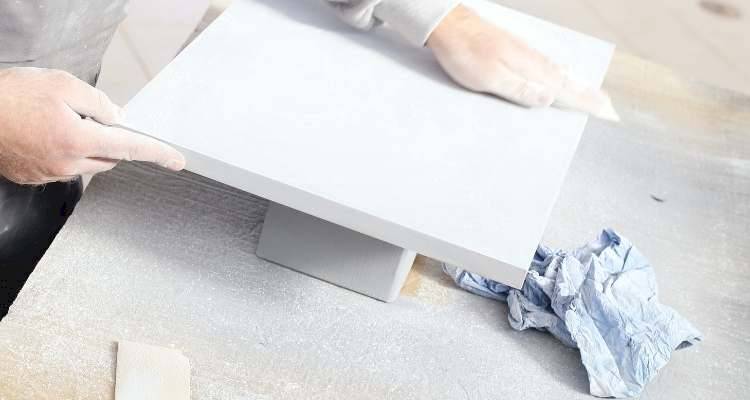
Sanding down the doors will help the new paint stick to the wood. If the doors are too smooth and shiny, the paint can later flake off when it gets warm and damp, which is natural in a kitchen when cooking. This is why it is also important to choose the correct paint for your kitchen, as it will help repel the steam and protect the wood below.
After sanding, go over the area with a lightly damp cloth to remove any dust from the surface. Leaving you with clean wood that is ready for painting.
If you choose to fill the holes where the original handles went and go that extra step in upgrading your handles too. More on this below when hanging your kitchen doors after painting them.
Apply a Base Coat of Paint
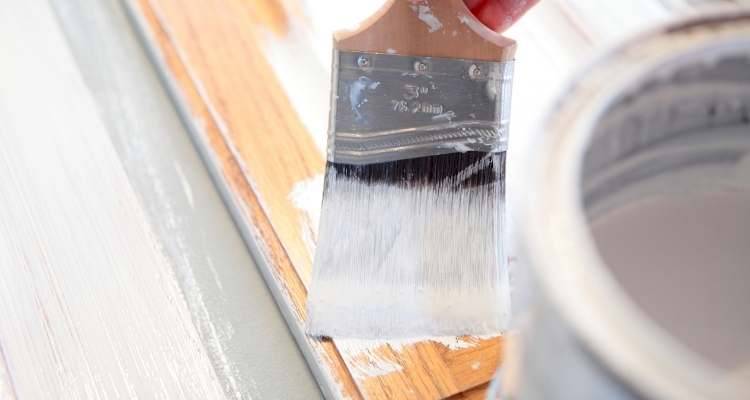
Next is to paint the cupboard doors with a base coat of melamine primer. This paint doesn't have a smell to it and will help protect the doors to last longer. It is also is key to helping the main application of paint to the doors.
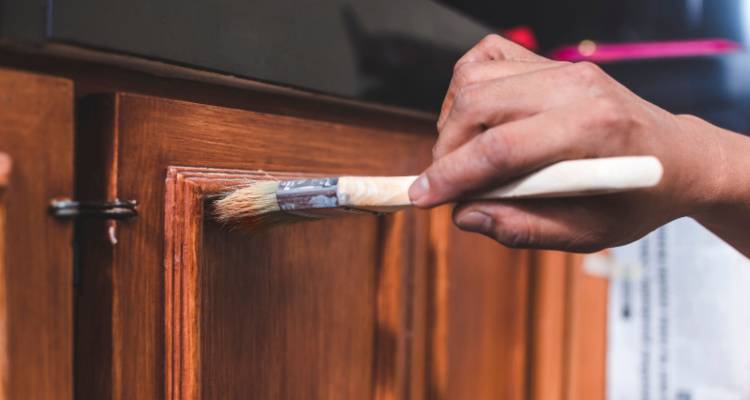
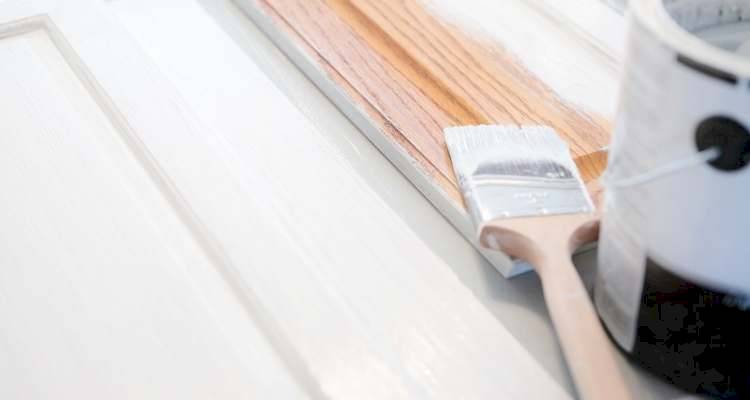
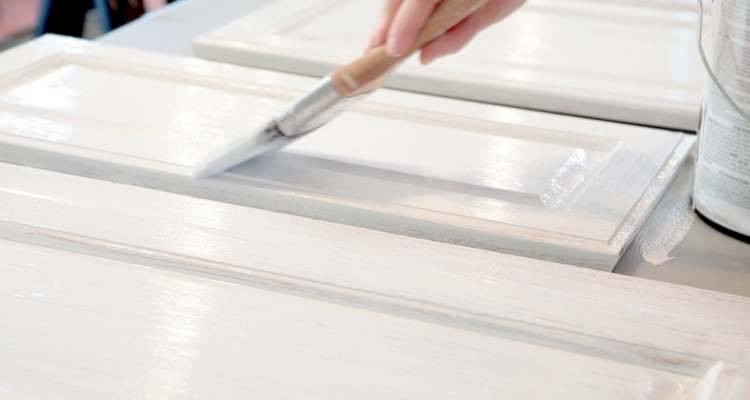
Paint Your Doors
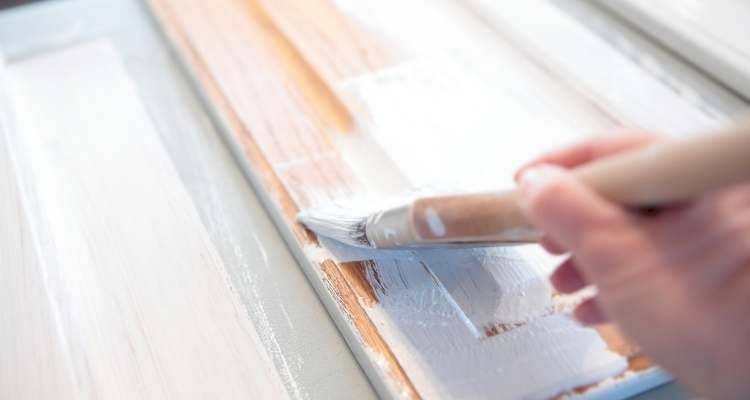
Enough with the preparation of the doors, it's time to paint the doors with your chosen colour. Take your time to apply thin coats so you don't get lines, bubbles or a poor finish. You've put a lot of time into preparing the doors to this stage, to taking a little extra time now is worth it.
Wait for your first coat to fully dry (2-3 days) and give it a very light sanding with fine grit. This helps with a better finish after the second coating. After sanding, be sure to wipe down with a damp cloth to remove any dust.
Apply your second coat of paint and wait for it to dry. This second coat should have covered the cupboard doors and give you a nice finish that is almost ready to hang.
Attach Fittings
Once dry, the doors will need the fittings re-attached. Putting on the same handles is one option, but if you are attaching new handles, make sure you measure them out and mark them on the inside of the doors before drilling any new holes.
Hopefully, you kept the right parts all together and took pictures of how they fitted together, so this job should be reasonably straightforward.
Hang the Doors
When hanging the doors back on the cabinets, you might need to adjust their angle slightly. This is normal, and there should be a couple of screws on the hinge that will help line them up perfectly for you. This is normal, so don't worry if they are not lining up perfectly from the start. See our post on adjusting your doors here.
Enjoy Your New Kitchen
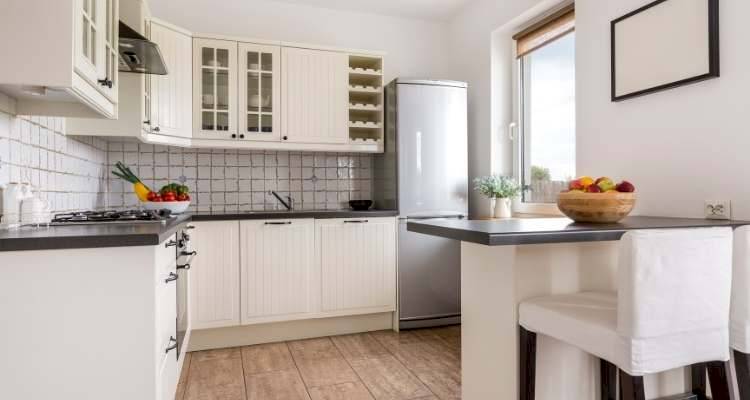
It's time to sit back and admire all your hard work. Choosing to paint your kitchen cupboards takes time and patience but is a rewarding DIY project when done right. Tag us on Instagram and Twitter to be featured. We'd love to see your creations before and after.
If you're looking for additional power points, installing different lighting or under counter lighting, post a job and get in contact with local electricians to receive up to three free quotes. This extra step will give your kitchen an extra special finishing touch.
Last updated by MyJobQuote on 15th February 2023.