 my
myHow to Wire Ceiling Lights: A Step-by-Step Guide
Wiring ceiling lights can seem like a daunting task, but with the right tools and a clear step-by-step guide, it can be a manageable DIY project. Whether you're replacing an old fixture or installing a new one, this guide will walk you through the process safely and efficiently.
Tools You'll Need
- Voltage Tester: To ensure the power is off before you start working.
- Wire Strippers: For stripping the insulation off the wires.
- Screwdrivers: Both flathead and Phillips for various screws.
- Wire Nuts: To secure wire connections.
- Electrical Tape: For additional security on wire connections.
- Drill: If new holes are needed for mounting the fixture.
- Ceiling Light Fixture: The new light you will be installing.
- Ladder: To reach the ceiling safely.
Step-by-Step Guide
1. Turn Off the Power
Before you start, ensure the power to the existing light fixture is turned off at the circuit breaker. Use a voltage tester to confirm that the power is off.
2. Remove the Old Fixture
Carefully remove the old light fixture. This usually involves unscrewing the fixture from the ceiling and disconnecting the wires. Make sure to note which wires are connected to which.
3. Prepare the Wires
Strip about 1/2 inch of insulation from the ends of the wires using wire strippers. This will prepare them for connecting to the new fixture.
4. Connect the Wires
Match the wires from the ceiling to the wires on the new fixture. Typically, this means connecting black to black (live), white to white (neutral), and green or bare copper to green or bare copper (ground). Use wire nuts to secure the connections and wrap them with electrical tape for added security.
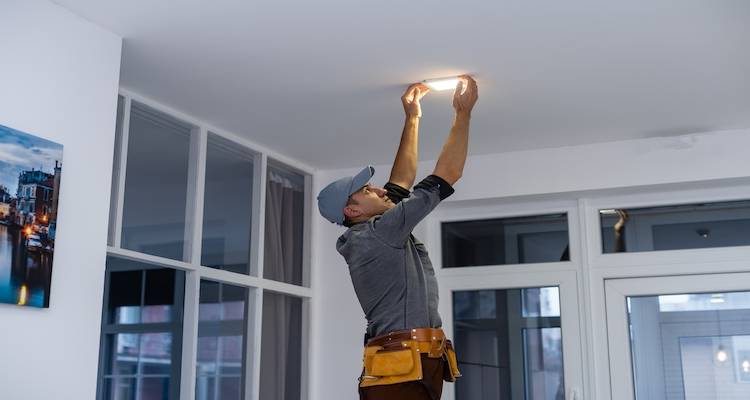
5. Mount the New Fixture
Attach the new fixture to the ceiling according to the manufacturer's instructions. This usually involves screwing the fixture into the mounting bracket.
6. Turn the Power Back On
Once the fixture is securely mounted and the wires are connected, turn the power back on at the circuit breaker. Test the new light to ensure it is working properly.
Additional Tips
- Read the Instructions: Always read the manufacturer's instructions that come with your new light fixture.
- Use a Helper: Having someone to help hold the fixture while you connect the wires can make the job easier.
- Check Local Codes: Ensure your work complies with local electrical codes and regulations.
Common Mistakes to Avoid
- Not Turning Off the Power: Always double-check that the power is off before starting any electrical work.
- Incorrect Wire Connections: Make sure to match the wires correctly (live to live, neutral to neutral, ground to ground).
- Overtightening Screws: Be careful not to overtighten screws, as this can damage the fixture or the ceiling.
Conclusion
Wiring a ceiling light can be a straightforward task if you follow the right steps and take necessary precautions. Always ensure safety by turning off the power and double-checking your work. If at any point you feel unsure, don't hesitate to consult a professional electrician.