 my
myHow to Seal a Bath or Shower: A Step-by-Step Guide
Sealing your bath or shower is an essential maintenance task that helps prevent water damage and mould growth. Whether you're a DIY enthusiast or a complete novice, this guide will walk you through the process of sealing your bath or shower effectively.
Tools You'll Need
- Caulking gun: To apply the sealant smoothly.
- Sealant: Choose a high-quality, mould-resistant silicone sealant.
- Utility knife: For removing old sealant.
- Masking tape: To ensure clean, straight lines.
- Rubbing alcohol or white spirit: For cleaning the area before sealing.
- Cloth or paper towels: For cleaning and wiping excess sealant.
- Sealant smoothing tool or a wet finger: To smooth out the sealant.
Step-by-Step Guide
1. Remove Old Sealant
Use a utility knife to carefully cut away the old sealant. Be sure to remove all traces to ensure a good bond for the new sealant.
2. Clean the Area
Clean the area thoroughly with rubbing alcohol or white spirit to remove any soap scum, dirt, or grease. Allow it to dry completely.
3. Apply Masking Tape
Apply masking tape along the edges where you will be applying the sealant. This will help you achieve a neat, straight line.
4. Prepare the Sealant
Load the sealant into the caulking gun. Cut the nozzle at a 45-degree angle to match the width of the gap you are sealing.
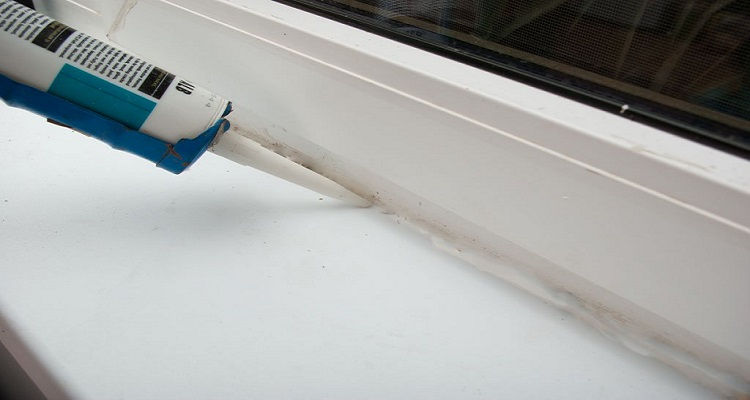
5. Apply the Sealant
Apply a steady, even bead of sealant along the gap. Keep the gun moving at a consistent speed to avoid lumps and gaps.
6. Smooth the Sealant
Use a sealant smoothing tool or a wet finger to smooth out the sealant. This will help it adhere better and look more professional.
7. Remove the Masking Tape
Carefully remove the masking tape before the sealant dries to avoid pulling up the sealant with it.
8. Allow to Dry
Let the sealant cure according to the manufacturer's instructions, usually 24-48 hours, before using the bath or shower.
Additional Tips
- Ventilation: Ensure the bathroom is well-ventilated to help the sealant cure properly.
- Practice: If you're new to sealing, practice on a piece of cardboard first.
- Quality Sealant: Invest in a good quality, mould-resistant sealant for longer-lasting results.
Common Mistakes to Avoid
- Skipping Cleaning: Not cleaning the area properly can prevent the sealant from adhering.
- Applying Too Much Sealant: This can lead to a messy finish and longer drying times.
- Not Smoothing the Sealant: Failing to smooth the sealant can result in gaps and an unprofessional look.
Conclusion
Sealing your bath or shower is a straightforward task that can save you from costly repairs down the line. By following this guide, you can achieve a professional finish and keep your bathroom in top condition. Happy sealing!