 my
myHow to Regrout Tiles: A Step-by-Step Guide
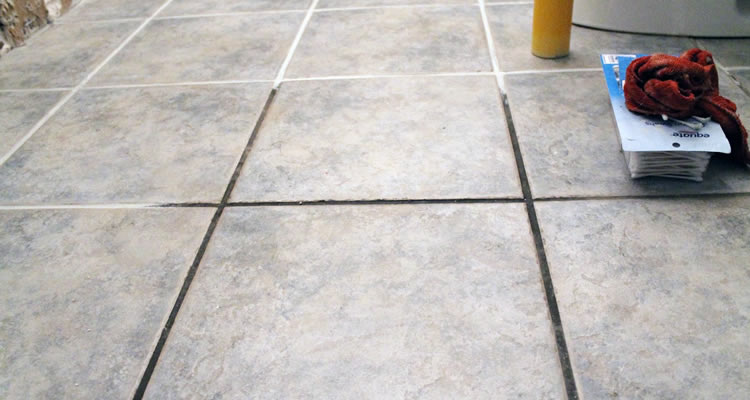
Regrouting tiles can breathe new life into your bathroom or kitchen, making it look fresh and clean. Whether you're dealing with discoloured, cracked, or mouldy grout, this guide will walk you through the process of regrouting tiles step-by-step.
Tools You'll Need
- Grout saw or multi-tool: For removing old grout.
- Vacuum cleaner: To clean up debris.
- Grout float: For applying new grout.
- Grout sponge: For cleaning excess grout.
- Bucket: For mixing grout.
- Grout: Choose the right type and colour for your tiles.
- Protective gloves and goggles: For safety.
- Sealant: To protect the new grout.
Step-by-Step Guide
1. Prepare the Area
Before you start, make sure the area is clean and dry. Remove any loose debris and cover nearby surfaces to protect them from dust and grout.
2. Remove Old Grout
Use a grout saw or multi-tool to carefully remove the old grout. Be gentle to avoid damaging the tiles. Vacuum up the debris as you go to keep the area clean.
3. Clean the Gaps
Once the old grout is removed, clean the gaps between the tiles thoroughly. Use a vacuum cleaner to remove any remaining dust and debris.
4. Mix the New Grout
Follow the manufacturer's instructions to mix the new grout. It should have a smooth, peanut butter-like consistency.
5. Apply the New Grout
Using a grout float, apply the new grout to the gaps between the tiles. Hold the float at a 45-degree angle and press the grout into the gaps, ensuring they are fully filled.
6. Clean Excess Grout
After applying the grout, use a damp grout sponge to wipe away excess grout from the surface of the tiles. Rinse the sponge frequently to keep it clean.
7. Let the Grout Set
Allow the grout to set for the time recommended by the manufacturer, usually around 24 hours. Avoid using the area during this time.
8. Seal the Grout
Once the grout is fully set, apply a grout sealant to protect it from moisture and stains. Follow the manufacturer's instructions for application.
Additional Tips
- Choose the right grout: Make sure to select a grout that is suitable for the type of tiles you have.
- Work in small sections: This will make it easier to manage the grout and clean up excess before it dries.
- Use protective gear: Always wear gloves and goggles to protect yourself from dust and debris.
Common Mistakes to Avoid
- Not removing all old grout: Leaving old grout can prevent the new grout from adhering properly.
- Using too much water: Excess water can weaken the grout and cause it to crack.
- Skipping the sealant: Failing to seal the grout can lead to moisture and stain issues down the line.
Conclusion
Regrouting tiles is a manageable DIY project that can significantly improve the appearance of your tiled surfaces. By following this step-by-step guide, you can achieve professional-looking results. Remember to take your time, use the right tools, and follow the manufacturer's instructions for the best outcome. Happy regrouting!